10 Easy Lunchbox Ideas Kids Will Love
Lunch can be a tricky time for kids, especially when it comes to packing a variety that keeps them excited about their meals. With these 10 easy lunchbox ideas, you’ll have plenty of quick and tasty options that are sure to please even the pickiest eaters. Say goodbye to lunchtime battles and hello to happy tummies!
Peanut Butter Banana Roll-Ups
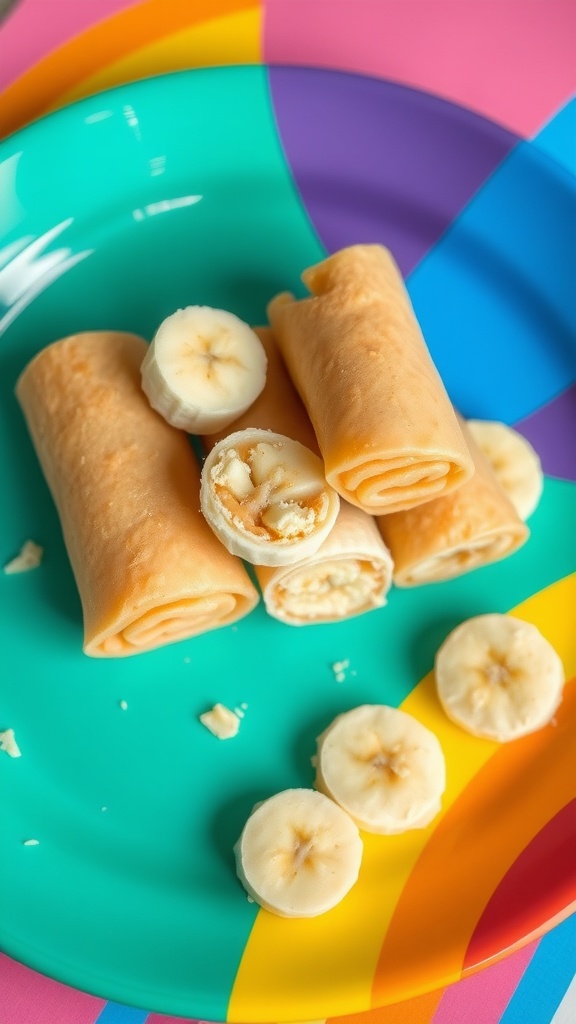
Peanut Butter Banana Roll-Ups are a delightful and easy option for kids’ lunchboxes. Combining the creaminess of peanut butter with the sweetness of ripe bananas, these roll-ups are sure to please even the pickiest eaters. They are quick to prepare, making them a perfect last-minute addition to any meal.
The best part? They are not only delicious but also packed with nutrients, offering a great balance of protein and healthy carbs. The fun, bite-sized shape makes them easy for kids to hold and eat on the go. Plus, this recipe can easily be modified to include other ingredients like honey or granola for extra flavor and texture!
Cheesy Quinoa Bites

Cheesy quinoa bites are the perfect snack for kids, combining the nutty flavor of quinoa with gooey cheese. These little bites are not only tasty but also packed with nutrients, making them a great addition to any lunchbox. Plus, they’re super easy to whip up, making them a win for busy parents!
With a crispy outer layer and a cheesy, soft center, these bites are sure to be a hit. They can be made ahead of time and stored in the fridge or freezer, ready to be enjoyed whenever hunger strikes. Pair them with a tasty dipping sauce for an extra treat!
Fruit and Yogurt Parfait
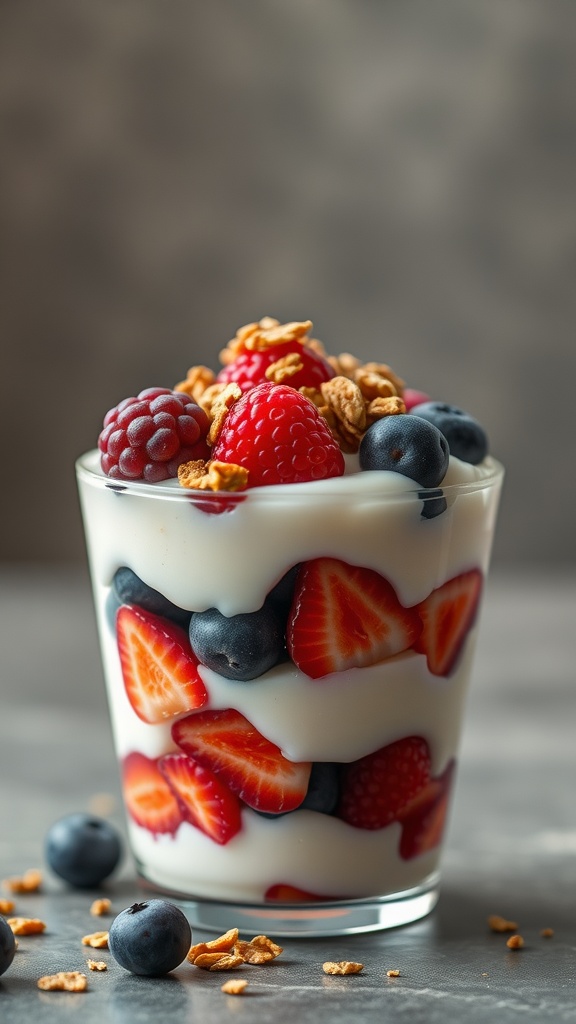
A Fruit and Yogurt Parfait is a delightful mix of creamy yogurt, fresh fruits, and crunchy granola. This recipe is not only simple to make, but it’s also packed with vitamins and minerals, making it a nutritious choice for lunchboxes. The combination of sweet fruits and tangy yogurt creates a tasty treat kids will love.
Making a parfait is a quick process; you just layer the ingredients in a cup or jar. It’s versatile too—feel free to switch up the fruits based on what’s in season or your child’s preferences. Healthy, fun, and visually appealing, this parfait is sure to brighten up any lunch!
Ingredients
- 2 cups yogurt (Greek or regular)
- 1 cup fresh strawberries, sliced
- 1 cup blueberries
- 1 cup raspberries
- 1 cup granola
Instructions
- Start by selecting a clear cup or jar for layering.
- Begin with a layer of yogurt at the bottom.
- Add a layer of sliced strawberries, followed by a layer of blueberries.
- Sprinkle a layer of granola on top of the fruit.
- Repeat these layers until the cup is full, finishing with a final layer of fruit and a sprinkle of granola on top.
- Enjoy immediately, or cover and refrigerate until ready to serve.
Turkey and Cheese Kabobs
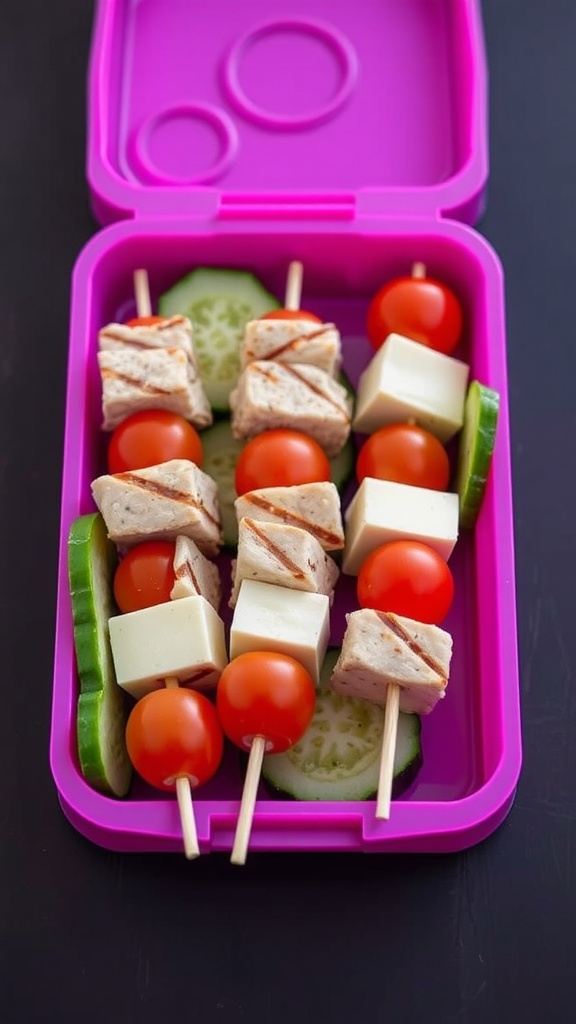
Turkey and cheese kabobs are a fun and tasty option for kids’ lunchboxes. They combine savory turkey, creamy cheese, and fresh vegetables, making them a well-rounded meal that kids will enjoy. Easy to assemble, these kabobs keep lunchtime exciting and colorful.
The flavors blend perfectly, with the grilled turkey offering a deliciously smoky taste, while the cheese adds a creamy texture. Add in some cherry tomatoes and cucumbers for a crunchy, refreshing bite. This recipe is quick to prepare, making it perfect for busy mornings!
Ingredients
- 1 cup cooked turkey, diced
- 1 cup cheese, cut into cubes
- 1 cup cherry tomatoes
- 1 cucumber, sliced
- Wooden skewers
- Salt and pepper to taste
Instructions
- Prepare the Ingredients: Cut the cooked turkey and cheese into bite-sized pieces. Slice the cucumber and gather the cherry tomatoes.
- Assemble the Kabobs: On each wooden skewer, alternate between pieces of turkey, cheese, and cherry tomatoes. Add cucumber slices at the base or on the side for crunch.
- Season: Sprinkle a little salt and pepper on the assembled kabobs for extra flavor.
- Pack and Serve: Place the kabobs in a lunchbox with extra cucumber slices or any other desired veggies. These can be enjoyed cold or at room temperature.
Whole Grain Wraps with Creamy Spreads
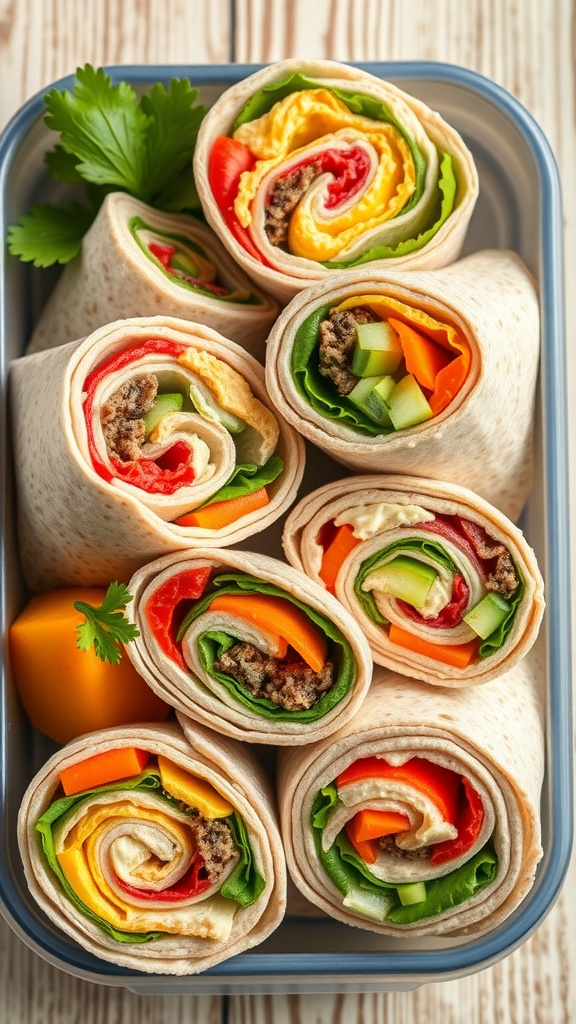
Whole grain wraps are a fantastic way to pack a delicious and nutritious lunch for kids. They’re filled with vibrant veggies and creamy spreads, making them both tasty and visually appealing. Plus, they are easy to prepare, allowing for fun customization based on your child’s favorite flavors.
These wraps are not only a hit with kids but are also versatile enough for adults. The combination of fresh vegetables and smooth spreads creates a delightful texture and flavor balance that everyone will enjoy. You can make them ahead of time and store them in the fridge, making lunchtime a breeze.
Ingredients
- 4 whole grain tortillas
- 1/2 cup hummus or cream cheese
- 1 cup shredded lettuce
- 1 cup sliced bell peppers (red, yellow, green)
- 1 cup shredded carrots
- 1 cup diced cucumbers
- 1 cup cooked and crumbled turkey or chicken (optional)
- Salt and pepper to taste
Instructions
- Spread a layer of hummus or cream cheese evenly over each tortilla.
- Layer the shredded lettuce, bell peppers, carrots, and cucumbers on top of the spread.
- If using, sprinkle the crumbled turkey or chicken over the vegetables.
- Season with salt and pepper to taste.
- Starting from one end, tightly roll up each tortilla, creating a wrap.
- Slice each wrap into bite-sized pieces and pack them into a lunchbox.
Mini Pita Pockets with Hummus and Veggies

Mini pita pockets filled with hummus and colorful veggies are a quick and tasty option for lunchboxes. They offer a delightful crunch and a creamy texture, making them appealing to kids and adults alike. Not only are they simple to prepare, but they also provide a nutritious boost.
These little bites are versatile and can be packed with all sorts of vegetables like bell peppers, cucumbers, and carrots. Plus, they can be made ahead of time, saving you precious moments on busy mornings. Your kids will love the fun flavors and the chance to customize their own fillings!
Ingredients
- 4 mini pita breads
- 1 cup hummus
- 1/2 cup diced bell peppers (red, yellow, green)
- 1/2 cup cucumber, diced
- 1/2 cup shredded carrots
- 1/2 cup cherry tomatoes, halved
- Salt and pepper to taste
- Optional: olives, feta cheese, or a sprinkle of lemon juice
Instructions
- Prepare the Pitas: Cut each mini pita in half to create pockets.
- Fill with Hummus: Spread about 2 tablespoons of hummus inside each pita half.
- Add Veggies: Stuff the pockets with your choice of diced bell peppers, cucumber, shredded carrots, and cherry tomatoes.
- Season: Sprinkle with salt and pepper, and add any optional toppings if desired.
- Pack and Serve: Place the filled pita pockets in a lunchbox, and they are ready for a delicious lunch!
Vegetable Sushi Rolls
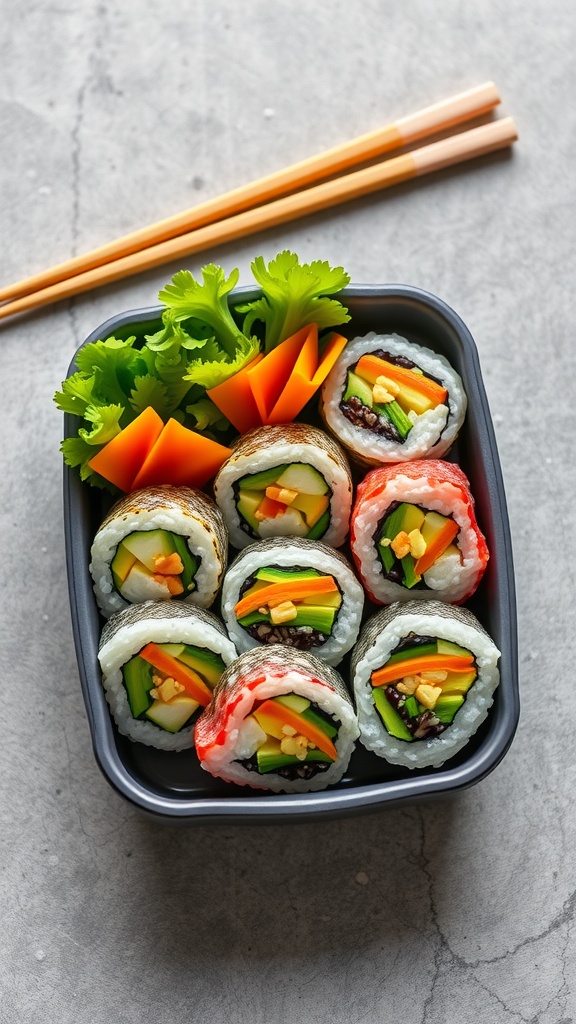
Vegetable sushi rolls are a fun and tasty way to enjoy fresh ingredients. They are light, packed with flavor, and a great option for kids’ lunchboxes. Plus, they’re easy to make and can be customized with your child’s favorite vegetables.
These sushi rolls are not only delicious but also colorful, making lunchtime more exciting. With a bit of practice, rolling sushi becomes a simple task that kids can even help with. It’s a great way to sneak in those veggies!
Ingredients
- 2 cups sushi rice
- 2 1/2 cups water
- 1/4 cup rice vinegar
- 1 tablespoon sugar
- 1/2 teaspoon salt
- Nori sheets (seaweed)
- 1 cucumber, julienned
- 1 carrot, julienned
- 1 bell pepper, sliced
- 1 avocado, sliced
Instructions
- Prepare the Rice: Rinse sushi rice under cold water until the water runs clear. Combine rice and water in a rice cooker and cook according to the manufacturer’s instructions. Once cooked, let it sit covered for 10 minutes.
- Season the Rice: In a small bowl, mix rice vinegar, sugar, and salt until dissolved. Fold this mixture into the warm rice gently using a wooden spatula.
- Roll the Sushi: Place a nori sheet on a bamboo mat. Spread a thin layer of rice evenly over the nori, leaving a small border. Arrange your vegetables in a line across the rice.
- Form the Roll: Using the bamboo mat, gently roll the nori away from you, pressing it tightly to form a log. Seal the edge with a little water.
- Slice the Rolls: Once rolled, slice the sushi into bite-sized pieces with a sharp knife. Serve with soy sauce for dipping.
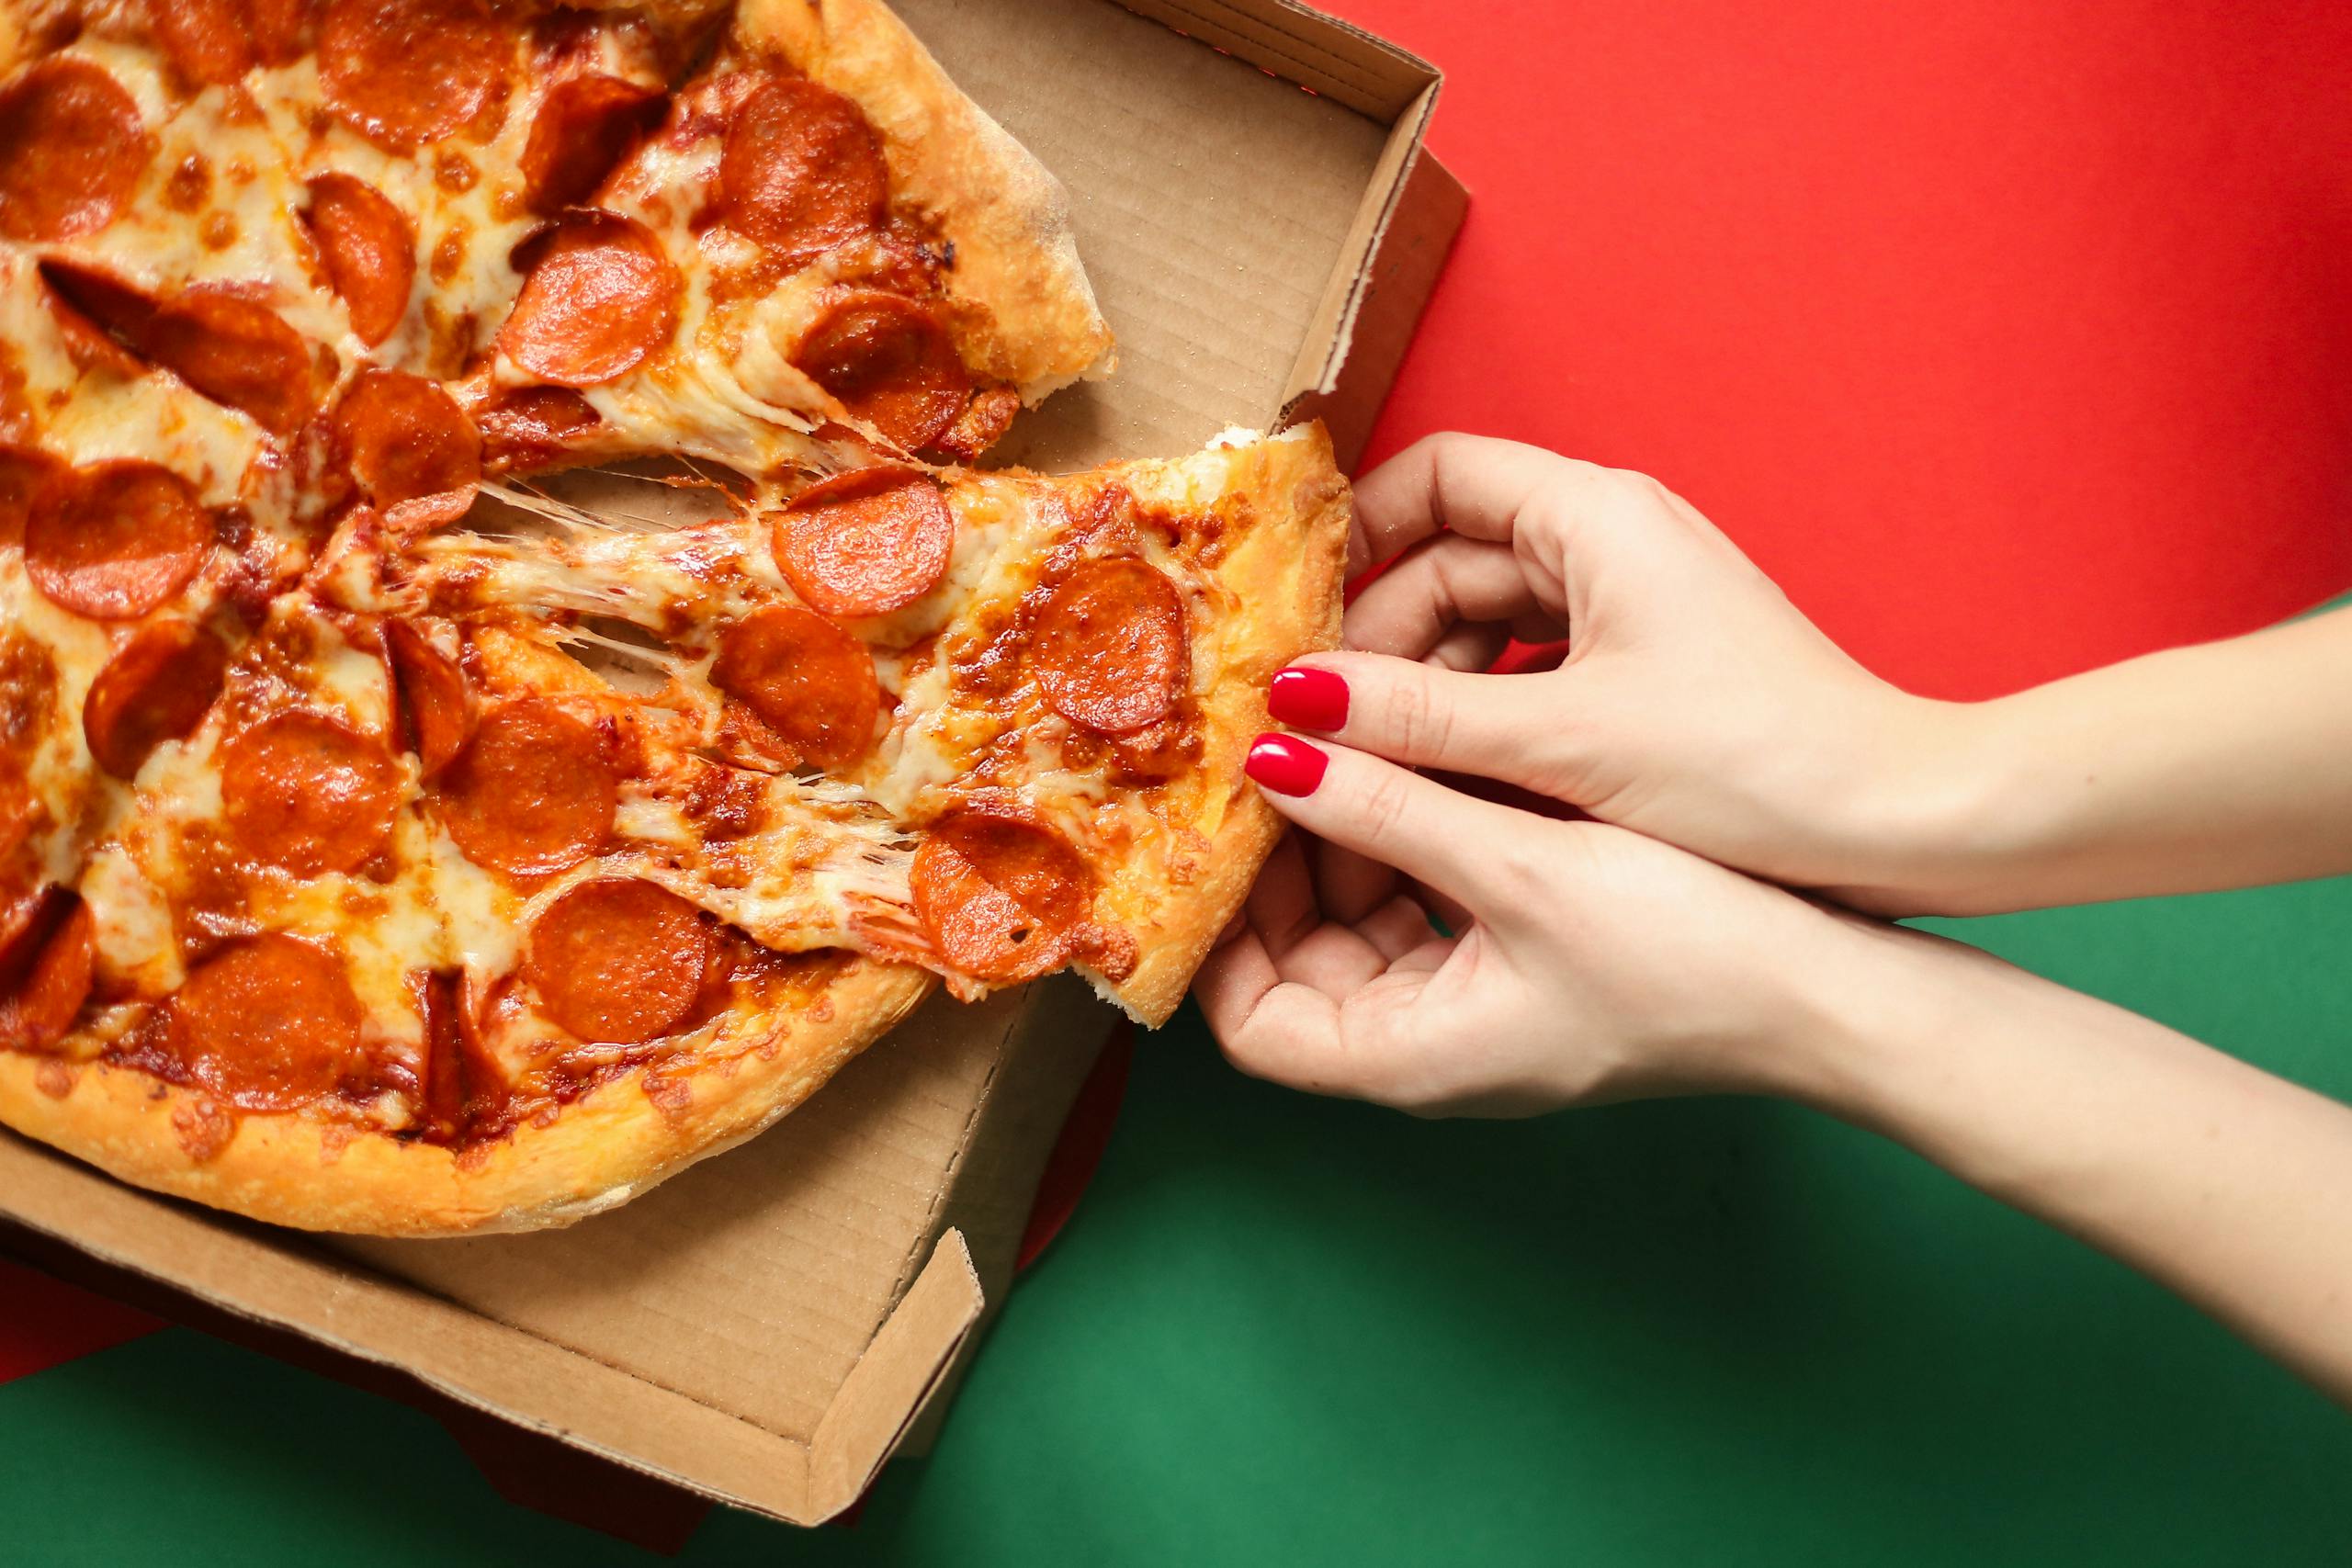
DIY Pizza Roll-Ups
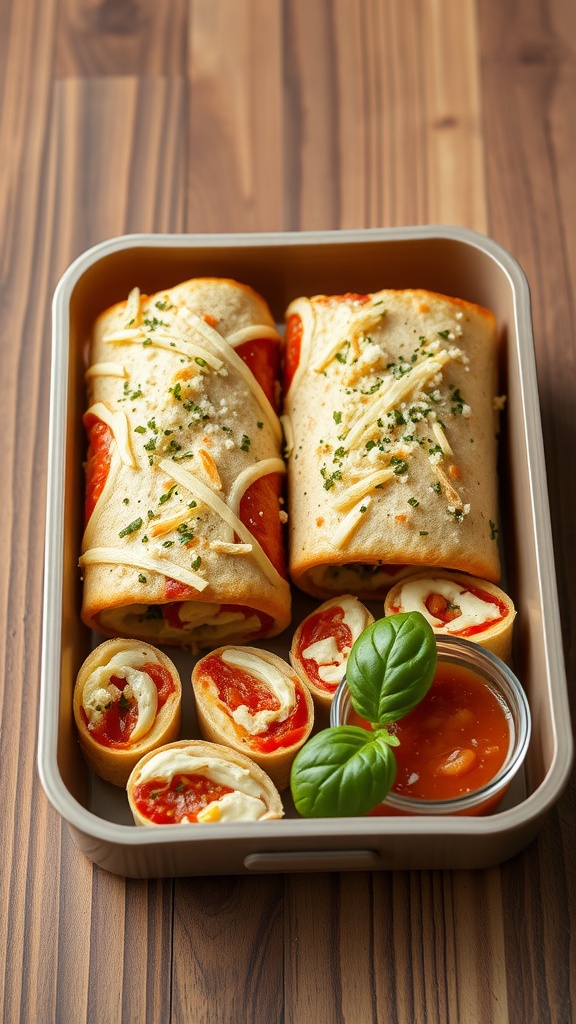
DIY Pizza Roll-Ups are a fun and easy lunch option that kids will absolutely love. These little treats pack all the delicious flavors of a pizza into a portable roll, making them perfect for lunchboxes or snack time. With a cheesy filling and a crispy exterior, these roll-ups are sure to be a hit!
Making Pizza Roll-Ups is simple and requires just a few ingredients. You can customize them with your child’s favorite toppings, from pepperoni to veggies. They are not only tasty but also a great way to involve kids in the kitchen, allowing them to pick and choose what goes inside!
Ingredients
- 1 large tortilla or pizza dough
- 1/2 cup pizza sauce
- 1 cup shredded mozzarella cheese
- 1/2 cup pepperoni slices (or any toppings of choice)
- 1 tablespoon olive oil
- 1 teaspoon Italian seasoning
- Grated Parmesan cheese (optional)
Instructions
- Preheat the oven to 400°F (200°C) if using dough. If using tortillas, you can prepare them on a skillet or in the oven.
- Spread the pizza sauce over the tortilla or rolled-out pizza dough, leaving a small border around the edges.
- Sprinkle mozzarella cheese evenly over the sauce, then add your choice of toppings.
- Carefully roll the tortilla or dough tightly from one end to the other, pressing gently as you go.
- Brush the outside with olive oil and sprinkle with Italian seasoning and Parmesan cheese, if desired.
- Place the roll-ups seam-side down on a baking sheet and bake for 15-20 minutes, or until golden brown and crispy. If using a skillet, cook on medium heat, turning until golden.
- Allow to cool slightly, then slice into pinwheels or serve whole with extra pizza sauce for dipping.
Savory Muffins with Veggies and Cheese
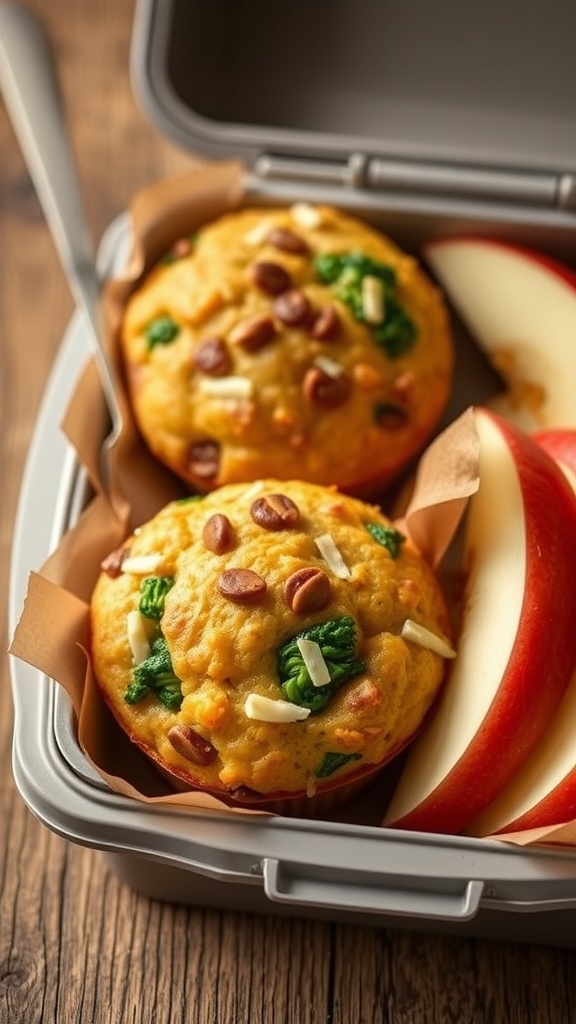
These savory muffins are a delightful way to sneak some vegetables into your child’s lunchbox. Packed with cheese and colorful veggies, they offer a tasty balance of flavors that kids will love. Plus, they’re super easy to whip up, making them perfect for busy parents.
With a fluffy texture and cheesy goodness, these muffins are not only satisfying but also nutritious. A hit at lunchtime, they can be enjoyed warm or at room temperature, making them a versatile option for any lunchbox. Here’s a simple recipe to get you started!
Ingredients
- 1 cup all-purpose flour
- 1 cup whole wheat flour
- 1 tablespoon baking powder
- 1/2 teaspoon salt
- 1/2 cup grated cheese (cheddar or your choice)
- 1 cup mixed chopped vegetables (like spinach, bell peppers, and carrots)
- 1/4 cup olive oil
- 2 large eggs
- 1 cup milk
Instructions
- Preheat your oven to 375°F (190°C) and grease a muffin tin or line it with muffin liners.
- In a large bowl, mix the all-purpose flour, whole wheat flour, baking powder, and salt together.
- Add the grated cheese and chopped vegetables, stirring until well combined.
- In another bowl, whisk together the olive oil, eggs, and milk.
- Pour the wet ingredients into the dry ingredients and mix until just combined. Do not overmix.
- Fill each muffin cup about 2/3 full with the batter.
- Bake for 20-25 minutes, or until the muffins are golden brown and a toothpick comes out clean.
- Let them cool slightly before removing from the muffin tin. Enjoy warm or store in an airtight container for lunchboxes!
Rainbow Veggie and Dip Cups
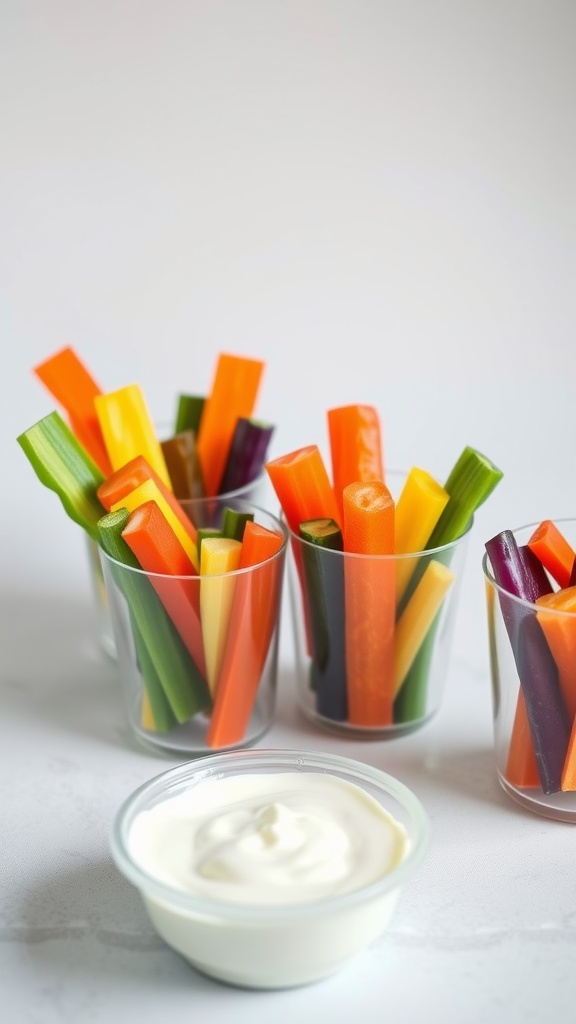
Rainbow Veggie and Dip Cups are a fun and healthy way to brighten up any lunchbox. With a variety of colorful veggies, these cups are not only visually appealing but also packed with nutrients. The crunchy textures of the vegetables paired with a delicious dip make for a tasty and satisfying snack that kids will love.
Making these cups is super simple! Just chop up an assortment of fresh vegetables and arrange them in cups alongside a tasty dip. They are perfect for on-the-go meals and help encourage kids to munch on their veggies without a fuss.
Ingredients
- 1 cup carrots, cut into sticks
- 1 cup celery, cut into sticks
- 1 cup bell peppers (various colors), cut into sticks
- 1 cup cucumber, cut into sticks
- 1 cup cherry tomatoes
- 1 cup ranch dressing or hummus for dipping
Instructions
- Prepare the Vegetables: Wash and cut all the vegetables into sticks. Make sure to use a mix of colors for a vibrant look.
- Assemble the Cups: Fill small cups with the veggie sticks, arranging them in a fun and appealing way.
- Add the Dip: Place a small portion of ranch dressing or hummus in a separate container or at the bottom of the cup if deep enough.
- Pack and Serve: Seal the cups with lids or plastic wrap. They can be stored in the refrigerator until ready to pack in the lunchbox.
- Enjoy: These tasty veggie cups can be enjoyed fresh or as part of a lunch spread!