10 Fun and Creative Lunchbox Ideas Your Kids Will Adore
Searching for fresh lunchbox ideas that your kids will actually enjoy? Look no further! We’ve gathered 10 fun and creative suggestions to bring excitement to lunchtime. These tasty and playful combinations will tickle their taste buds and make packing lunches a breeze!
Nut Butter and Banana Sandwiches
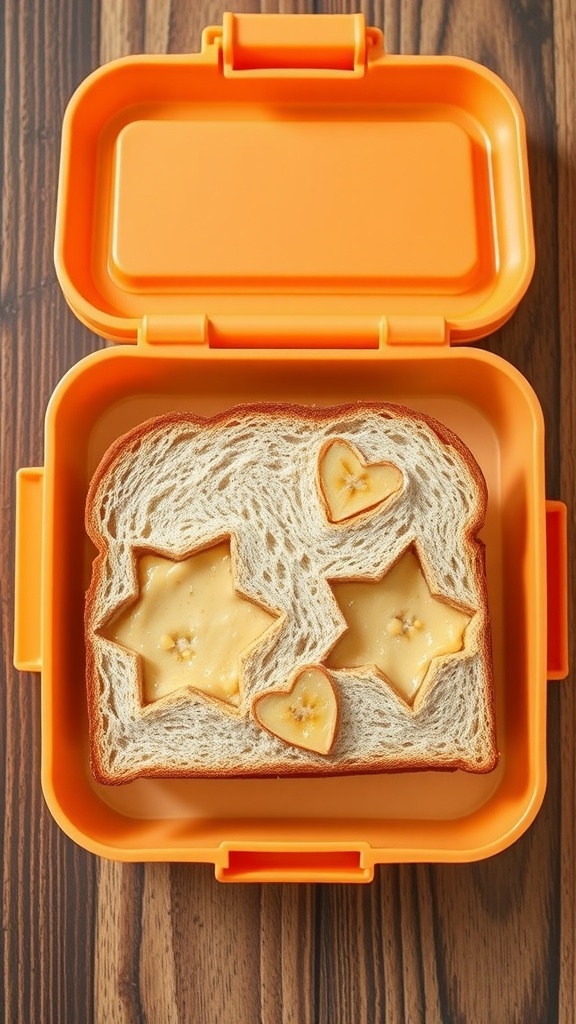
Nut butter and banana sandwiches are a delicious, nutritious option for kids’ lunchboxes. Combining the creamy texture of nut butter with the sweet taste of bananas creates a delightful treat that kids will love. Plus, they’re super easy to whip up, making them a perfect choice for busy parents.
This sandwich is satisfying and packed with energy, keeping little ones fueled throughout the day. It’s not just tasty but offers a good dose of protein and potassium, making it a great health choice. You can get creative by using different types of nut butter, such as almond or cashew, and even add a sprinkle of cinnamon for extra flavor!
Ingredients
- 2 slices of whole-grain bread
- 2 tablespoons of your favorite nut butter
- 1 banana, sliced
- Honey (optional)
- Cinnamon (optional)
Instructions
- Spread nut butter evenly on both slices of bread.
- Layer banana slices on one slice and drizzle with honey and a sprinkle of cinnamon if desired.
- Top with the other slice of bread and press down gently.
- Cut the sandwich into fun shapes using cookie cutters for a playful touch.
- Pack in a lunchbox, and enjoy!
Mini Pita Pockets with Hummus
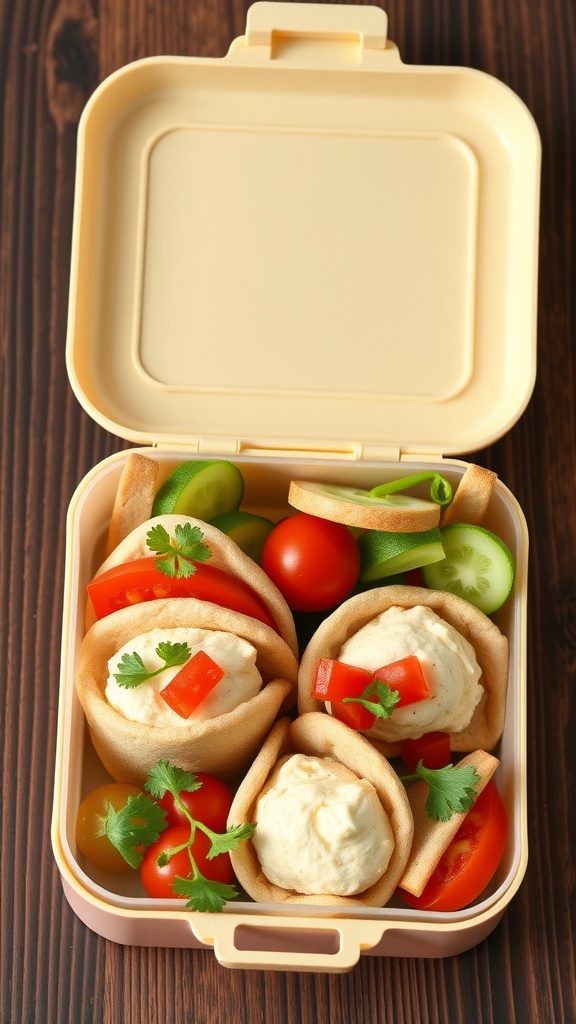
Mini pita pockets filled with hummus are a delightful and healthy option for kids’ lunchboxes. They offer a creamy, savory taste that pairs perfectly with fresh veggies. These little pockets are not only tasty but also easy to prepare, making them an ideal choice for busy parents.
Customize them with your child’s favorite veggies for extra flavor and crunch. This fun lunch idea can make mealtime exciting and nutritious!
Ingredients
- 4 mini whole wheat pitas
- 1 cup hummus (store-bought or homemade)
- 1/2 cup cherry tomatoes, halved
- 1/2 cucumber, sliced
- 1/4 bell pepper, diced
- Fresh cilantro or parsley for garnish
Instructions
- Prepare the Pitas: Gently warm the mini pitas in a toaster or microwave for a few seconds to make them softer and easier to fill.
- Fill with Hummus: Spread a generous tablespoon of hummus inside each pita pocket.
- Add Veggies: Stuff the pitas with cherry tomatoes, cucumber slices, and diced bell pepper. Use as much or as little as your child prefers.
- Garnish: Finish off with a sprinkle of fresh cilantro or parsley for added flavor and color.
- Pack for Lunch: Place the filled pitas in a lunchbox, along with extra veggies or a piece of fruit for a balanced meal.
DIY Pizza Lunchables
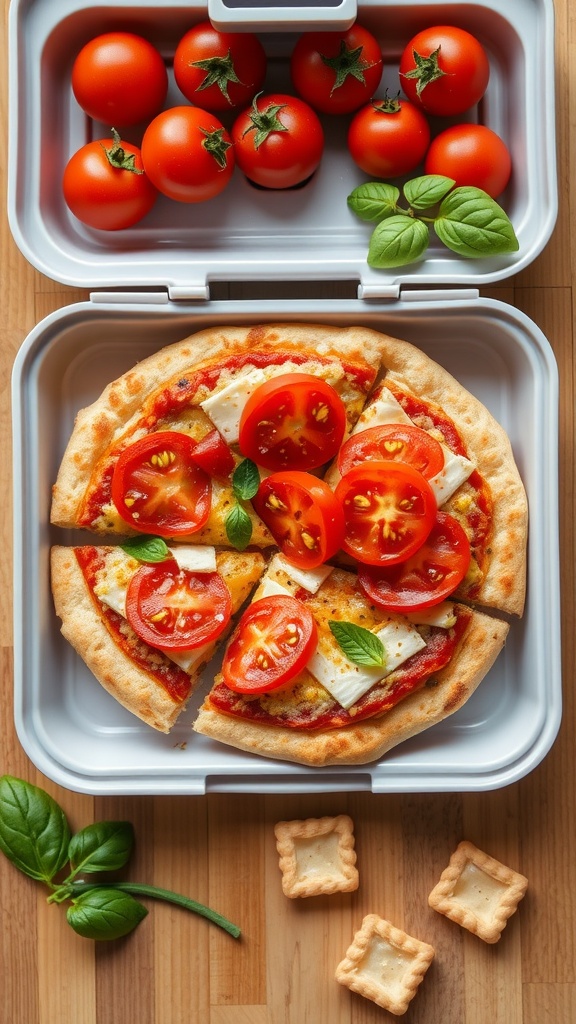
Kids love pizza, and making DIY Pizza Lunchables is a fun way to bring that joy to lunchtime! This simple recipe allows kids to build their own mini pizzas, choosing their favorite toppings and flavors. Not only do they taste great, but they also offer a hands-on activity that makes lunchtime exciting.
These lunchables are a breeze to prepare. You can mix and match ingredients based on what your kids enjoy and have them involved in the assembly process. It’s a great way to sneak in some veggies too! Here’s how to create your own DIY Pizza Lunchables:
Ingredients
- 1 small pre-baked pizza crust or pita bread
- 1/4 cup pizza sauce
- 1/2 cup shredded mozzarella cheese
- Assorted toppings (pepperoni, bell peppers, olives, mushrooms, etc.)
- Fresh basil leaves (optional)
Instructions
- Prepare the Base: Start with a small pre-baked pizza crust or pita bread as the base for each lunchable.
- Add Sauce: Spread a generous amount of pizza sauce over the base.
- Sprinkle Cheese: Top the sauce with shredded mozzarella cheese.
- Customize: Let your kids choose their favorite toppings and add them on top of the cheese.
- Pack It Up: Place the mini pizzas in a lunchbox along with some fresh basil leaves and a side of cherry tomatoes for a refreshing crunch.
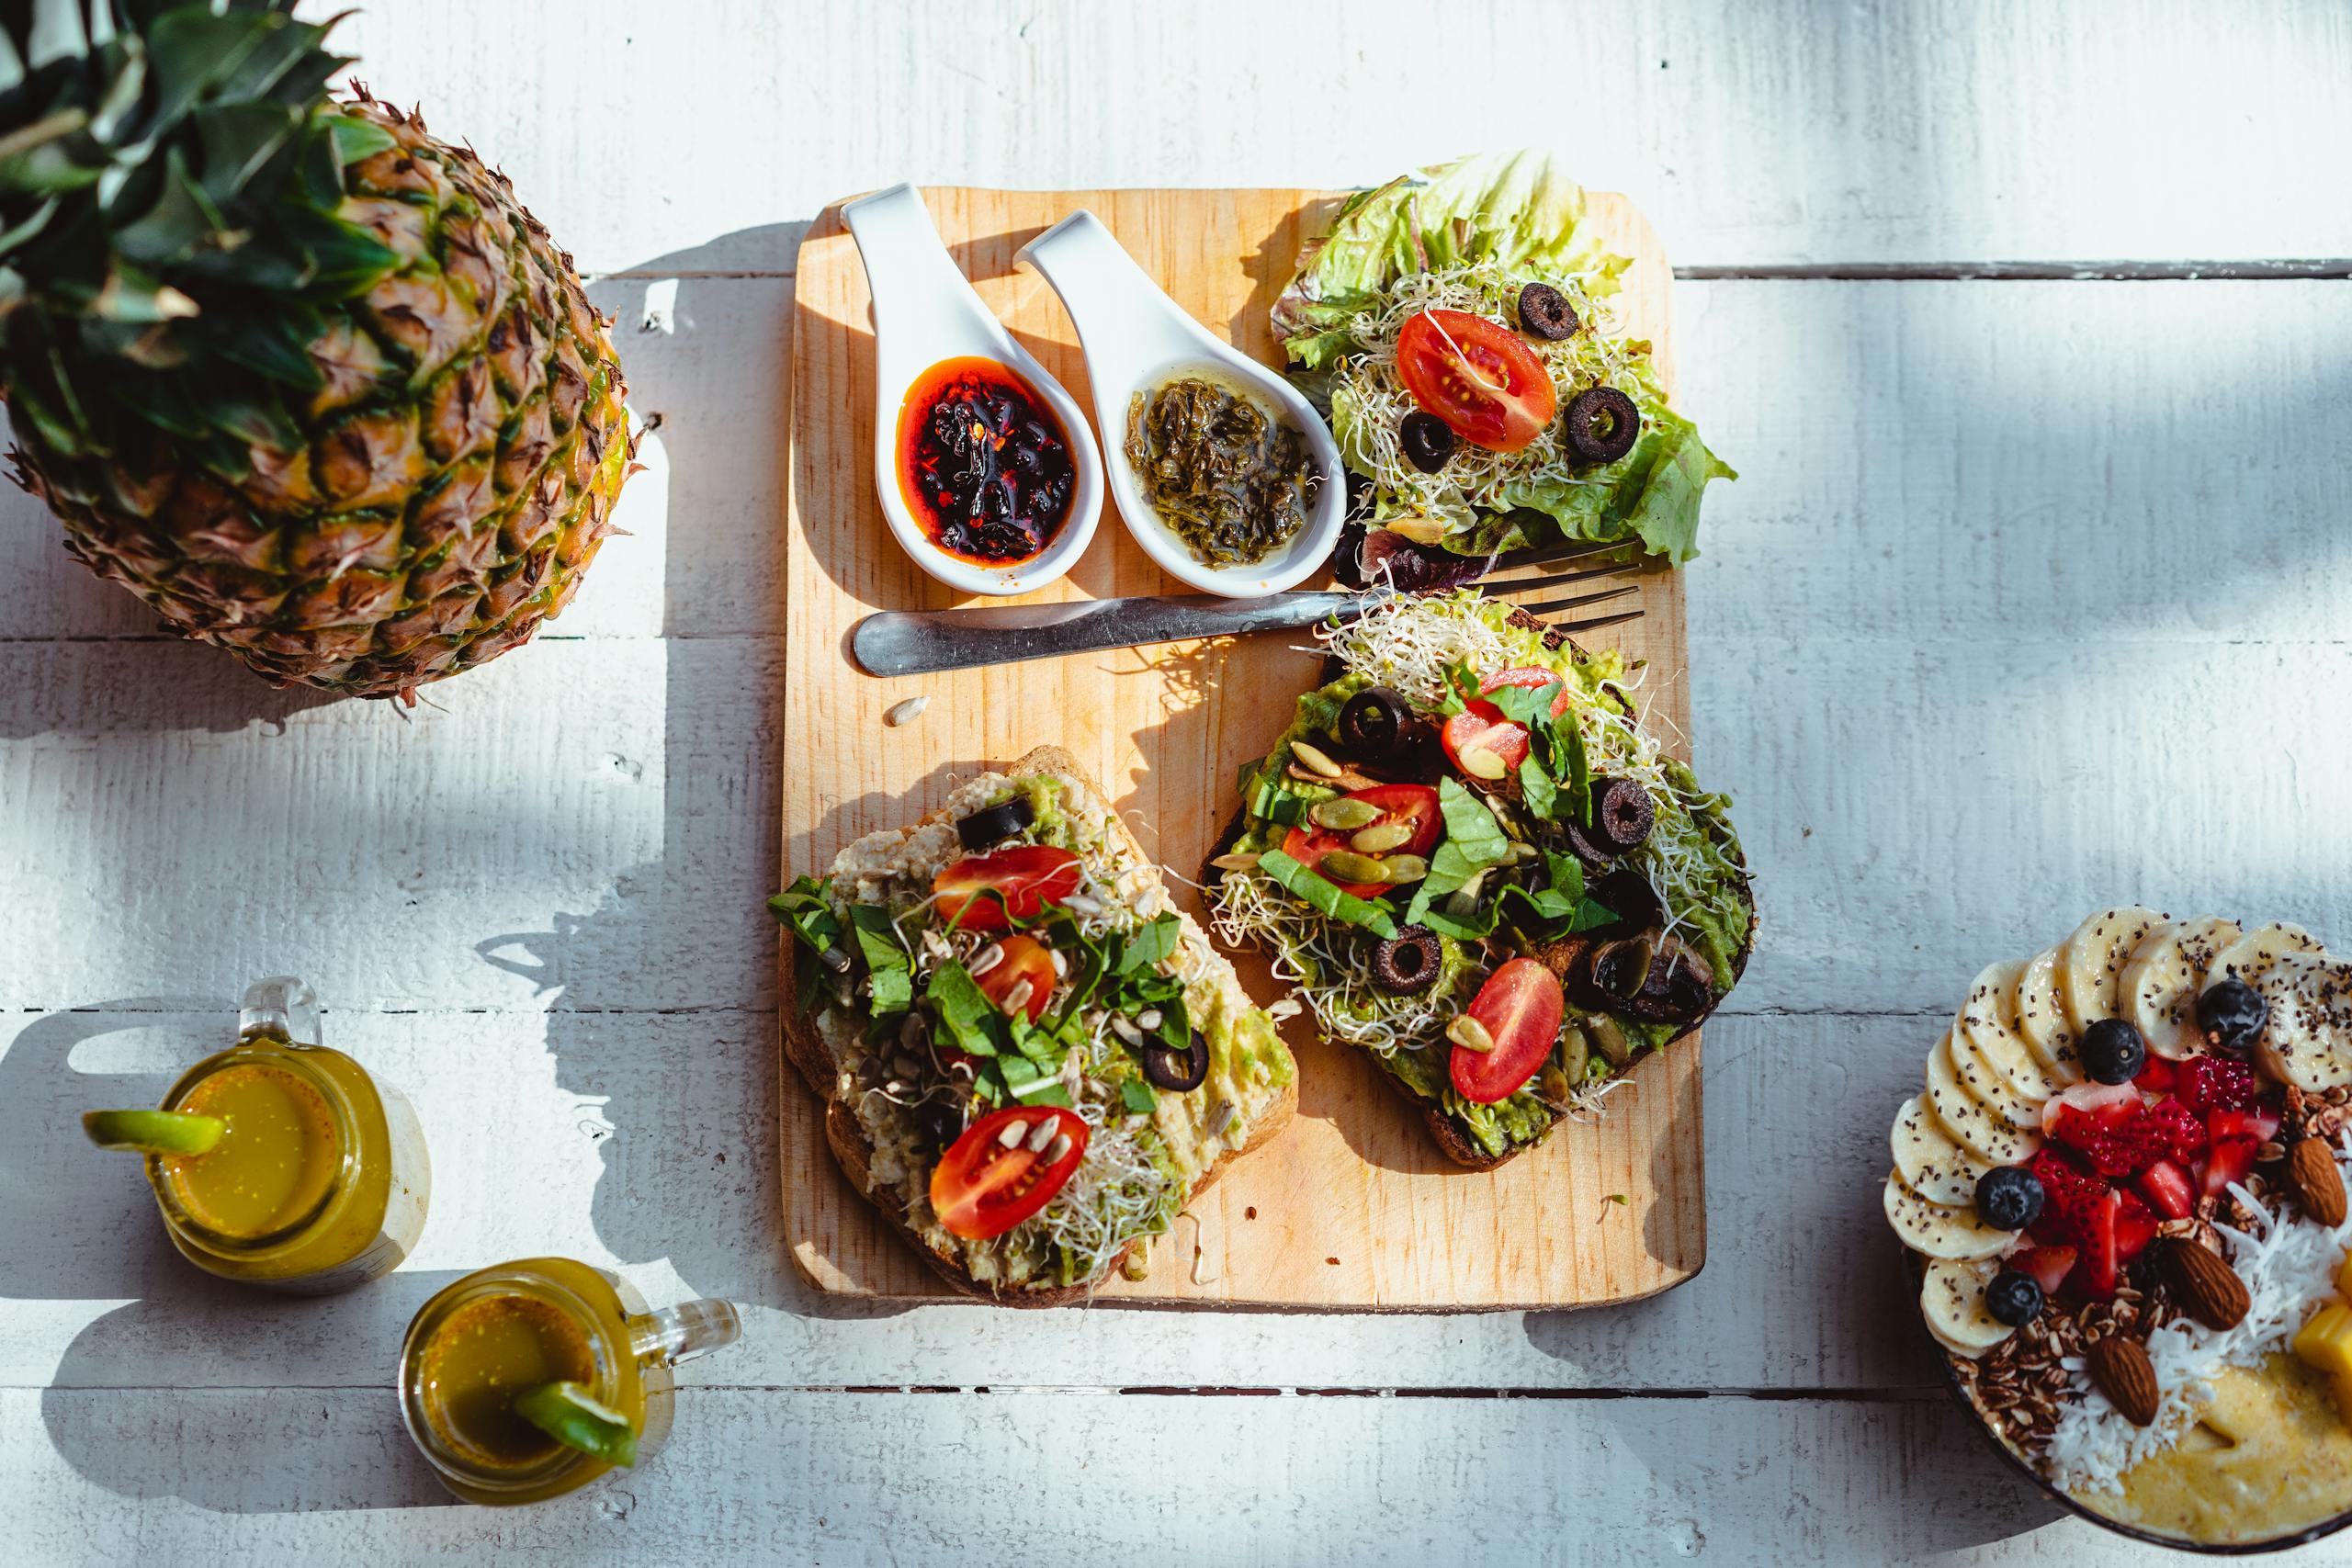
Rainbow Veggie Wraps
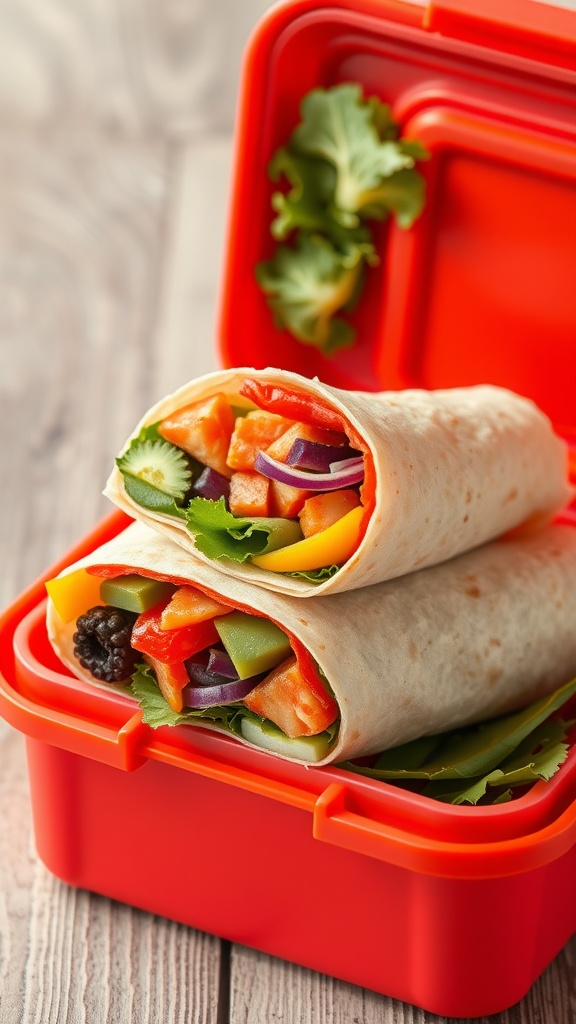
Rainbow Veggie Wraps are a fun and colorful twist on traditional lunches. These wraps are not only visually appealing but also packed with nutrients, making them a hit with kids. They’re easy to prepare and can be customized with whatever veggies your little ones enjoy, ensuring that lunchtime is both tasty and exciting.
The vibrant colors of the veggies create a visually stimulating meal, while the fresh flavors keep things light and refreshing. Plus, they are simple to make, perfect for busy mornings when you need to pack a healthy lunch in a pinch!
Ingredients
- 4 large whole wheat tortillas
- 1 cup hummus or cream cheese
- 1 large carrot, grated
- 1 cucumber, sliced
- 1 bell pepper, thinly sliced (any color)
- 1 cup spinach or mixed greens
- 1/2 cup shredded purple cabbage
- 1 avocado, sliced
- Salt and pepper to taste
Instructions
- Spread a layer of hummus or cream cheese over each tortilla.
- Layer the grated carrot, cucumber slices, bell pepper, spinach, purple cabbage, and avocado evenly on top.
- Sprinkle with a pinch of salt and pepper to enhance the flavors.
- Carefully roll up each tortilla tightly, starting from one end, and slice them in half at an angle.
- Pack the wraps in a lunchbox with a side of fresh fruit or yogurt for a complete meal.
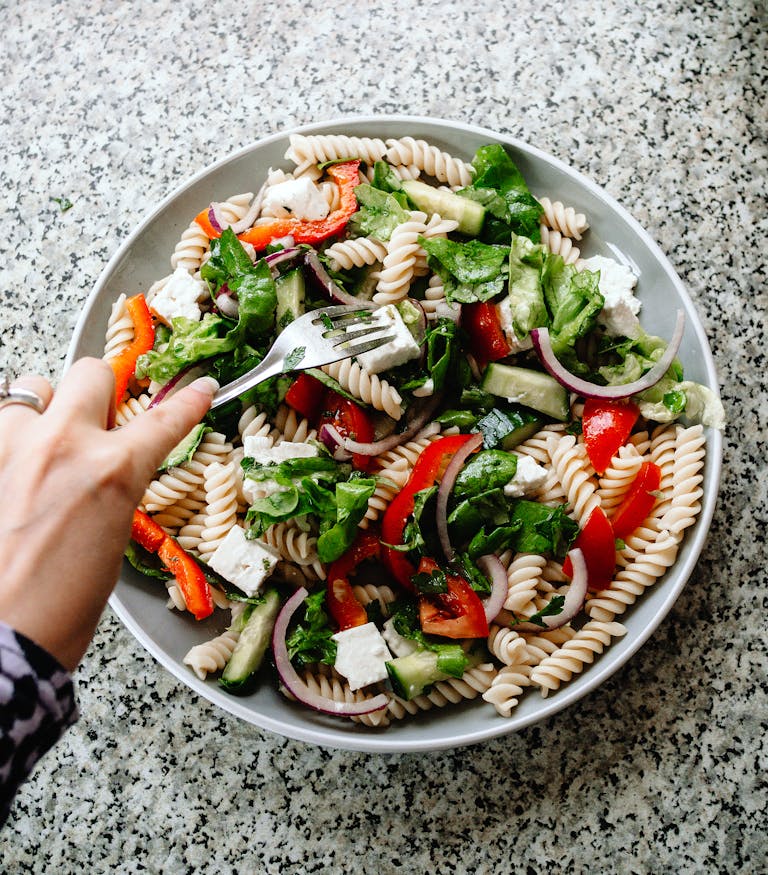
Quinoa Salad in a Jar
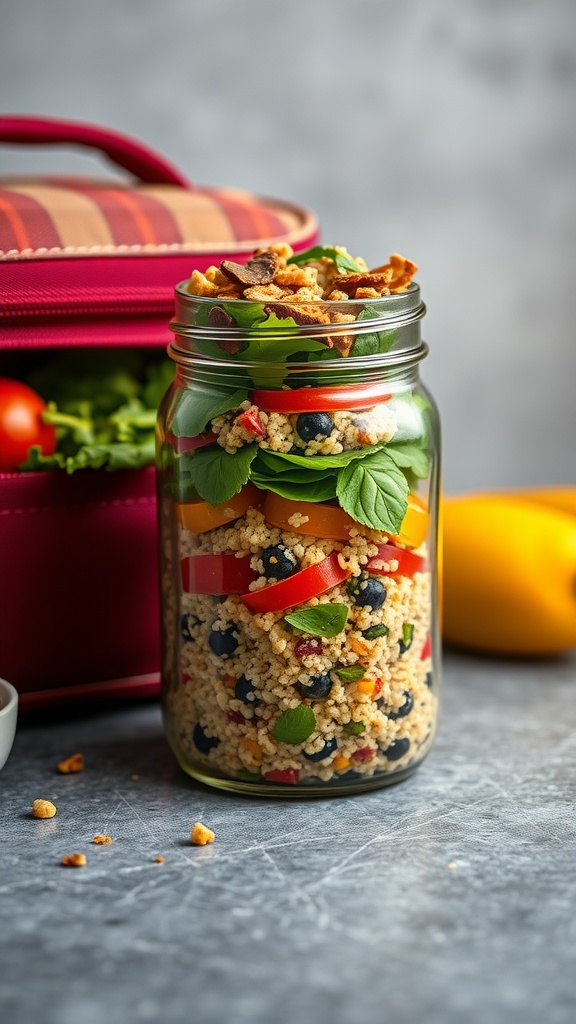
Quinoa salad in a jar is a delightful way to pack a nutritious and colorful meal for your kids’ lunchboxes. This salad is not only tasty but also super simple to prepare. The combination of quinoa, fresh veggies, and a hint of herbs makes each bite refreshing and satisfying. Plus, it’s customizable, allowing you to add your little one’s favorites!
Layered in a jar, the quinoa salad stays fresh and retains its crunch until lunchtime. The vibrant colors make it visually appealing, and the varied textures from the vegetables and quinoa keep things interesting. It’s a perfect balance of protein, fiber, and vitamins, making it a great choice for kids.
Ingredients
- 1 cup cooked quinoa
- 1/2 cup cherry tomatoes, halved
- 1/2 bell pepper, diced (any color)
- 1/2 cucumber, diced
- 1/4 cup black olives, sliced
- 1/4 cup feta cheese, crumbled
- 1/4 cup fresh parsley or basil, chopped
- 2 tablespoons olive oil
- 1 tablespoon lemon juice
- Salt and pepper to taste
Instructions
- Prepare the Quinoa: Cook quinoa according to package instructions. Let it cool completely.
- Mix the Dressing: In a small bowl, whisk together olive oil, lemon juice, salt, and pepper.
- Layer the Ingredients: In a mason jar, start with a layer of quinoa, followed by cherry tomatoes, bell pepper, cucumber, olives, and feta cheese. Top with fresh herbs.
- Add Dressing: Drizzle the prepared dressing over the top before sealing the jar.
- Store and Serve: Seal the jar and store it in the refrigerator until ready to pack in lunchboxes.
Turkey and Spinach Pinwheels
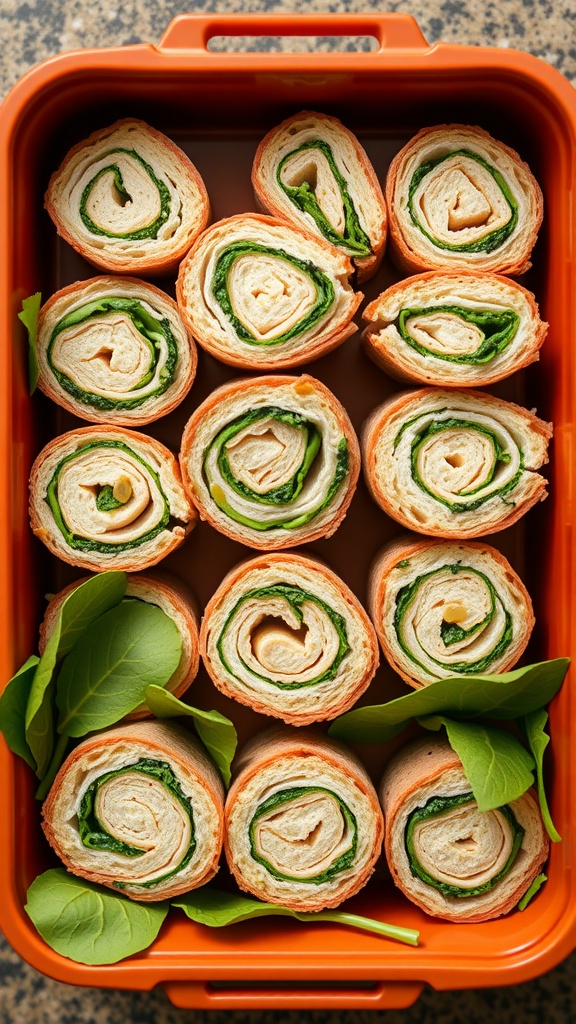
Turkey and spinach pinwheels are a delightful and healthy lunch option for kids. These wraps are packed with flavor, combining the savory taste of turkey with the freshness of spinach. Not only do they taste great, but they are also simple to prepare, making them perfect for busy parents.
These pinwheels are easy to customize. You can add other veggies or spreads to suit your child’s taste. Plus, they are fun to eat and easy to pack for school lunches or picnics. Let’s get started with the recipe!
Ingredients
- 4 large flour tortillas
- 8 ounces cream cheese, softened
- 8 ounces sliced turkey breast
- 2 cups fresh spinach leaves
- 1/2 cup shredded carrots
- 1/2 teaspoon garlic powder
Instructions
- Spread a layer of cream cheese evenly over each tortilla.
- Layer turkey slices on top of the cream cheese.
- Add spinach leaves and shredded carrots over the turkey.
- Sprinkle garlic powder evenly across the toppings.
- Starting from one edge, tightly roll the tortilla into a log shape.
- Slice the rolled tortilla into pinwheels, about 1 inch thick.
- Place pinwheels in a lunchbox or serve immediately for a tasty meal.
Homemade Sushi Rolls
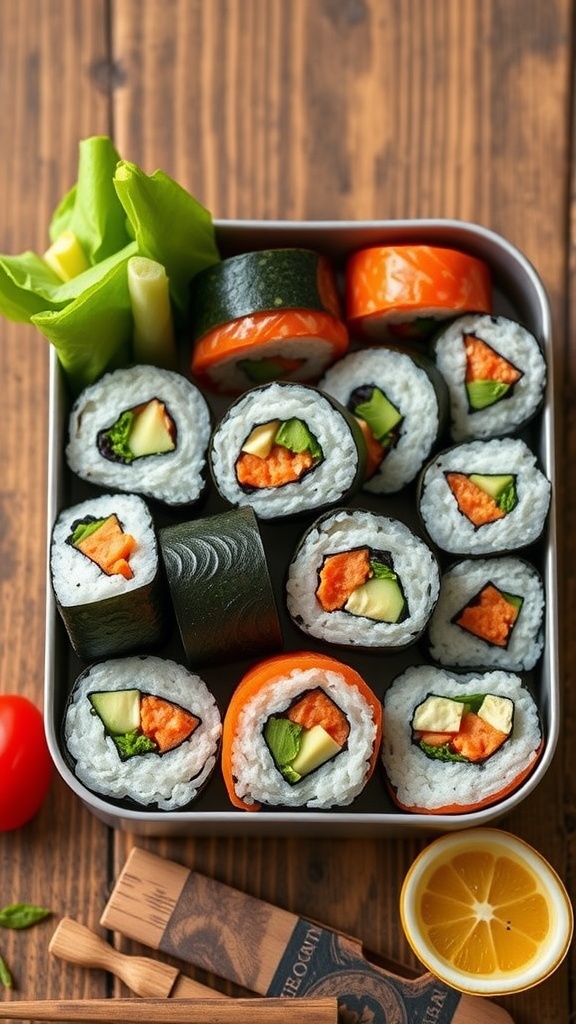
Homemade sushi rolls are a fun and tasty option for lunchboxes that kids will surely enjoy. They combine sticky rice with fresh veggies and proteins, all wrapped in seaweed, creating a delightful bite of flavor. Making sushi at home is easier than it sounds, and you can customize each roll to suit your child’s preferences.
The great thing about sushi rolls is their versatility. You can use a variety of fillings like cucumber, avocado, and cooked salmon or even pick your child’s favorite ingredients. They can be made quickly, making them a perfect lunchbox treat!
Ingredients
- 2 cups sushi rice
- 2 1/2 cups water
- 1/2 cup rice vinegar
- 2 tablespoons sugar
- 1 teaspoon salt
- 4 sheets of nori (seaweed)
- 1 small cucumber, julienned
- 1 avocado, sliced
- 1 small carrot, grated
- Cooked chicken or salmon (optional)
- Soy sauce for dipping
Instructions
- Rinse the sushi rice under cold water until the water runs clear. Combine the rice and water in a rice cooker or saucepan. Cook according to the rice cooker instructions or bring to a boil, then reduce the heat, cover, and simmer for about 18 minutes.
- While the rice cooks, mix rice vinegar, sugar, and salt in a small bowl until dissolved. Once the rice is cooked, transfer it to a large bowl and gently fold in the vinegar mixture. Allow it to cool.
- Place a sheet of nori on a bamboo sushi mat, shiny side down. With wet hands, spread a thin layer of rice over the nori, leaving about an inch at the top edge.
- Arrange your chosen fillings (cucumber, avocado, carrot, and protein) in a line across the rice, about halfway down the sheet.
- Using the bamboo mat, roll the sushi tightly away from you, pressing gently to keep the roll firm. Once rolled, use a sharp knife to slice into bite-sized pieces.
- Serve with soy sauce for dipping and enjoy!
Fruit and Cheese Skewers
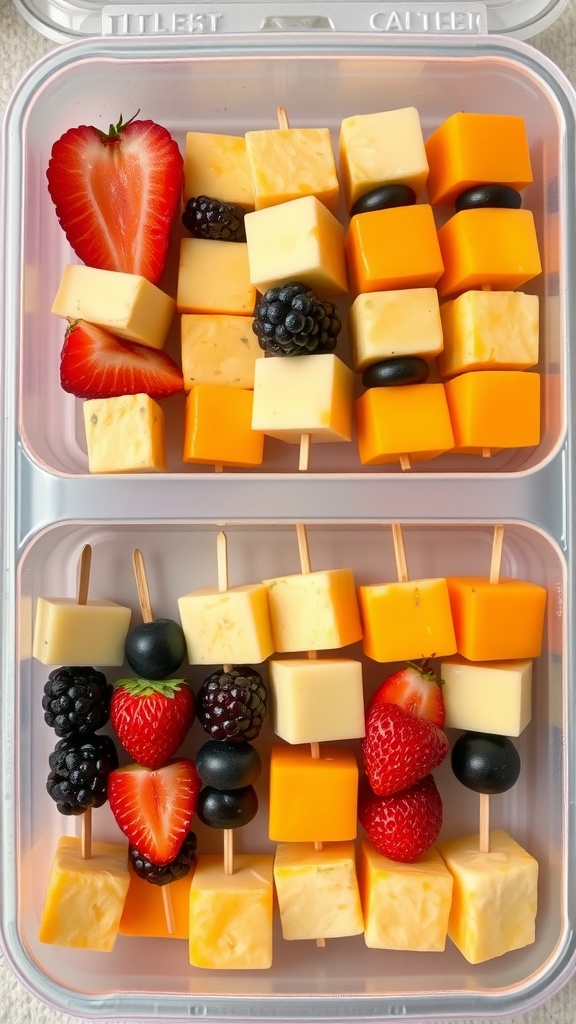
Fruit and cheese skewers are a fun and colorful way to mix flavors and textures that kids will love. These easy-to-make snacks are not only delicious but also visually appealing, making them perfect for lunchboxes or after-school treats. The combination of sweet fruits and savory cheese creates a delightful balance that can satisfy any craving.
Making these skewers is a breeze! Simply pick your favorite fruits and cheese cubes, and get ready to assemble. Whether it’s a quick snack at home or a packed lunch, these skewers are sure to please even the pickiest eaters.
Ingredients
- 1 cup strawberries, hulled
- 1 cup blackberries
- 1 cup cheddar cheese, cut into cubes
- 1 cup mozzarella cheese, cut into cubes
- 1 cup grapes
- Wooden or bamboo skewers
Instructions
- Begin by preparing the fruits and cheese, cutting them into appropriate sizes for skewering.
- Take a skewer and start threading the ingredients, alternating between cheese and fruit for a colorful presentation.
- Repeat until all the ingredients are used. Aim for a mix of flavors on each skewer.
- Pack the skewers in a lunchbox or serve immediately. Enjoy!
Greek Yogurt Parfait
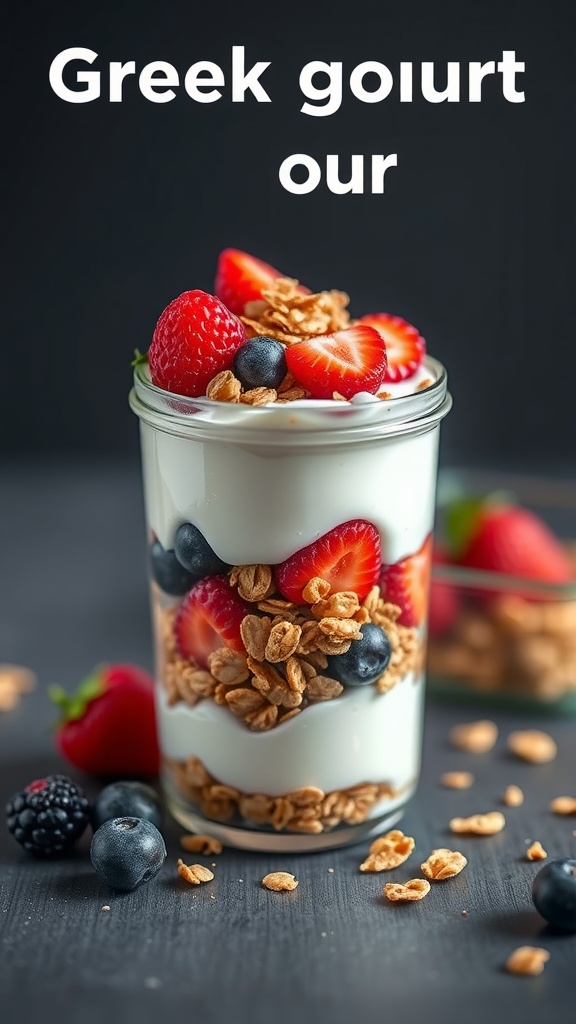
A Greek yogurt parfait is a delightful and nutritious option for kids’ lunchboxes. This simple recipe layers creamy Greek yogurt with fresh fruits and crunchy granola, creating a tasty treat that’s both satisfying and healthy. The sweetness of the fruit balances perfectly with the tang of the yogurt, making it a favorite among children.
Not only is it easy to whip up in just a few minutes, but it also encourages kids to enjoy their fruits and dairy. You can customize it with different fruits or toppings based on what your kids like best. It’s a fun way to mix and match flavors while ensuring they get a balanced meal.
Ingredients
- 2 cups Greek yogurt
- 1 cup mixed berries (strawberries, blueberries, blackberries)
- 1 cup granola
- Honey or maple syrup (optional)
Instructions
- In a glass or bowl, start by adding a layer of Greek yogurt at the bottom.
- Add a layer of mixed berries over the yogurt.
- Sprinkle a layer of granola on top of the berries.
- Repeat the layers until you reach the top of the glass.
- If desired, drizzle honey or maple syrup on top for added sweetness.
- Serve immediately, or cover and store in the fridge for later.
Baked Chicken Nuggets with Dipping Sauce

Baked chicken nuggets are a crowd-pleaser for kids and parents alike. These bite-sized treats are not only crispy on the outside, but they also stay juicy and tender inside, making them a perfect addition to any lunchbox. Plus, they are simple to make, requiring just a few ingredients and minimal prep time.
Pair these nuggets with your favorite dipping sauce for a fun twist. You can customize the flavors to match your child’s taste, whether they prefer ketchup, barbecue sauce, or honey mustard. These baked nuggets are a healthier alternative to fried options, ensuring that lunchtime is not just tasty but also nutritious!
Ingredients
- 1 pound chicken breast, cut into bite-sized pieces
- 1 cup breadcrumbs
- 1/2 cup grated Parmesan cheese
- 1 teaspoon garlic powder
- 1 teaspoon onion powder
- 1 teaspoon paprika
- Salt and pepper to taste
- 2 large eggs
- Cooking spray
Instructions
- Preheat the oven to 400°F (200°C) and line a baking sheet with parchment paper.
- In a bowl, mix breadcrumbs, Parmesan cheese, garlic powder, onion powder, paprika, salt, and pepper.
- Beat the eggs in another bowl. Dip each chicken piece into the eggs, then coat with the breadcrumb mixture.
- Arrange the coated chicken pieces on the prepared baking sheet and spray lightly with cooking spray.
- Bake for 15-20 minutes, or until the nuggets are golden brown and cooked through.
- Serve with your choice of dipping sauce.