12 Fun and Delicious Lunchbox Ideas Kids Will Love
Getting kids to enjoy their lunch can be a challenge, but with these 12 kid-approved lunchbox ideas, packing delicious and fun meals will be a breeze. Say goodbye to boring sandwiches and hello to tasty combinations that will keep your little ones excited about lunchtime!
Vegetable and Hummus Dippers
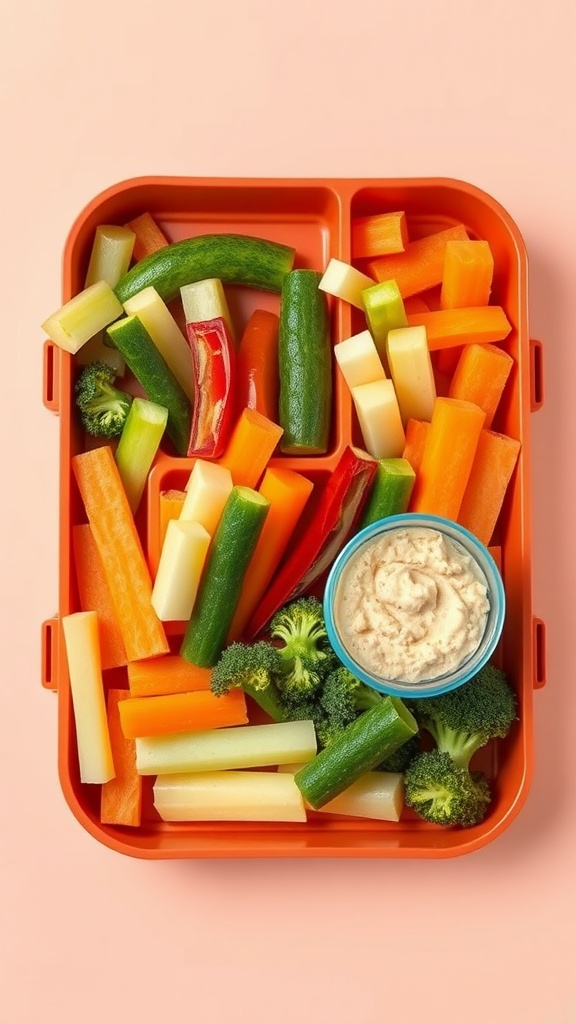
Vegetable and hummus dippers are a fun and healthy lunchbox option that kids absolutely love. This colorful mix of fresh veggies paired with creamy hummus is not only tasty but also packed with nutrients. The crisp texture of the veggies combined with the smoothness of the hummus creates a delightful contrast that makes lunchtime exciting.
Making these dippers is super easy and requires minimal prep time. Just chop up a variety of vegetables like carrots, cucumbers, bell peppers, and broccoli, then serve them with a side of hummus. This meal is a great way to encourage kids to eat their greens while keeping their lunch engaging and delicious.
Ingredients
- 1 cup carrots, cut into sticks
- 1 cup cucumber, sliced
- 1 cup bell peppers, sliced
- 1 cup broccoli florets
- 1 cup celery, cut into sticks
- 1 cup hummus (store-bought or homemade)
Instructions
- Prepare the Vegetables: Wash and cut the vegetables into fun, bite-sized pieces.
- Arrange: Place the cut veggies in a lunchbox or on a platter, creating a colorful display.
- Serve: Add a small bowl of hummus for dipping in the center of the lunchbox or platter.
- Enjoy: Pack it up and enjoy a healthy, tasty lunch!
Fruit and Yogurt Parfait
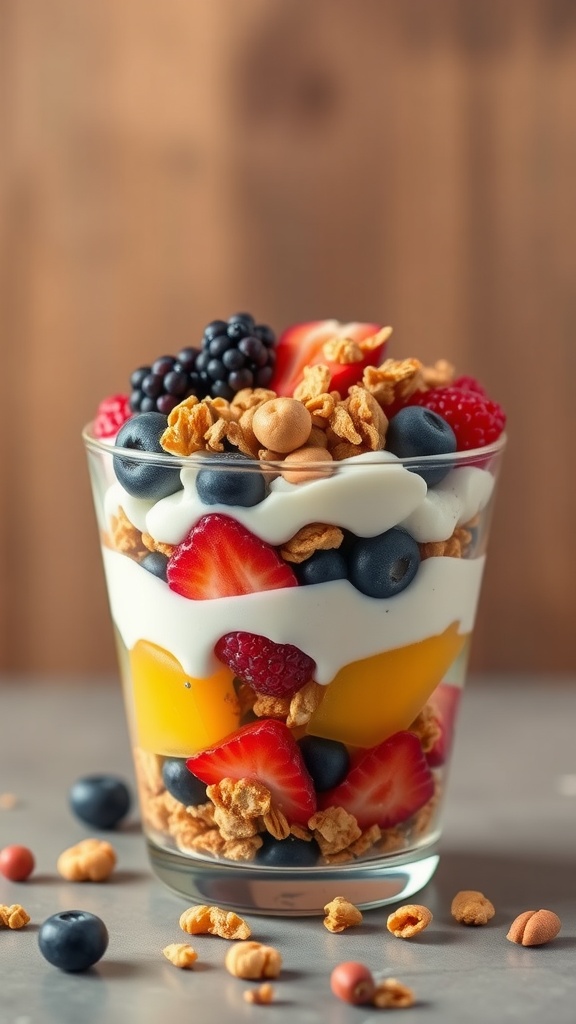
A fruit and yogurt parfait is a fun and tasty option for lunchboxes that kids will love. It’s a simple treat that layers creamy yogurt, fresh fruits, and crunchy granola, creating a delightful mix of textures and flavors. The sweetness of the fruit paired with the tangy yogurt makes each bite exciting and satisfying.
This recipe is not only quick to prepare but also allows for endless customization. Whether your kids prefer berries, bananas, or even a hint of honey, there’s a parfait for everyone!
Ingredients
- 2 cups yogurt (plain or flavored)
- 1 cup mixed berries (strawberries, blueberries, raspberries)
- 1 banana, sliced
- 1 cup granola
- Honey or maple syrup (optional, for added sweetness)
Instructions
- In a cup or bowl, add a layer of yogurt at the bottom.
- Add a layer of mixed berries and banana slices on top of the yogurt.
- Sprinkle a layer of granola over the fruit.
- Repeat the layers until you reach the top of the cup or bowl.
- If desired, drizzle with honey or maple syrup before serving.
Peanut Butter and Banana Sushi
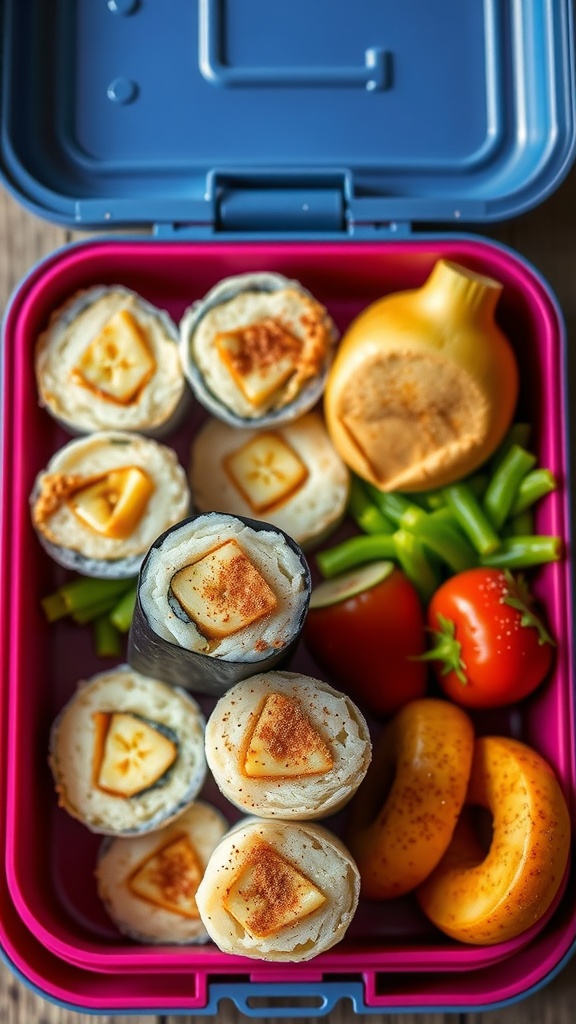
Peanut Butter and Banana Sushi is a fun and delicious twist on traditional sushi that kids absolutely love! This easy-to-make recipe combines the creamy goodness of peanut butter with the natural sweetness of bananas, all wrapped up in a soft tortilla. It’s sweet, satisfying, and offers a great balance of flavors that kids will enjoy for lunch or as a snack.
Making this dish is a breeze! Just spread, roll, and slice—easy enough for kids to help with in the kitchen. Not only is it tasty, but it also provides a nutritious boost, making it a perfect addition to any lunchbox.
Ingredients
- 2 large tortillas
- 4 tablespoons peanut butter
- 2 bananas, peeled
- 1 tablespoon honey (optional)
- 1/4 cup granola (optional)
Instructions
- Spread 2 tablespoons of peanut butter evenly on each tortilla.
- If using, drizzle honey over the peanut butter for added sweetness.
- Place a banana on one edge of each tortilla and sprinkle granola on top, if desired.
- Roll the tortilla tightly around the banana, starting from the edge where the banana is placed.
- Slice the rolled tortilla into bite-sized pieces to create sushi-like rounds.
- Pack in a lunchbox with some fruits or veggies for a balanced meal.
Caprese Skewers
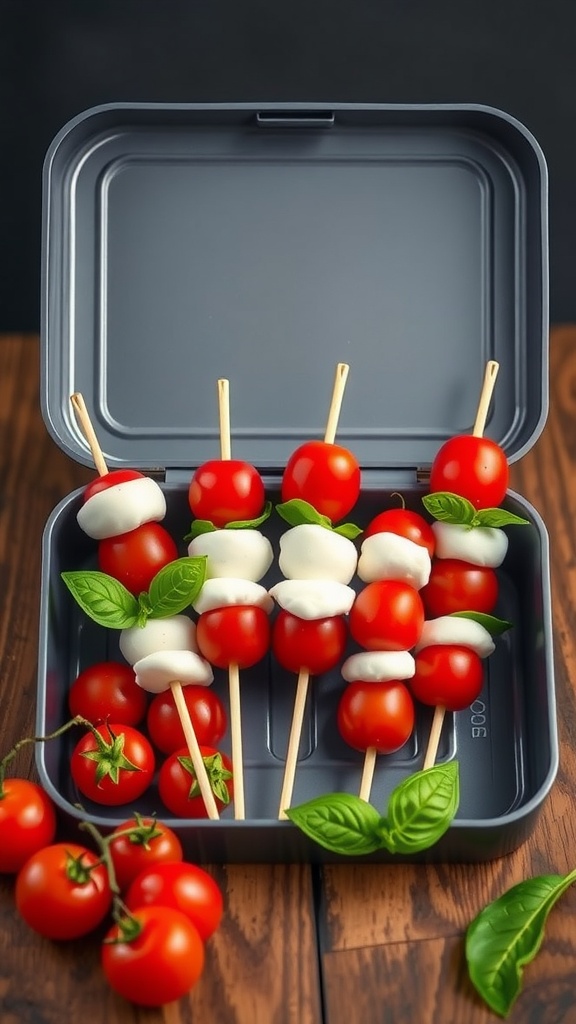
Caprese skewers are a fun and tasty way to pack a nutritious lunch. These simple bites combine juicy cherry tomatoes, creamy mozzarella balls, and fresh basil leaves, making for a delightful flavor explosion. They’re perfect for kids who enjoy finger foods and can be made in just a few minutes!
These skewers are not only visually appealing but also loaded with fresh ingredients that make lunchtime exciting. The combination of flavors brings a classic Italian dish right to your lunchbox, and best of all, they’re easy to prepare. Let’s get started with the recipe!
Ingredients
- 1 pint cherry tomatoes
- 8 oz mozzarella balls (bocconcini)
- Fresh basil leaves
- Balsamic glaze (optional)
- Salt and pepper to taste
- Skewers or toothpicks
Instructions
- Assemble the Skewers: On each skewer, alternate threading a cherry tomato, a mozzarella ball, and a basil leaf. Repeat until the skewer is filled, leaving space at the ends for easy handling.
- Season: Once all your skewers are assembled, drizzle with balsamic glaze if desired and sprinkle with a pinch of salt and pepper.
- Pack for Lunch: Place the skewers in a lunchbox, and you’re ready to go! They can be enjoyed cold or at room temperature.
DIY Mini Pita Pizzas
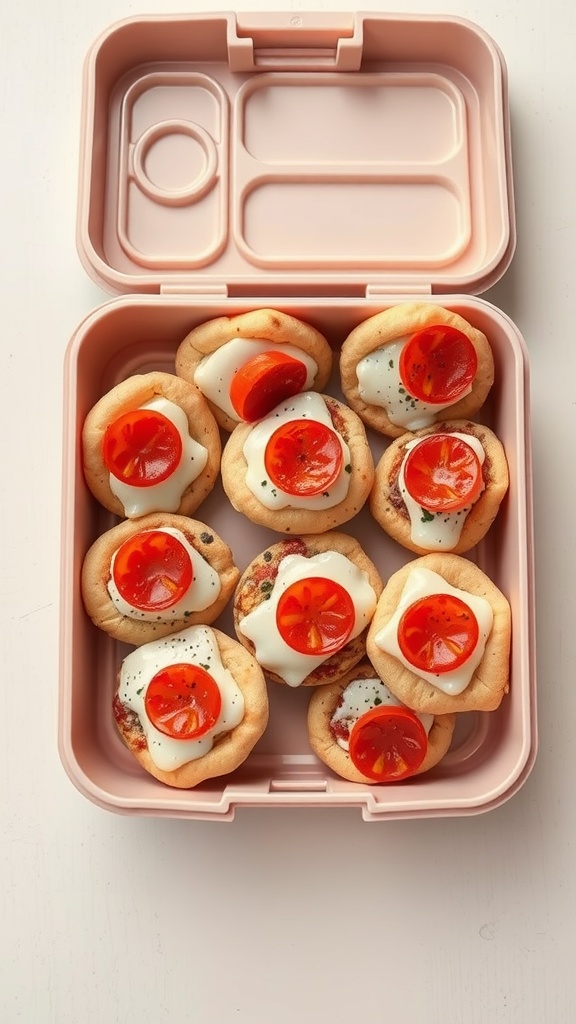
Mini pita pizzas are a fun and tasty way to make lunch exciting for kids. They’re easy to whip up and can be customized to suit different tastes, making them a hit in any lunchbox. The soft pita bread serves as a perfect base, while gooey cheese and fresh toppings bring a delightful flavor that kids will love.
These bite-sized pizzas are not only delicious but also quick to prepare. Whether for lunch or an after-school snack, they’re sure to please even the pickiest eaters. Get creative with toppings and let your kids join in on the fun!
Ingredients
- 4 mini whole wheat pitas
- 1 cup marinara sauce
- 1 cup shredded mozzarella cheese
- 1/2 cup sliced cherry tomatoes
- 1/4 cup sliced black olives (optional)
- 1 teaspoon dried oregano
- Salt and pepper to taste
Instructions
- Preheat the oven to 400°F (200°C).
- Lay the mini pitas on a baking sheet. Spread a tablespoon of marinara sauce on each pita.
- Sprinkle mozzarella cheese evenly over the sauce. Add sliced cherry tomatoes and olives, if using.
- Season with oregano, salt, and pepper to taste.
- Bake in the oven for 8-10 minutes, or until the cheese is bubbly and golden.
- Remove from the oven and let cool slightly before packing in lunchboxes.
Mini Turkey and Cheese Roll-Ups
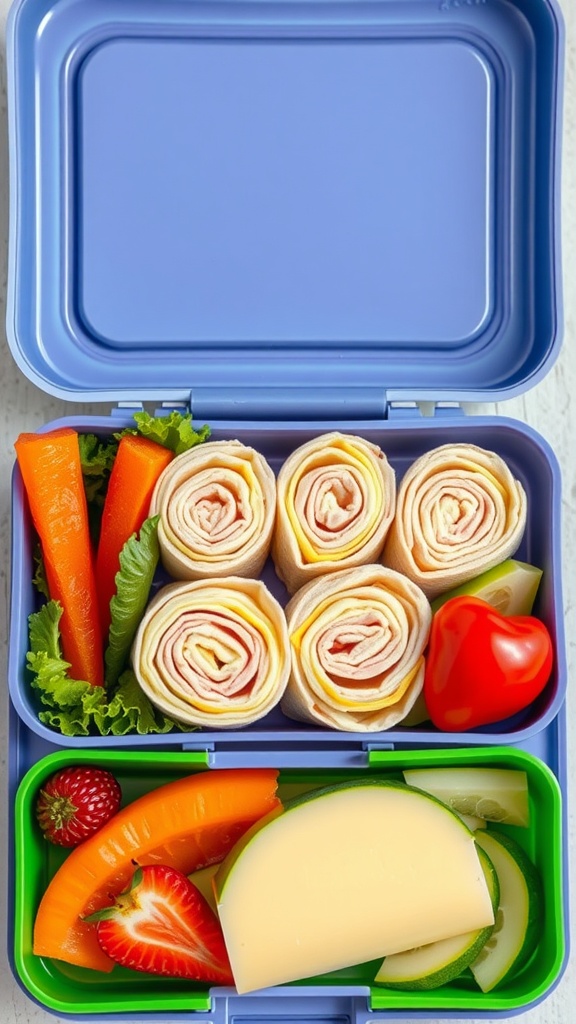
Mini turkey and cheese roll-ups are a fun and tasty lunch option that kids can’t resist. They are easy to make, packed with flavor, and perfect for little hands to hold. These roll-ups provide a delightful combination of savory turkey and creamy cheese, all wrapped in a soft tortilla. Plus, they can be made in no time, making them ideal for busy mornings!
These roll-ups can be customized with your child’s favorite ingredients. Add in some crunchy veggies or a smear of their favorite sauce for an extra kick. Whether as a snack or a main lunch item, these roll-ups are sure to be a hit!
Ingredients
- 4 large flour tortillas
- 8 slices of turkey breast
- 4 slices of cheese (cheddar, swiss, or your choice)
- 1/2 cup lettuce, shredded
- 1/2 cup bell peppers, sliced
- 1/4 cup ranch dressing (optional)
Instructions
- Lay each tortilla flat on a clean surface. Spread a thin layer of ranch dressing over each tortilla, if using.
- Place two slices of turkey on each tortilla, followed by a slice of cheese and a handful of shredded lettuce.
- Add sliced bell peppers on top of the cheese for added crunch.
- Starting from one end, roll the tortilla tightly until you reach the other end. Slice each roll into bite-sized pieces.
- Pack them in a lunchbox with some fresh fruits and veggies for a well-rounded meal!
Taco Salad in a Jar
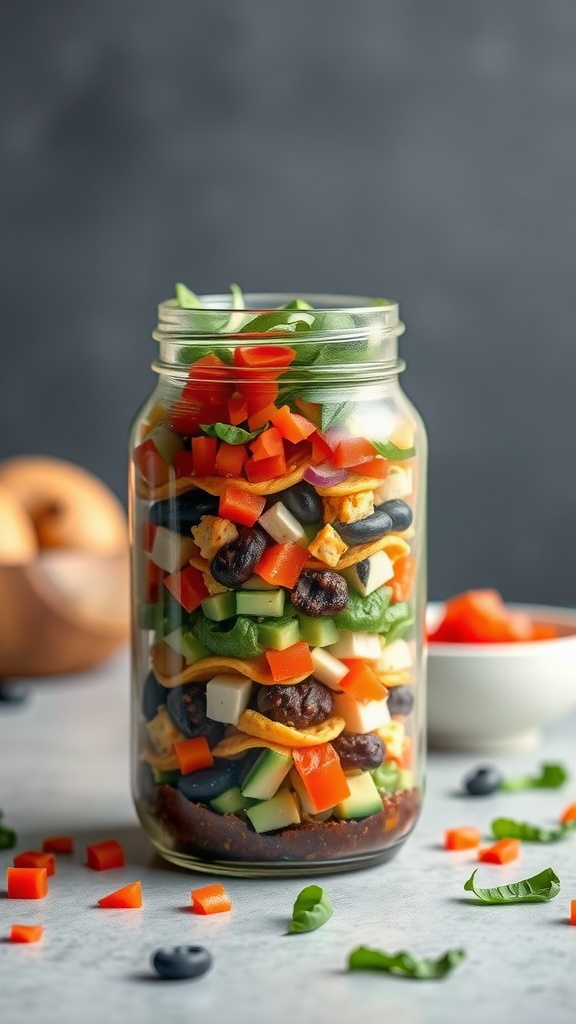
Taco Salad in a Jar is a tasty and fun way to enjoy lunch. This layered salad combines fresh veggies, beans, and crunchy toppings, all tossed in a zesty dressing. It’s a delicious mix of flavors that kids will love, making it a perfect addition to lunchboxes.
Not only is this recipe quick and easy to prepare, but it also allows for creativity. Kids can personalize their jars with their favorite ingredients, which makes lunchtime exciting! Plus, the layers not only look appealing but also keep the salad fresh until it’s time to eat.
Ingredients
- 1 cup black beans, rinsed and drained
- 1 cup corn, canned or frozen
- 1 cup cherry tomatoes, halved
- 1 cup diced bell peppers (any color)
- 1 cup chopped cucumber
- 1 cup shredded lettuce
- 1/2 cup cheese (cheddar or pepper jack)
- 1/2 cup tortilla chips, crushed
- 1/4 cup salsa
- 1/4 cup ranch dressing
Instructions
- Start by layering the ingredients in a jar. Begin with the black beans at the bottom for a strong base.
- Add layers of corn, cherry tomatoes, and diced bell peppers, pressing down gently after each addition.
- Next, layer the chopped cucumber and shredded lettuce, followed by the cheese.
- Top with crushed tortilla chips for crunch and drizzle salsa and ranch dressing on top.
- Seal the jar and store in the fridge until ready to eat. Shake well to combine the flavors before serving.
Cheesy Quesadilla Wedges
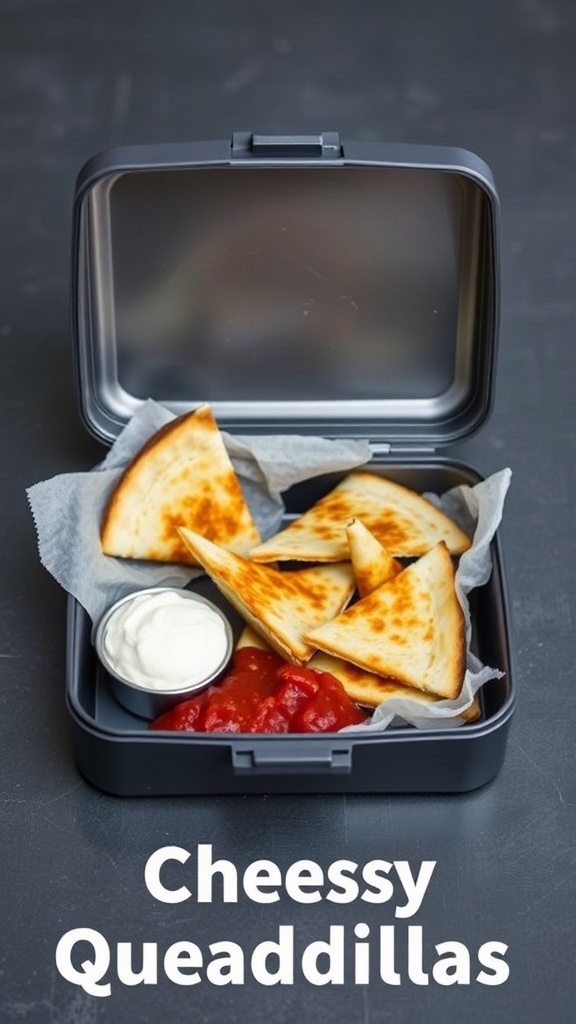
Cheesy quesadilla wedges are the perfect lunchbox treat that kids adore. They’re warm, gooey, and packed with flavor, making lunchtime something to look forward to. Plus, they are super easy to whip up, requiring just a few simple ingredients and minimal cooking time!
These quesadillas are crispy on the outside and filled with melted cheese on the inside. You can customize them with additional fillings like chicken, beans, or veggies to suit your child’s taste. Serve them with salsa or sour cream for dipping, and you have a meal that’s sure to please!
Ingredients
- 4 flour tortillas
- 2 cups shredded cheese (cheddar, mozzarella, or a mix)
- 1 tablespoon olive oil or butter
- Salsa or sour cream for dipping
Instructions
- Heat a large skillet over medium heat and add olive oil or butter.
- Place one tortilla in the skillet and sprinkle half of the cheese evenly over it. Top with another tortilla.
- Cook for about 2-3 minutes on each side until golden brown and the cheese has melted.
- Remove from the skillet and let it cool slightly before cutting into wedges.
- Serve with salsa or sour cream on the side.
Rainbow Veggie Wraps
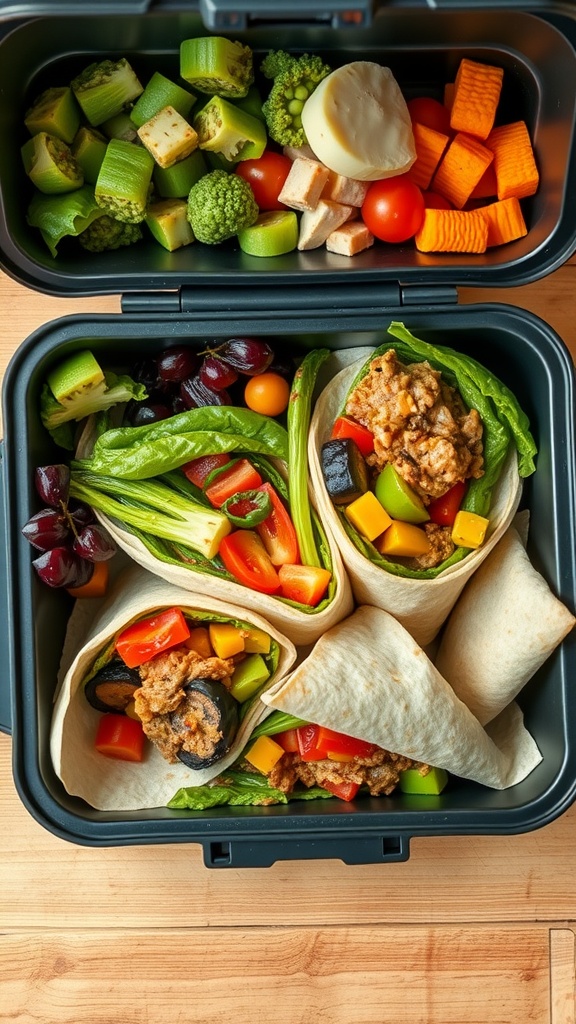
Rainbow Veggie Wraps are a fun and colorful way to pack a nutritious lunch that kids will love. With a mix of fresh vegetables and tasty fillings, these wraps are not only visually appealing but also delicious and satisfying. They’re simple to make, perfect for little hands to help with, and can be customized based on what veggies are in season or what your kids enjoy!
This recipe is all about layering vibrant ingredients to create a wrap that’s both healthy and tasty. Kids can enjoy the crunch of fresh veggies combined with creamy spreads or proteins, making lunchtime exciting. Plus, they’re great for meal prep and can be made ahead of time!
Ingredients
- 4 large flour tortillas
- 1 cup hummus or cream cheese
- 1 cup mixed bell peppers, sliced
- 1 cup cucumber, thinly sliced
- 1 cup shredded carrots
- 1 cup baby spinach or lettuce
- 1/2 cup shredded cheese (optional)
- Salt and pepper to taste
Instructions
- Spread a layer of hummus or cream cheese evenly over each tortilla.
- Layer the sliced bell peppers, cucumber, shredded carrots, and spinach on top of the spread.
- If using, sprinkle shredded cheese over the veggies and season with salt and pepper.
- Carefully roll each tortilla tightly, starting from one end to the other.
- Slice each wrap into bite-sized pieces or halves, and pack them into lunch boxes!
Homemade Pizza Muffins
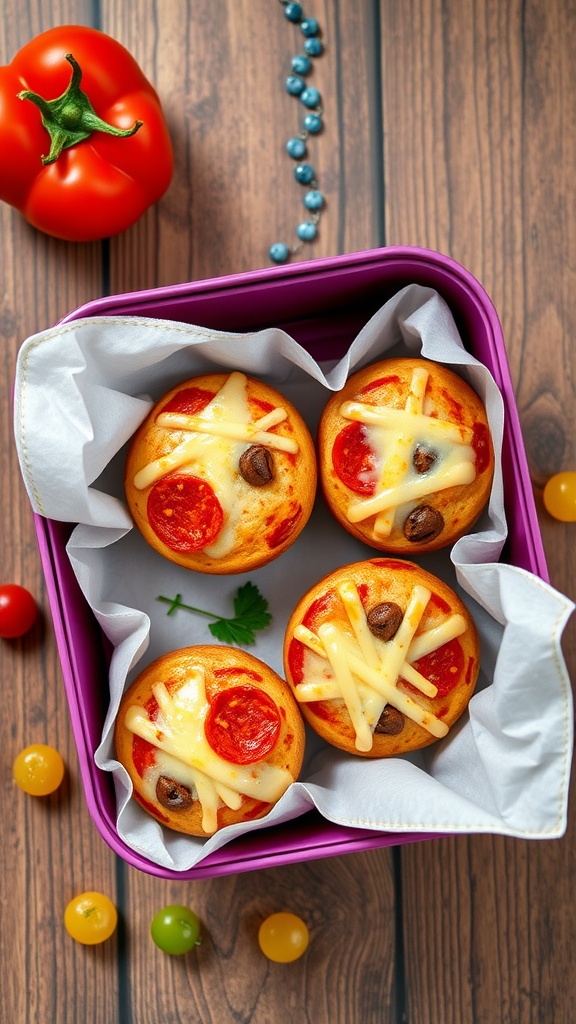
Homemade pizza muffins are a fun and tasty twist on traditional pizza, making them a perfect addition to any lunchbox. These bite-sized treats are packed with flavors kids love, like cheese, pepperoni, and a hint of Italian herbs, all wrapped up in a soft muffin base. They are easy to prepare and can even be customized to fit your child’s taste preferences!
Not only are these muffins delicious, but they’re also a great way to sneak in some veggies. You can add bell peppers, mushrooms, or even spinach for extra nutrition. Plus, they’re perfect for meal prep and can be enjoyed warm or cold, making them a versatile lunch option.
Ingredients
- 1 ½ cups all-purpose flour
- 2 teaspoons baking powder
- ½ teaspoon salt
- 1 teaspoon Italian seasoning
- 1 cup shredded mozzarella cheese
- ½ cup diced pepperoni
- 2 large eggs
- ½ cup milk
- ¼ cup olive oil
- ½ cup pizza sauce (for dipping)
Instructions
- Preheat your oven to 375°F (190°C) and grease a muffin tin.
- In a large bowl, mix together the flour, baking powder, salt, and Italian seasoning.
- Add the shredded mozzarella and diced pepperoni to the dry ingredients, stirring until evenly coated.
- In another bowl, whisk together the eggs, milk, and olive oil.
- Pour the wet ingredients into the dry mixture and stir until just combined. Don’t overmix!
- Scoop the batter into the prepared muffin tin, filling each cup about ¾ full.
- Bake for 15-18 minutes or until the tops are golden and a toothpick comes out clean.
- Let them cool slightly before serving with pizza sauce for dipping.
Sliced Apples with Nut Butter
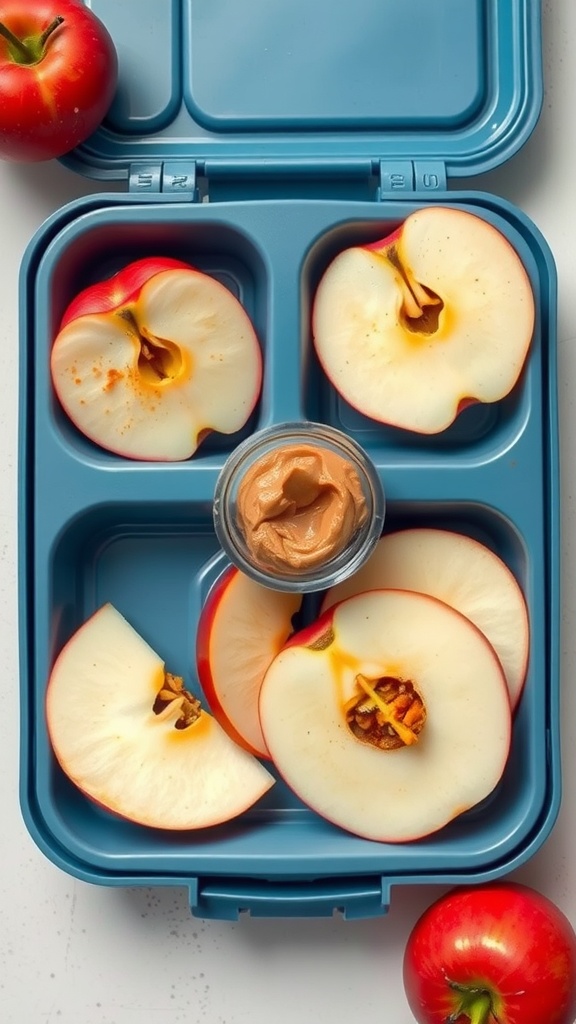
Sliced apples with nut butter is a snack that combines crunchy, sweet apple slices with creamy, rich nut butter. This delicious combo is not only satisfying but also packed with nutrients, making it a perfect option for kids’ lunchboxes. It’s super simple to prepare, requiring no cooking, just slicing and spreading!
The crispness of the apple pairs wonderfully with the nutty flavor of almond or peanut butter, making it hard to resist. Kids will love the taste, and parents will appreciate the healthy benefits. Plus, it’s easy to customize: try adding a sprinkle of cinnamon or a drizzle of honey for extra flavor!
Ingredients
- 2 medium apples (any variety)
- 1/4 cup nut butter (peanut, almond, or cashew)
- Cinnamon (optional)
- Honey (optional)
Instructions
- Wash and dry the apples thoroughly.
- Core the apples and slice them into wedges or rounds.
- Arrange the apple slices on a plate or in a lunchbox.
- In a small container, add the nut butter for dipping.
- If desired, sprinkle cinnamon on the apple slices or drizzle honey over the nut butter.
Chocolate-Dipped Rice Cakes
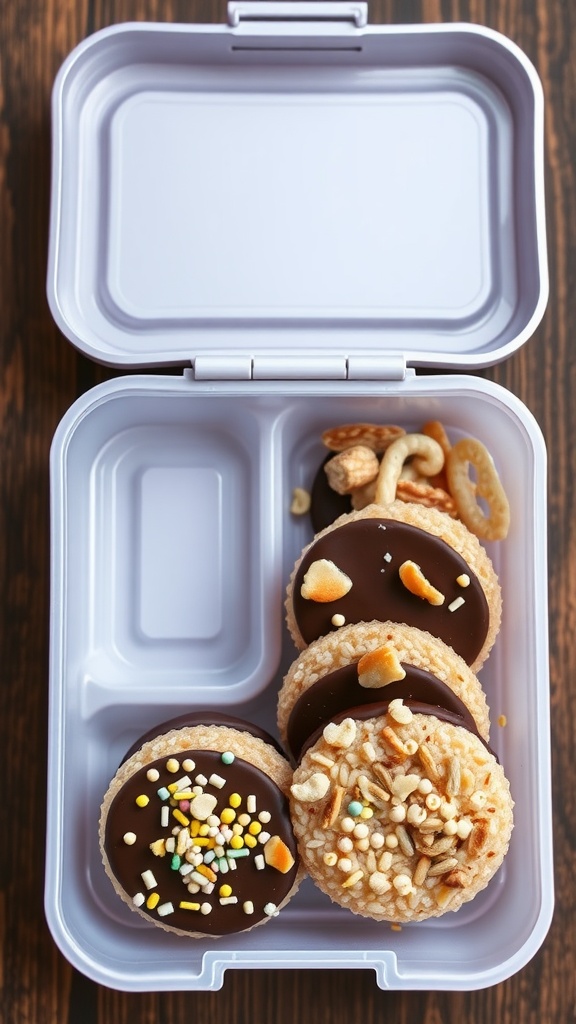
Chocolate-dipped rice cakes are a delightful treat that kids will love in their lunchboxes. With a crunchy texture and a rich chocolate coating, these snacks deliver a satisfying combination of sweet and salty flavors. They are also incredibly simple to make, making them a go-to option for busy parents.
These treats can easily be customized with various toppings, ensuring that every bite is unique. From colorful sprinkles to crushed nuts, there’s plenty of room for creativity. Plus, they are perfect for picky eaters, as the rice cakes provide a neutral base that pairs well with the chocolate. Give these a try for a fun and tasty addition to your child’s lunch!
Ingredients
- 4-6 rice cakes
- 1 cup semi-sweet chocolate chips
- 2 tablespoons coconut oil (optional, for smoother melting)
- Toppings of your choice (sprinkles, crushed nuts, or coconut flakes)
Instructions
- Melt the Chocolate: In a microwave-safe bowl, combine the chocolate chips and coconut oil. Heat in 30-second intervals, stirring in between, until fully melted and smooth.
- Dip Rice Cakes: Hold each rice cake by the edge and dip one side into the melted chocolate. Allow excess chocolate to drip off.
- Add Toppings: Immediately sprinkle your choice of toppings over the chocolate before it sets.
- Set and Enjoy: Place the dipped rice cakes on a parchment-lined tray and let them cool until the chocolate hardens. Store in an airtight container or pack them into lunchboxes!