13 Quick and Easy Lunchbox Ideas for Busy Teens
Finding quick and easy lunch ideas for teens can be a challenge, especially when time is tight in the mornings. Here are 13 lunchbox ideas that are simple to prepare, delicious, and sure to keep your teen fueled throughout the day. From wraps to bento-style meals, these suggestions will make lunchtime a breeze!
Wrap It Up with Hummus and Veggies
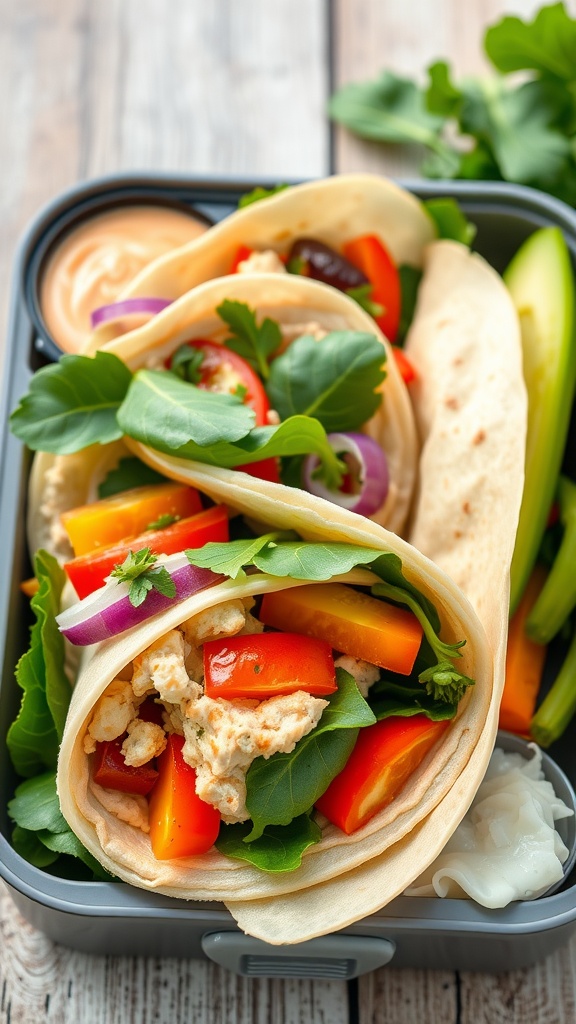
This hummus and veggie wrap is a tasty and nutritious option that’s perfect for lunchboxes. It has a delightful crunch from fresh veggies and a creamy texture from the hummus, making every bite satisfying. Plus, it’s super easy to whip up, which is great for busy mornings.
Pack it with colorful bell peppers, crisp cucumbers, and leafy greens to boost its freshness. Not only is it delicious, but it’s also a great way to sneak in those essential nutrients. Perfect for teens on the go!
Ingredients
- 1 large tortilla or wrap
- 1/2 cup hummus
- 1/2 cup chopped bell peppers (any color)
- 1/2 cup cucumber, sliced
- 1/2 cup fresh spinach or mixed greens
- 1/4 cup red onion, thinly sliced
- Salt and pepper to taste
Instructions
- Spread the hummus evenly over the tortilla.
- Layer the chopped bell peppers, cucumber, spinach, and red onion on top of the hummus.
- Season with salt and pepper according to your taste.
- Carefully roll the tortilla tightly, starting from one end and rolling to the other.
- Slice the wrap in half and pack it for lunch!
Fruit and Nut Energy Bites
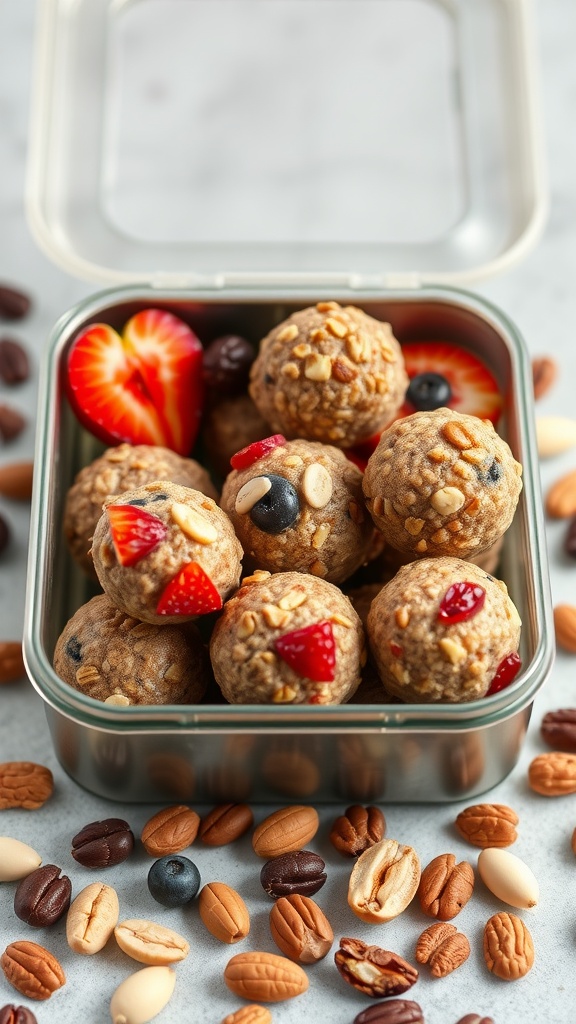
Fruit and nut energy bites are a fantastic, bite-sized snack that’s perfect for busy teens. They have a nice balance of sweetness from the dried fruits and a satisfying crunch from the nuts. These little treats are not only delicious but also super easy to make, making them ideal for lunchboxes or after-school munching.
With just a few ingredients, you can whip up a batch in no time. These energy bites provide a boost of energy and can keep hunger at bay during the school day. They’re also customizable, so you can mix and match your favorite nuts and fruits!
Ingredients
- 1 cup rolled oats
- 1/2 cup nut butter (like almond or peanut butter)
- 1/3 cup honey or maple syrup
- 1/2 cup mixed nuts, chopped
- 1/2 cup dried fruits (like cranberries or raisins)
- 1/2 teaspoon vanilla extract
- A pinch of salt
Instructions
- Mix Ingredients: In a large bowl, combine rolled oats, nut butter, honey or maple syrup, chopped nuts, dried fruits, vanilla extract, and salt. Stir until everything is well combined.
- Form Balls: Using your hands, take small portions of the mixture and roll them into bite-sized balls. Place them on a baking sheet lined with parchment paper.
- Chill: Refrigerate the energy bites for at least 30 minutes to help them firm up.
- Store: Once chilled, store the energy bites in an airtight container in the fridge for up to a week.
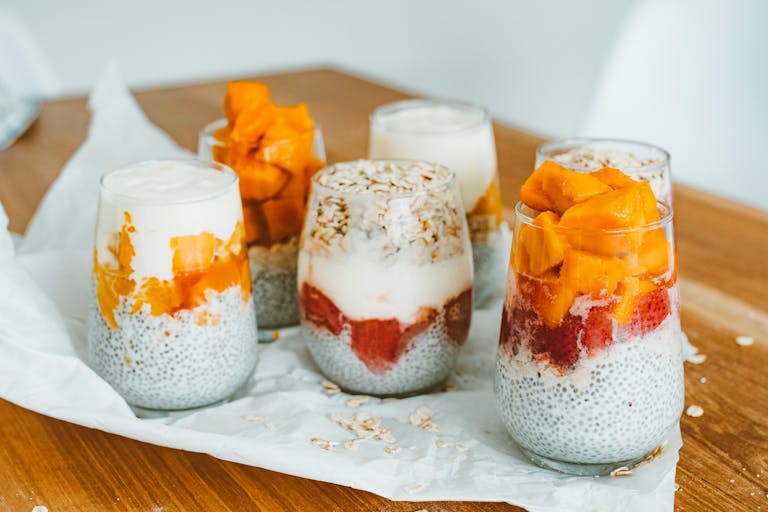
Yogurt Parfait with Granola
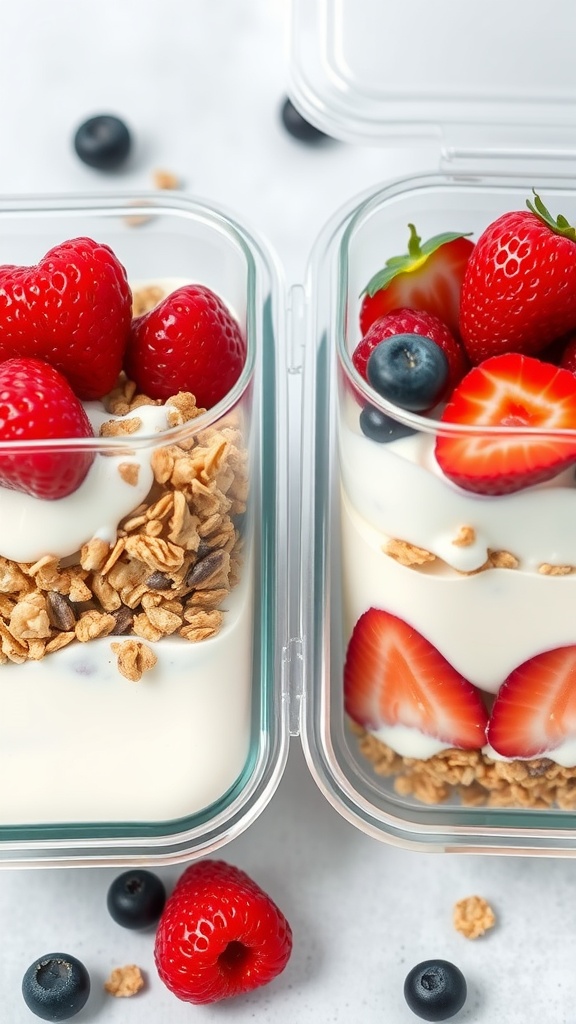
This yogurt parfait is a tasty and nutritious option for lunchboxes. It combines creamy yogurt, crunchy granola, and fresh berries, creating a delightful mix of flavors and textures. Not only is it easy to prepare, but it also packs a healthy punch, making it perfect for busy teens.
Making a yogurt parfait is simple and quick. Just layer your favorite yogurt with granola and a variety of fruits in a container. It’s a satisfying meal that keeps well, so you can easily prepare it in advance. Plus, it looks great when served in a clear container!
Ingredients
- 2 cups of Greek yogurt
- 1 cup of granola
- 1 cup of mixed berries (strawberries, blueberries, raspberries)
- 1 tablespoon of honey (optional)
- 1 teaspoon of vanilla extract (optional)
Instructions
- In a bowl, mix the Greek yogurt with honey and vanilla extract if desired for added flavor.
- In a clear container, layer one cup of yogurt at the bottom.
- Add half a cup of granola on top of the yogurt.
- Layer half of the mixed berries over the granola.
- Repeat the layers with the remaining yogurt, granola, and berries.
- Seal the container and refrigerate until ready to eat. Enjoy your healthy yogurt parfait!
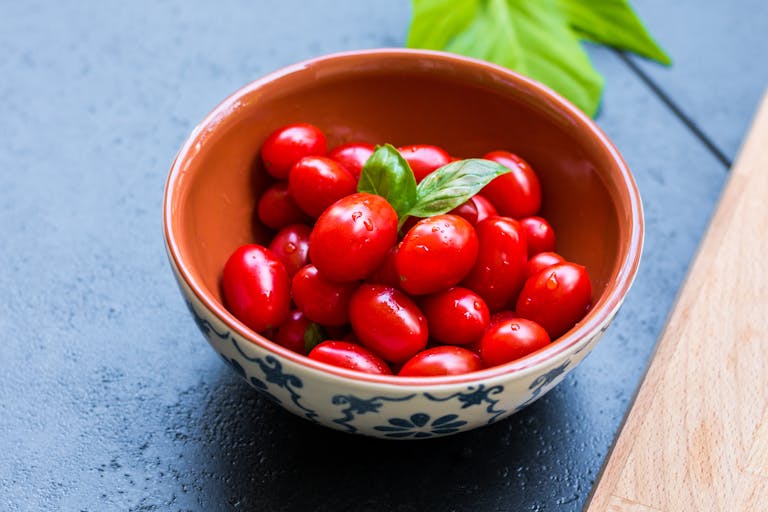
Pasta Salad with Veggies
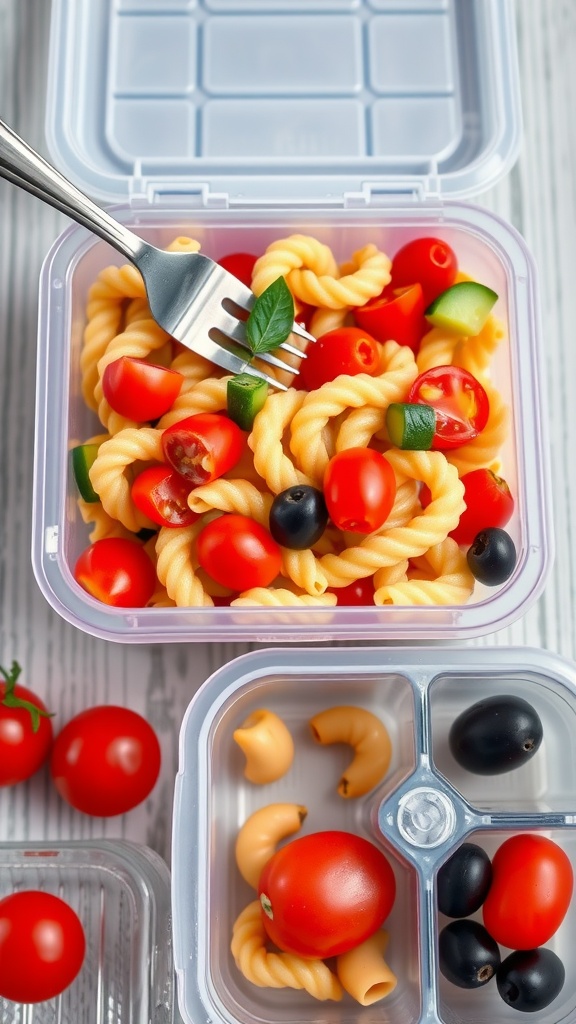
Pasta salad with veggies is a fun and easy option for lunchboxes. It combines the satisfying texture of pasta with the crunch of fresh vegetables, making it not only delicious but also colorful and appealing. This dish is perfect for teens who need something quick yet nutritious.
Preparing this pasta salad is straightforward and can be done in under 30 minutes. You can customize it with your favorite veggies, making it a versatile choice for any palate. Toss it together with a light dressing, and it’s ready to go!
Ingredients
- 2 cups rotini pasta
- 1 cup cherry tomatoes, halved
- 1 cup cucumber, diced
- 1/2 cup black olives, sliced
- 1/4 cup bell pepper, diced
- 1/4 cup olive oil
- 2 tablespoons vinegar (red wine or balsamic)
- 1 teaspoon garlic powder
- Salt and pepper to taste
- Fresh basil leaves for garnish (optional)
Instructions
- Cook the Pasta: In a large pot, bring salted water to a boil. Add the rotini pasta and cook according to package instructions until al dente. Drain and let it cool.
- Prepare the Veggies: While the pasta is cooling, chop the cherry tomatoes, cucumber, bell pepper, and slice the olives.
- Toss it Together: In a large bowl, combine the cooled pasta and chopped veggies. Add olive oil, vinegar, garlic powder, salt, and pepper. Mix well.
- Chill and Serve: Let the salad sit in the refrigerator for at least 15 minutes to allow the flavors to meld. Garnish with fresh basil before serving.
Quinoa Salad with Grilled Chicken
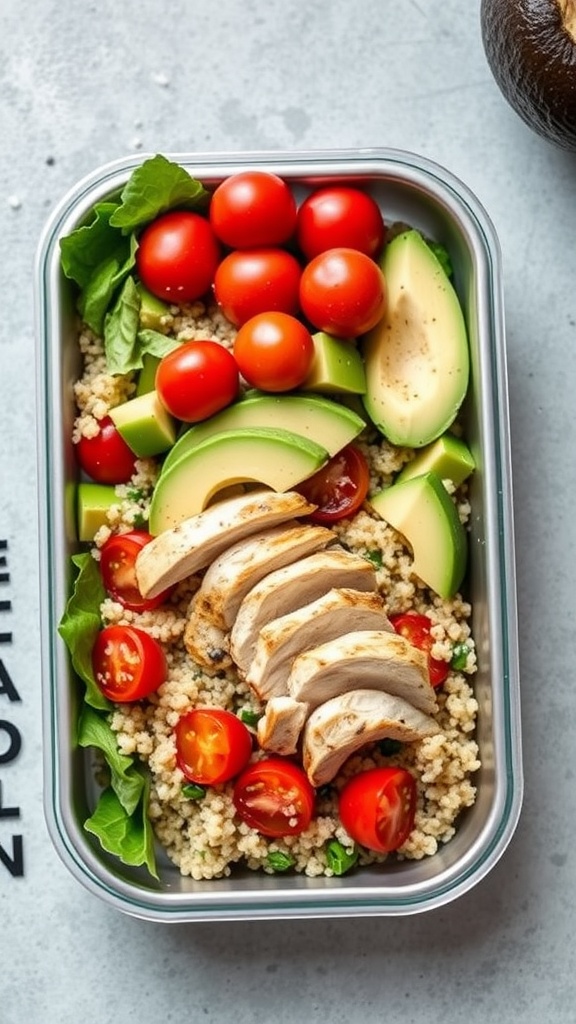
This quinoa salad with grilled chicken is a tasty and wholesome lunch option that’s super easy to whip up. Packed with protein from the chicken and fiber from the quinoa and veggies, it’s both filling and nutritious. The combination of fresh ingredients leaves a refreshing taste that’s perfect for a busy school day.
What’s great about this salad is how customizable it is. You can throw in your favorite veggies and dress it up with your preferred dressing. It keeps well in the fridge, making it a perfect meal prep choice for teens on the go.
Ingredients
- 1 cup quinoa
- 2 cups water or chicken broth
- 1 pound grilled chicken breast, sliced
- 1 cup cherry tomatoes, halved
- 1 avocado, sliced
- 1 cucumber, diced
- 2 cups spinach or mixed greens
- 2 tablespoons olive oil
- 1 tablespoon lemon juice
- Salt and pepper to taste
Instructions
- Cook the Quinoa: Rinse quinoa under cold water. In a pot, combine quinoa and water (or chicken broth). Bring to a boil, then reduce heat to low, cover, and simmer for about 15 minutes or until the quinoa is fluffy and water is absorbed.
- Prep the Chicken: While the quinoa cooks, grill the chicken breast until fully cooked. Let it rest before slicing.
- Assemble the Salad: In a large bowl, combine cooked quinoa, cherry tomatoes, avocado, cucumber, and spinach. Toss gently to combine.
- Add Dressing: Drizzle olive oil and lemon juice over the salad. Season with salt and pepper, then toss again to coat.
- Top with Chicken: Serve the salad topped with sliced grilled chicken. Enjoy your nutritious meal!
Mini Tacos with Salsa
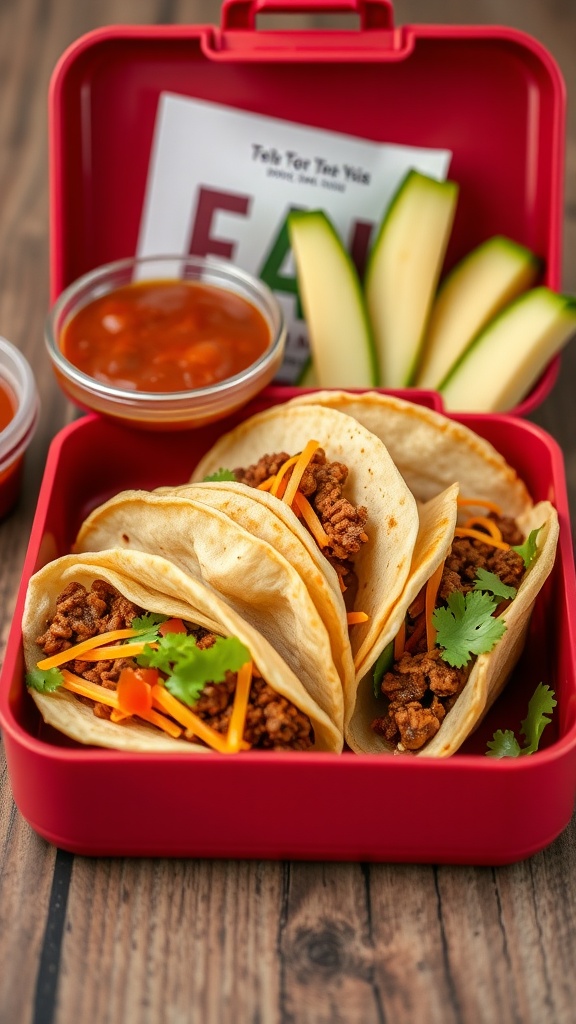
Mini tacos are a fun and flavorful way to spice up lunchtime! These bite-sized delights are packed with seasoned meat, cheese, and fresh veggies, making them both tasty and satisfying. They’re easy to prepare, ensuring that you can whip them up quickly for a packed lunch that feels special.
The combination of a soft tortilla with savory filling and a splash of salsa creates a delicious bite that will keep your teen looking forward to lunchtime. Plus, they can be customized with favorite toppings like shredded cheese, sour cream, or guacamole, making them versatile and appealing to picky eaters.
Ingredients
- 1 pound ground beef or turkey
- 1 packet taco seasoning
- 12 mini flour tortillas
- 1 cup shredded cheese (cheddar or Mexican blend)
- 1/2 cup diced tomatoes
- 1/4 cup chopped onions
- 1/4 cup fresh cilantro, chopped
- Salsa for dipping
Instructions
- Cook the Meat: In a skillet over medium heat, brown the ground meat until fully cooked. Drain any excess fat. Stir in the taco seasoning and follow the packet instructions, usually adding water and simmering until thickened.
- Prepare the Tacos: Warm the mini tortillas in a dry skillet or microwave for a few seconds until soft. Spoon the seasoned meat onto each tortilla.
- Add Toppings: Sprinkle shredded cheese, diced tomatoes, onions, and cilantro over the meat.
- Pack for Lunch: Place the mini tacos in a lunchbox and include a small container of salsa for dipping. They can be enjoyed cold or warmed up!
DIY Pizza Lunchables
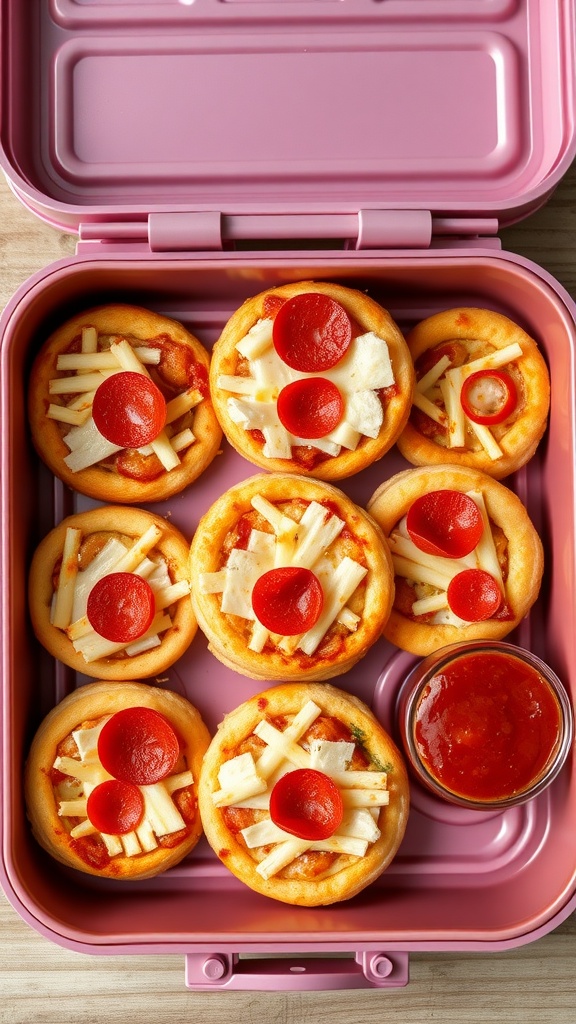
DIY Pizza Lunchables are a fun and tasty way to enjoy pizza on the go! Perfect for teens, these mini pizzas are packed with flavor and easy to customize. Kids can assemble their own pizzas, choosing their favorite toppings and enjoying a personal touch to their lunch.
This recipe is simple to make and can be prepped in no time. Each bite is a delightful mix of soft dough, savory sauce, and gooey cheese, topped with pepperoni or any favorite ingredients. It’s a perfect combination that keeps lunch exciting!
Ingredients
- 1 package refrigerated biscuit dough
- 1 cup pizza sauce
- 1 ½ cups mozzarella cheese, shredded
- 1 cup pepperoni slices
- 1 teaspoon Italian seasoning (optional)
- 1 tablespoon olive oil (for brushing)
Instructions
- Preheat your oven to 375°F (190°C). Line a baking sheet with parchment paper.
- Separate the biscuit dough into individual pieces and flatten each one into a small circle.
- Place the flattened dough onto the prepared baking sheet. Brush with olive oil and sprinkle Italian seasoning if desired.
- Spread a spoonful of pizza sauce on each dough circle, leaving a small border around the edges.
- Top with shredded mozzarella cheese and add pepperoni slices on top.
- Bake for about 12-15 minutes, or until the edges are golden brown and the cheese is bubbly.
- Let cool slightly before packing into lunch boxes. Include a small container of extra pizza sauce for dipping!
Cheese and Crackers Platter

A cheese and crackers platter is a quick and tasty lunchbox idea that’s sure to please any teen. It’s a delightful mix of flavors and textures that makes lunchtime fun. You can easily customize it with different cheeses, crackers, and fruits, giving your teen plenty of options to enjoy.
This platter is not only simple to assemble, but it also offers a balanced snack, combining protein from the cheese with the crunch of the crackers and the sweetness of fresh fruit. Perfect for busy days, it’s a hassle-free choice that keeps well in a lunchbox!
Ingredients
- 1 cup assorted cheeses (cheddar, mozzarella, or brie)
- 1 box of whole grain crackers
- 1 cup of mixed grapes (green and red)
- 1/2 cup of sliced apple or pear
- 1/4 cup of cream cheese or herbed cheese spread
Instructions
- Prepare the Ingredients: Slice the cheeses into bite-sized pieces and wash the grapes and fruit.
- Assemble the Platter: In a lunchbox or a plate, arrange the cheese slices, crackers, grapes, and fruit neatly for a visually appealing presentation.
- Add the Cheese Spread: Place a dollop of cream cheese or herbed cheese in the center for easy spreading.
- Pack It Up: Cover the lunchbox and your cheese and crackers platter is ready to go!
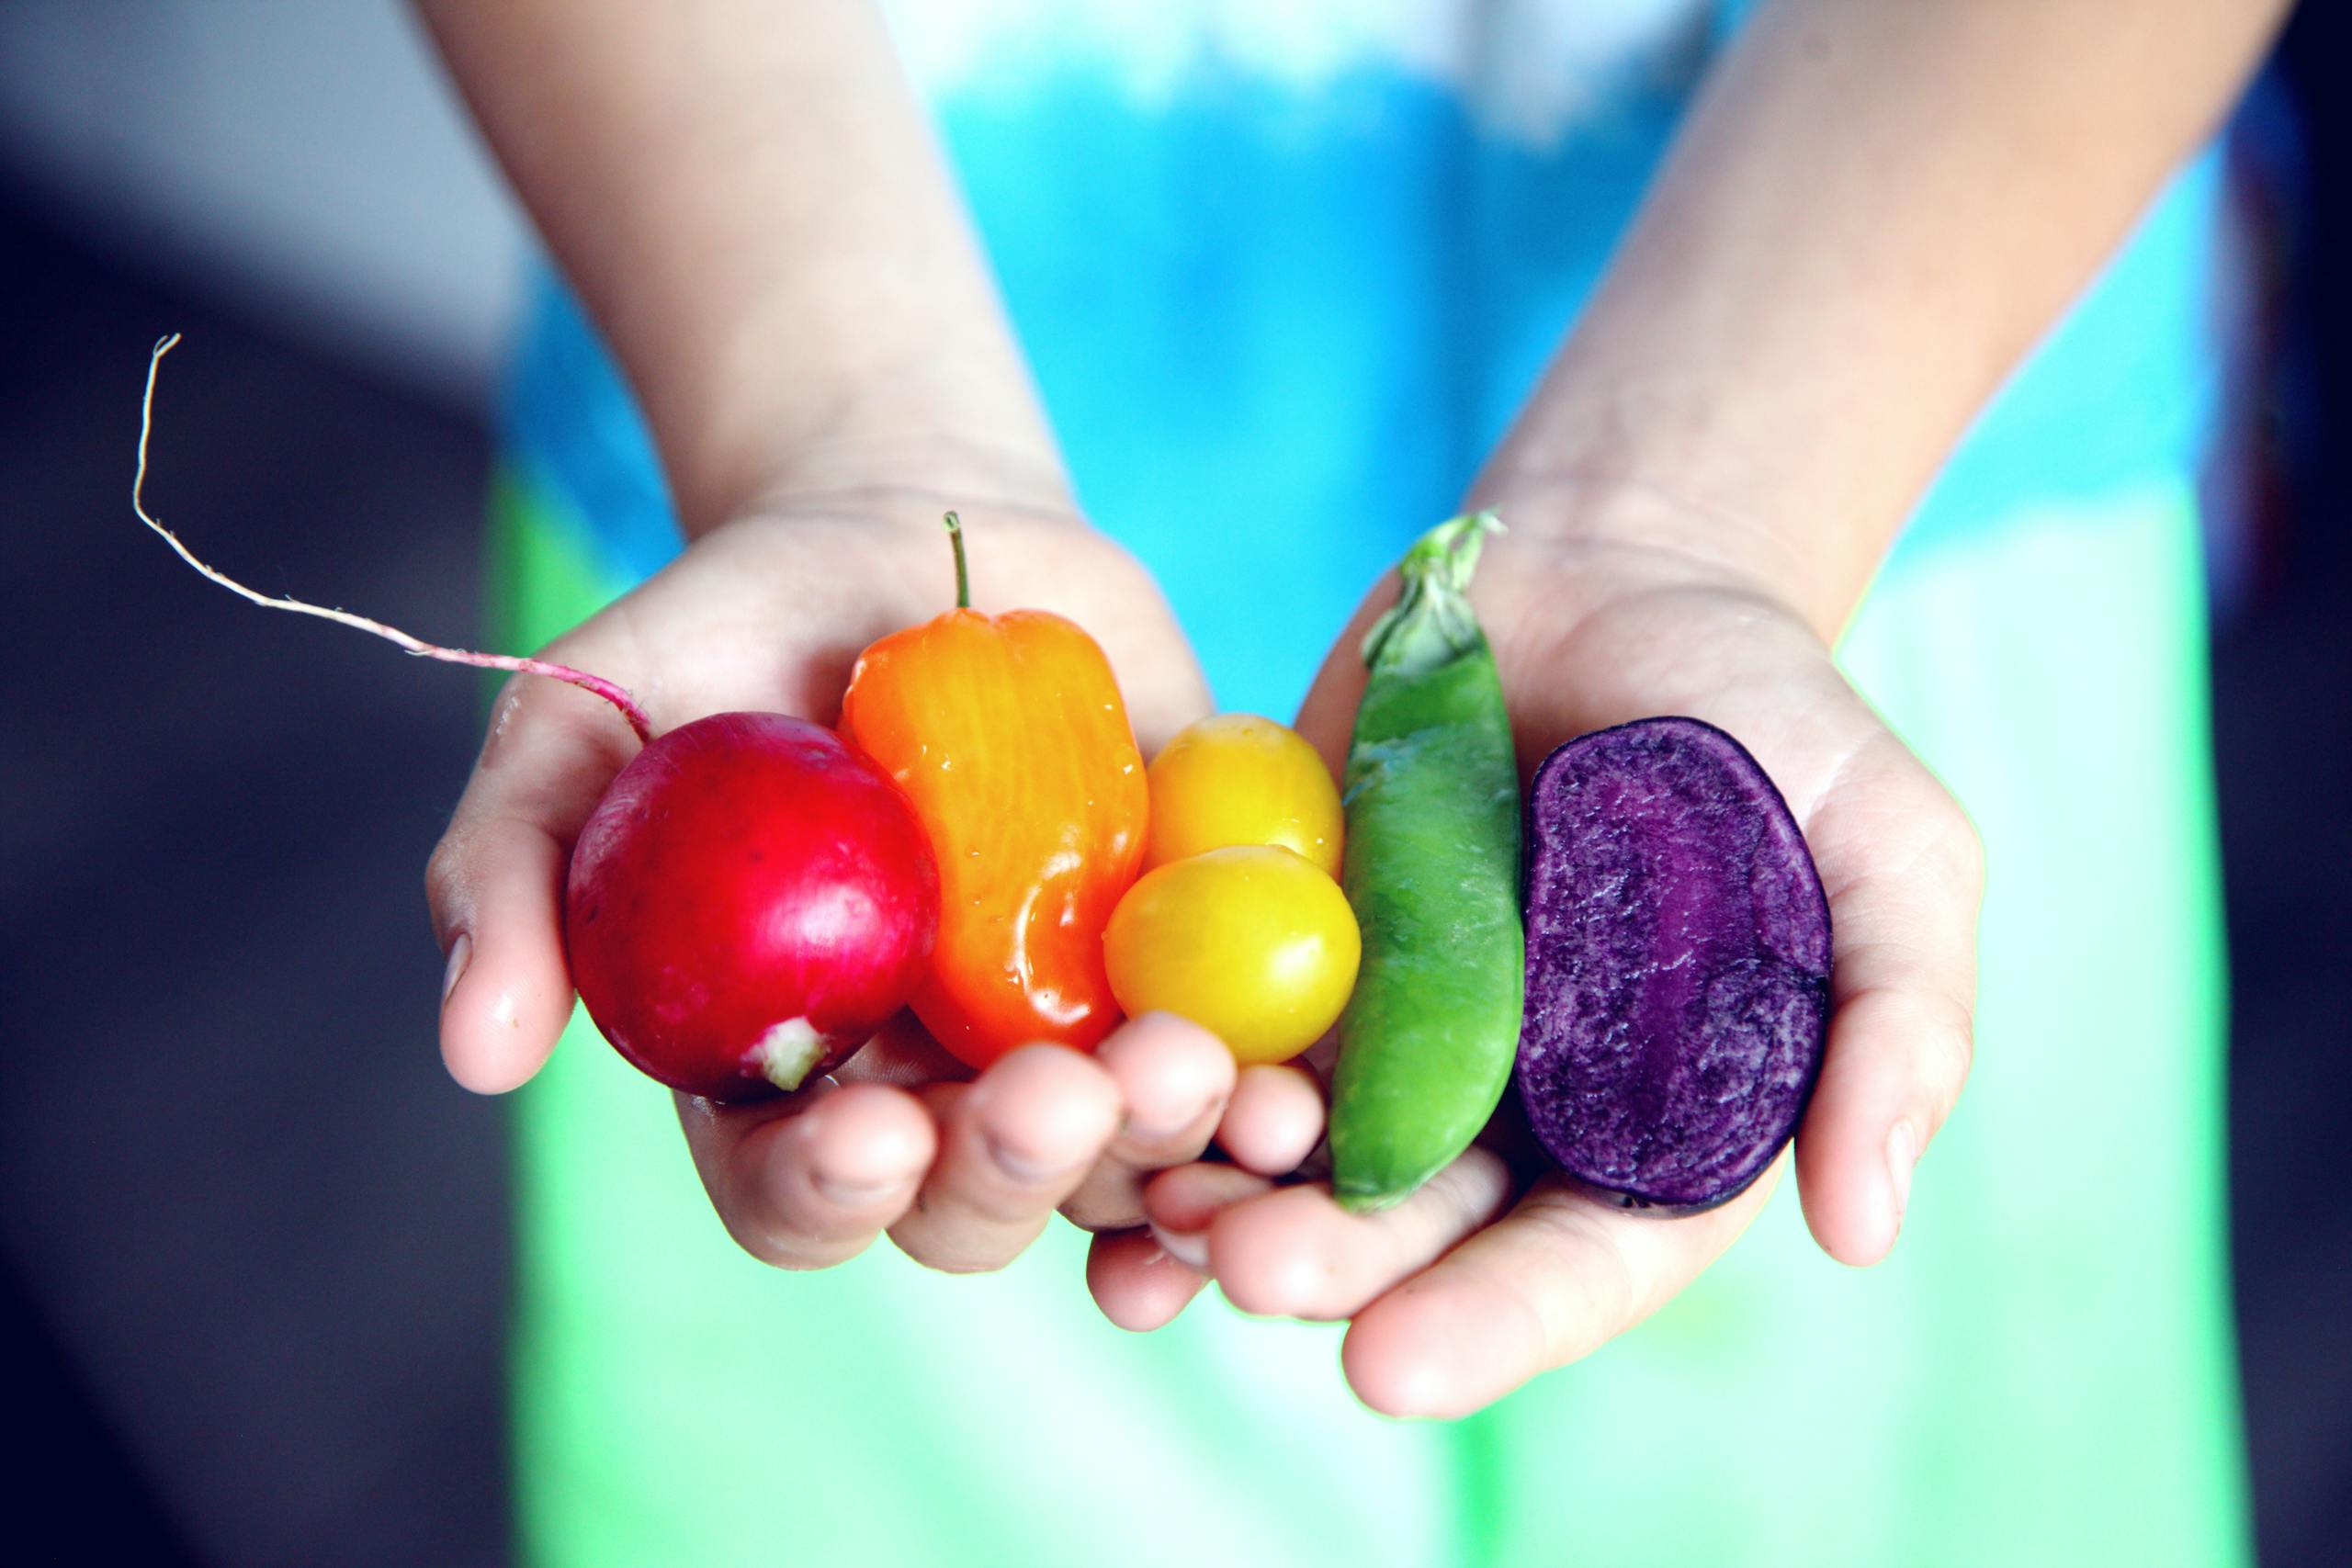
Hard-Boiled Eggs with Veggie Sticks
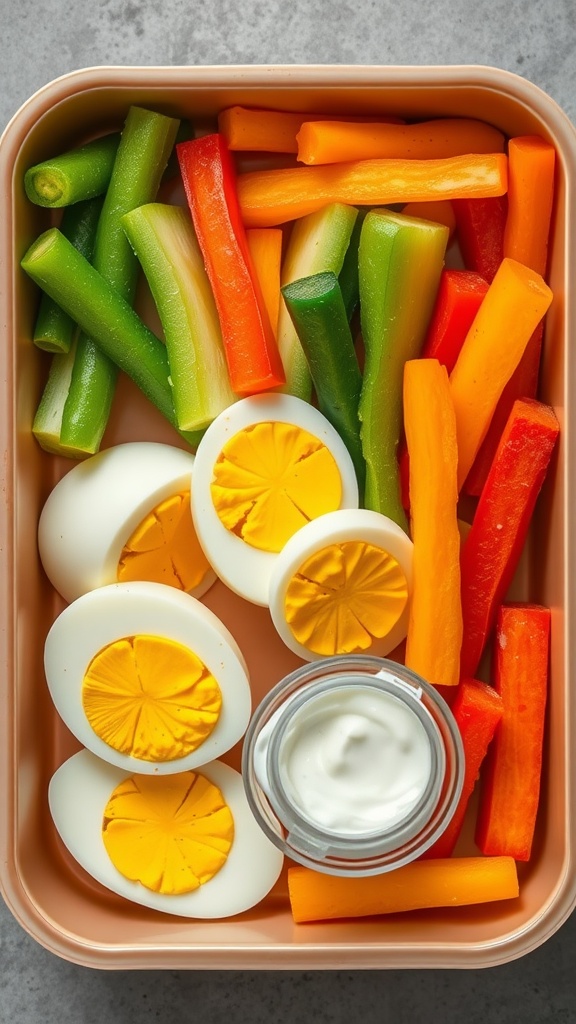
This lunchbox idea combines hard-boiled eggs and fresh veggie sticks for a balanced, nutritious meal that’s quick to prepare. The creamy yolk of the eggs pairs perfectly with the crunch of the veggies, creating a satisfying snack or lunch option. Plus, it’s a simple recipe that takes minimal time to make, making it great for busy teens!
With a variety of colors and textures from the veggie sticks, this meal is not only healthy but also visually appealing. You can mix and match your favorite vegetables, and when paired with a tasty dip, it becomes even more enjoyable. Perfect for lunchboxes, this dish is sure to keep hunger at bay!
Ingredients
- 4 large eggs
- 1 cup carrot sticks
- 1 cup cucumber sticks
- 1 cup bell pepper strips (red, yellow, or green)
- Your favorite dip (hummus or ranch dressing works great)
Instructions
- Boil the eggs: Place eggs in a saucepan and cover with cold water. Bring to a boil over medium heat. Once boiling, cover the pot and turn off the heat. Let it sit for 10-12 minutes.
- Cool and peel: After the eggs have cooked, transfer them to a bowl of ice water to cool for about 5 minutes. Peel the eggs once cooled.
- Prepare the veggies: While the eggs cool, wash and cut your vegetables into sticks.
- Pack it up: Slice the hard-boiled eggs in half and pack them along with the veggie sticks and your dip in a lunchbox.
Rice Paper Rolls with Dipping Sauce
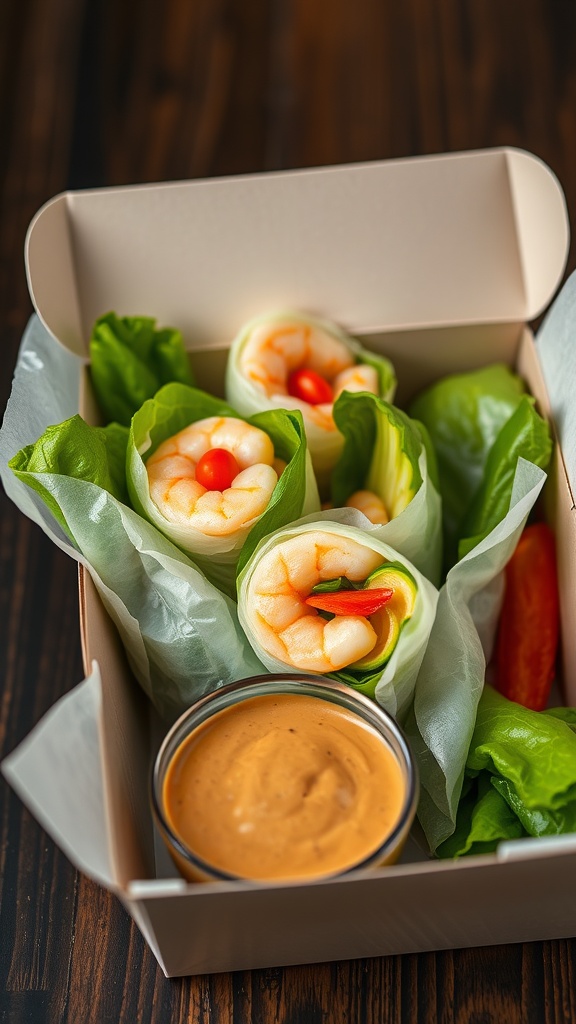
Rice paper rolls are a fresh and tasty option for lunch that are easy to whip up. They deliver a crunch from the fresh veggies and a delightful chewiness from the rice paper itself. Filled with proteins like shrimp or chicken, along with crisp lettuce and colorful bell peppers, these rolls offer a light yet satisfying meal that’s perfect for teens on the go.
Making rice paper rolls is simple and fun! It’s an interactive recipe where everyone can customize their rolls with their favorite fillings. Pair them with a tasty dipping sauce for an extra flavor kick. These rolls are not only appealing to the taste buds but also provide a healthy and colorful lunchbox option that kids will love.
Ingredients
- 8 rice paper wrappers
- 1 cup cooked shrimp, peeled and deveined
- 1 cup lettuce leaves
- 1/2 cup bell peppers, sliced
- 1/2 cup carrots, julienned
- 1/4 cup fresh herbs (like mint or cilantro)
- 1/4 cup peanut butter
- 2 tablespoons soy sauce
- 1 tablespoon honey
- 1 tablespoon rice vinegar
Instructions
- Prepare the Veggies: Slice the bell peppers, julienne the carrots, and wash the lettuce leaves.
- Soak the Rice Paper: In a large bowl of warm water, soak one rice paper wrapper for about 10-15 seconds until soft. Carefully remove and lay it flat on a clean surface.
- Fill the Rolls: Place a small amount of lettuce, shrimp, bell peppers, carrots, and herbs in the center of the rice paper. Be sure not to overfill!
- Roll Up: Fold the sides over the filling, then roll tightly from the bottom to the top. Repeat with remaining wrappers and fillings.
- Make the Dipping Sauce: In a small bowl, mix peanut butter, soy sauce, honey, and rice vinegar until smooth. Adjust flavors as needed.
- Serve: Arrange the rolls on a plate with the dipping sauce on the side for a delicious and healthy lunch.
Veggie Sushi Rolls
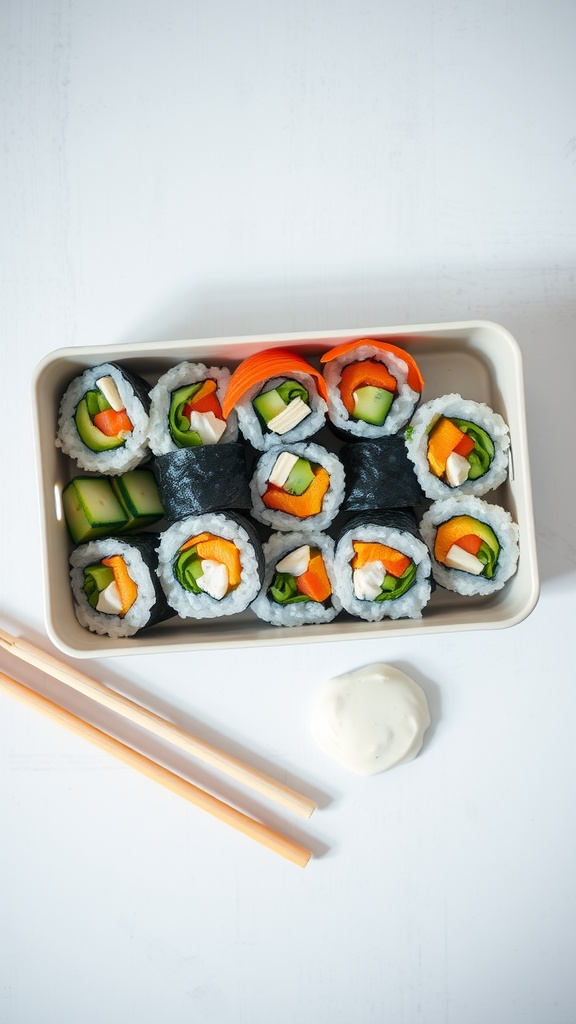
Veggie sushi rolls are a fun and healthy lunch option that’s easy to make. Packed with fresh vegetables and a delightful taste, these rolls are perfect for teens looking for a quick meal. With just a few ingredients, they can be customized to match any preference, making them a crowd-pleaser.
Making veggie sushi rolls is super simple and can even be a fun activity to do with friends or family. You can prep the vegetables ahead of time and roll them up in sushi rice and nori whenever you’re ready. Not only do they look great in a lunchbox, but they also taste refreshing and satisfying!
Ingredients
- 2 cups sushi rice
- 2 1/2 cups water
- 1/4 cup rice vinegar
- 2 tablespoons sugar
- 1/2 teaspoon salt
- 4 sheets nori (seaweed)
- 1 cucumber, julienned
- 1 carrot, julienned
- 1 bell pepper, sliced
- 1 avocado, sliced
- Soy sauce, for serving
- Optional: cream cheese or spicy mayo
Instructions
- Rinse the sushi rice under cold water until the water runs clear. Combine the rice and water in a rice cooker or pot and cook according to package instructions.
- In a small saucepan, heat the rice vinegar, sugar, and salt over low heat until dissolved. Once the rice is cooked, transfer it to a bowl and mix in the vinegar mixture. Allow to cool.
- Lay a sheet of nori on a bamboo sushi mat or a clean surface. With wet hands, spread a thin layer of sushi rice over the nori, leaving a small border at the top.
- Arrange your chosen vegetables (and optional cream cheese) in a line across the rice-covered nori.
- Using the mat, roll the sushi tightly from the bottom to the top, sealing the edge with a bit of water.
- Slice the roll into bite-sized pieces and serve with soy sauce or spicy mayo. Enjoy your veggie sushi rolls!
Peanut Butter Banana Sandwiches
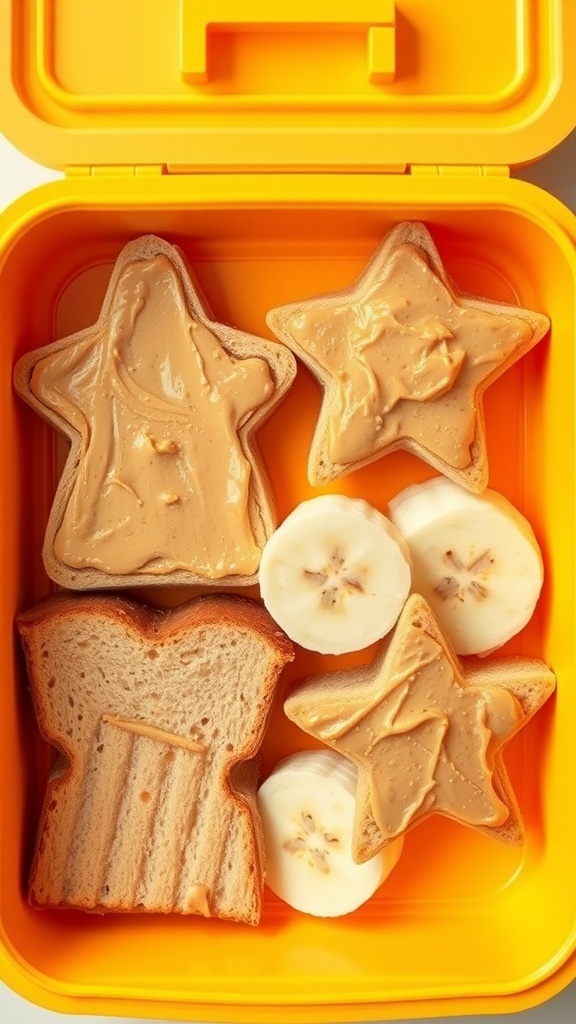
Peanut butter banana sandwiches are a fantastic lunchbox option for teens. They combine creamy peanut butter with the natural sweetness of bananas, making them both delicious and satisfying. Plus, they’re super easy to whip up, requiring just a few ingredients and minimal time.
This classic sandwich is not only tasty but also packed with protein and nutrients, perfect for fueling a busy day. You can customize it with different types of bread or add a drizzle of honey for an extra touch. They’re fun to eat, and you can even use cookie cutters to create fun shapes that make lunchtime more exciting!
Ingredients
- 4 slices of bread (whole wheat or white)
- 4 tablespoons peanut butter
- 1 banana, sliced
- 1 tablespoon honey (optional)
Instructions
- Spread 2 tablespoons of peanut butter on each slice of bread.
- Add banana slices on top of the peanut butter.
- If desired, drizzle honey over the banana slices for added sweetness.
- Top with the other slice of bread to form a sandwich.
- Cut the sandwiches into fun shapes using cookie cutters, if you like.
- Pack the sandwiches in a lunchbox with some extra banana slices or other fruit on the side.
Savory Puff Pastry Bites

These savory puff pastry bites are a delightful treat that combines creamy filling with a flaky crust. With their rich flavor and buttery texture, they make for a satisfying lunch option that’s both quick to prepare and easy to enjoy on the go.
Perfect for busy teens, these bites can be customized with different fillings to suit any taste. Whether you prefer cheese, vegetables, or meats, these little pastries are sure to satisfy cravings while providing a fun and tasty lunchbox surprise.
Ingredients
- 1 sheet of puff pastry, thawed
- 1 cup cheese (cheddar or mozzarella), cubed
- 1/2 cup cooked vegetables (spinach, mushrooms, or peppers)
- 1 egg, beaten (for egg wash)
- Salt and pepper to taste
- Fresh herbs (optional, for garnish)
Instructions
- Preheat the oven to 400°F (200°C).
- Roll out the thawed puff pastry on a floured surface and cut into squares, about 4×4 inches.
- Place a cube of cheese and a spoonful of cooked vegetables in the center of each square. Season with salt and pepper.
- Fold the corners of the pastry over the filling to create a bite-sized pocket. Pinch the edges to seal.
- Brush the tops with beaten egg to give them a golden finish.
- Place the bites on a baking sheet lined with parchment paper and bake for 15-20 minutes, or until puffed and golden brown.
- Let cool slightly before packing them into lunchboxes. Enjoy warm or at room temperature!