15 Quick and Easy Nut-Free Lunchbox Ideas
Finding quick and easy lunchbox ideas that are nut-free can be a challenge, especially when you want to keep things interesting and tasty. Here are 15 time-saving options that are perfect for packing lunch without the worry of nuts, ensuring meals are both safe and delicious for everyone. Let’s dive into these creative ideas that make lunchtime a breeze!
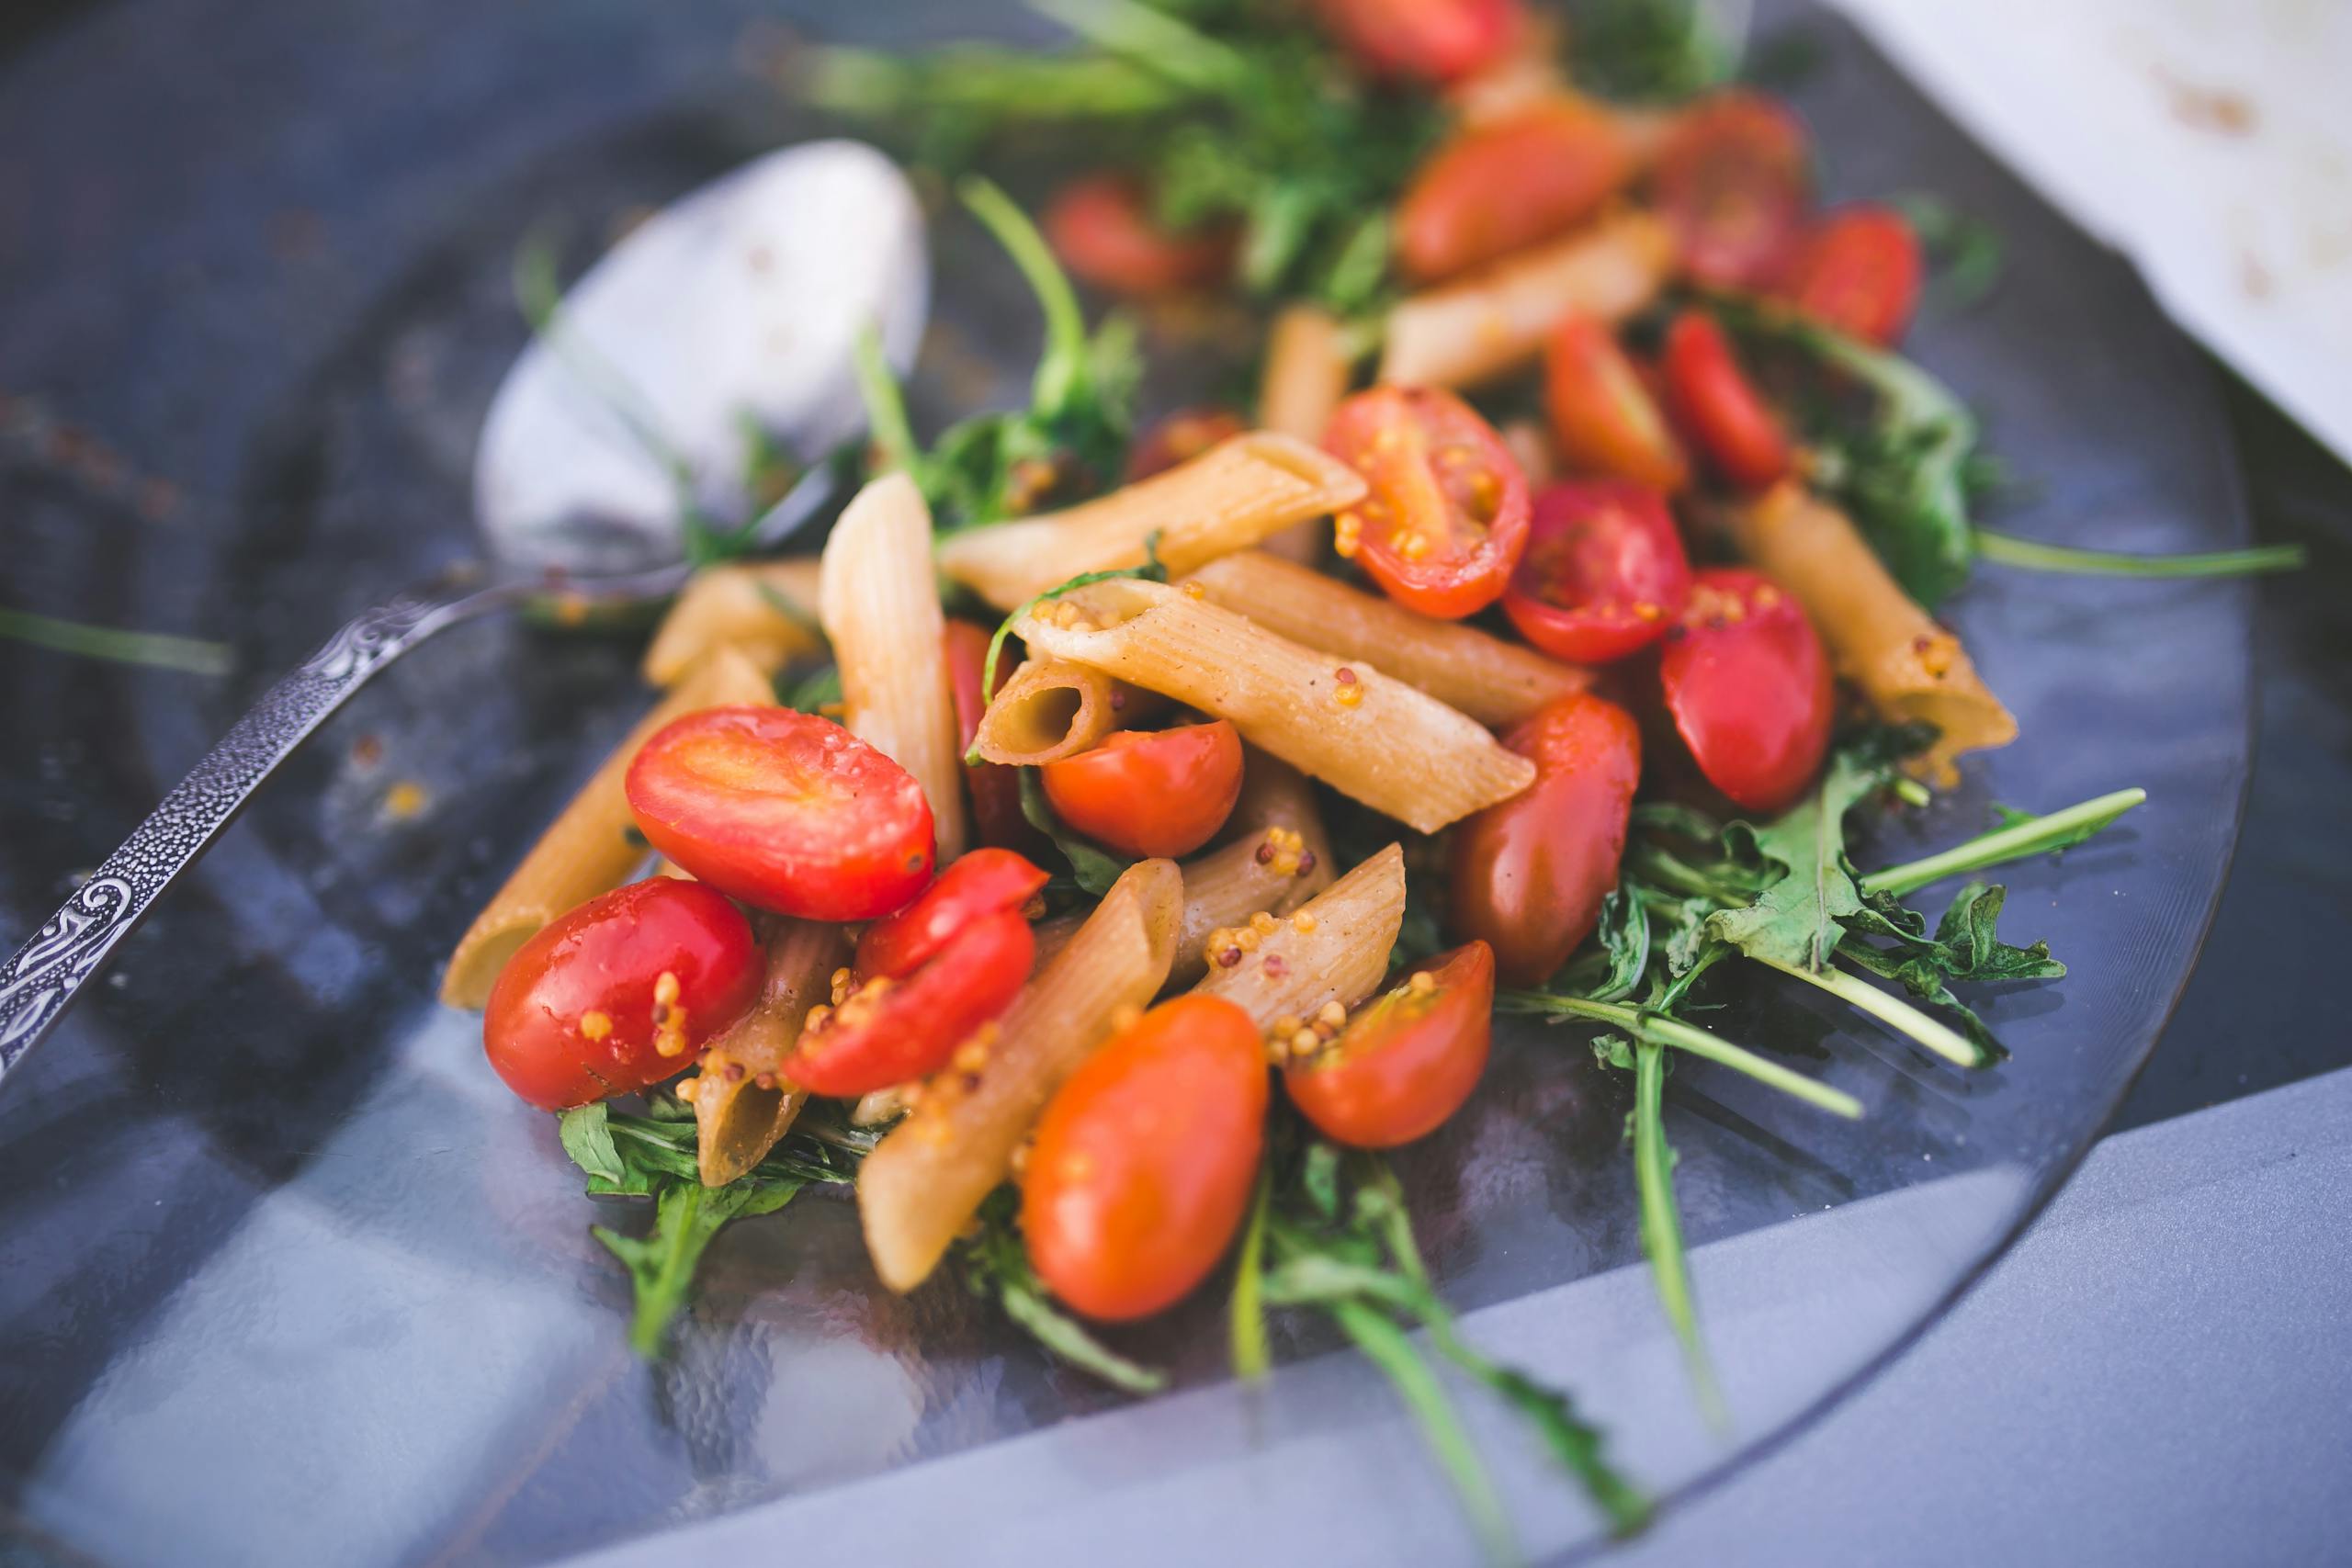
Pasta Salad with Cherry Tomatoes and Mozzarella
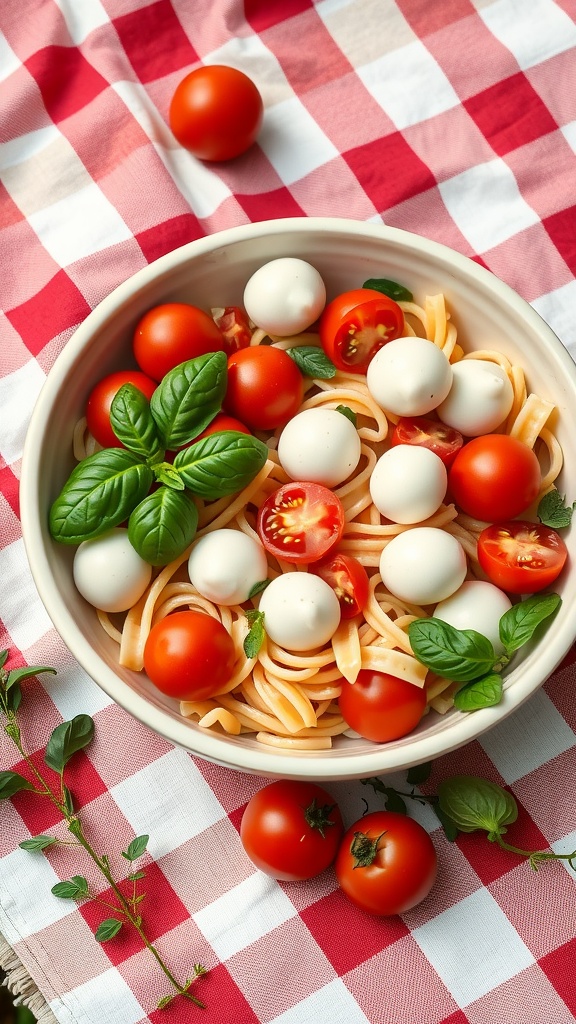
This pasta salad is a delicious and refreshing option for your lunchbox. The sweet burst of cherry tomatoes combined with the creamy mozzarella creates a delightful balance of flavors. Plus, it’s super easy to whip up, making it a perfect choice for busy days.
With just a few ingredients and minimal prep time, this pasta salad can be customized to your taste. It’s light yet satisfying, and can even be served warm or cold. Here’s a simple recipe to get you started!
Ingredients
- 8 ounces of pasta (fusilli or bowtie work great)
- 1 cup cherry tomatoes, halved
- 1 cup mozzarella balls (bocconcini)
- 1/4 cup fresh basil, chopped
- 2 tablespoons olive oil
- 1 tablespoon balsamic vinegar
- Salt and pepper to taste
Instructions
- Cook the Pasta: In a large pot, bring salted water to a boil. Add the pasta and cook according to package instructions until al dente. Drain and let cool.
- Prepare the Ingredients: In a large bowl, combine the halved cherry tomatoes, mozzarella balls, and chopped basil.
- Mix Everything: Once the pasta has cooled, add it to the bowl with the tomatoes and mozzarella. Drizzle with olive oil and balsamic vinegar, then season with salt and pepper. Toss gently to combine.
- Serve or Store: Enjoy immediately or refrigerate for up to 3 days. This salad is perfect for meal prep!
Cucumber Sandwiches with Cream Cheese

Cucumber sandwiches with cream cheese are a light and refreshing option for lunchboxes. These little bites combine the crunch of fresh cucumber with the creamy goodness of cheese, making them a delightful treat. Plus, they are super easy to whip up in no time!
The flavors are simple yet satisfying, with the coolness of cucumbers enhancing the rich cream cheese. Perfect for a quick lunch, these sandwiches are not only delicious but also visually appealing, adding a pop of color to any lunchbox.
Ingredients
- 1 medium cucumber
- 4 ounces cream cheese, softened
- 1 tablespoon fresh dill, chopped
- 1 tablespoon lemon juice
- 8 slices of bread (white or whole grain)
- Salt and pepper to taste
Instructions
- Prepare the Cream Cheese: In a bowl, mix the softened cream cheese with chopped dill, lemon juice, salt, and pepper until smooth.
- Slice the Cucumber: Thinly slice the cucumber into rounds.
- Assemble the Sandwiches: Spread a layer of the cream cheese mixture on each slice of bread. Top half of the bread slices with cucumber rounds.
- Finish Up: Place the remaining bread slices on top to create sandwiches. Cut them into quarters or halves for easy packing.
Egg Muffins with Bell Peppers and Cheese

Egg muffins featuring bell peppers and cheese are a quick and satisfying option for lunchboxes. These little bites are packed with protein and flavor, making them a favorite for both kids and adults. The combination of fresh bell peppers adds a crunchy texture, while the melted cheese brings a comforting richness.
Making these muffins is straightforward. Simply whisk together some eggs, chop up your favorite bell peppers, and mix in cheese for a delightful mix. Bake them in a muffin tin, and you’ll have a delicious meal ready in no time!
Ingredients
- 6 large eggs
- 1/2 cup bell peppers, finely chopped (mix of red, green, and yellow for color)
- 1/2 cup shredded cheese (cheddar or your choice)
- 1/4 cup milk
- Salt and pepper to taste
- Cooking spray or muffin liners
Instructions
- Preheat your oven to 350°F (175°C) and prepare a muffin tin by greasing it with cooking spray or using liners.
- In a bowl, whisk together the eggs and milk until well combined. Stir in the chopped bell peppers, cheese, salt, and pepper.
- Pour the egg mixture evenly into the muffin tin, filling each cup about 3/4 full.
- Bake for 18-20 minutes, or until the egg muffins are set and lightly golden on top.
- Let them cool slightly before removing from the tin. Enjoy them warm or store them in the fridge for a quick lunch option throughout the week.
Greek Yogurt Parfait with Berries
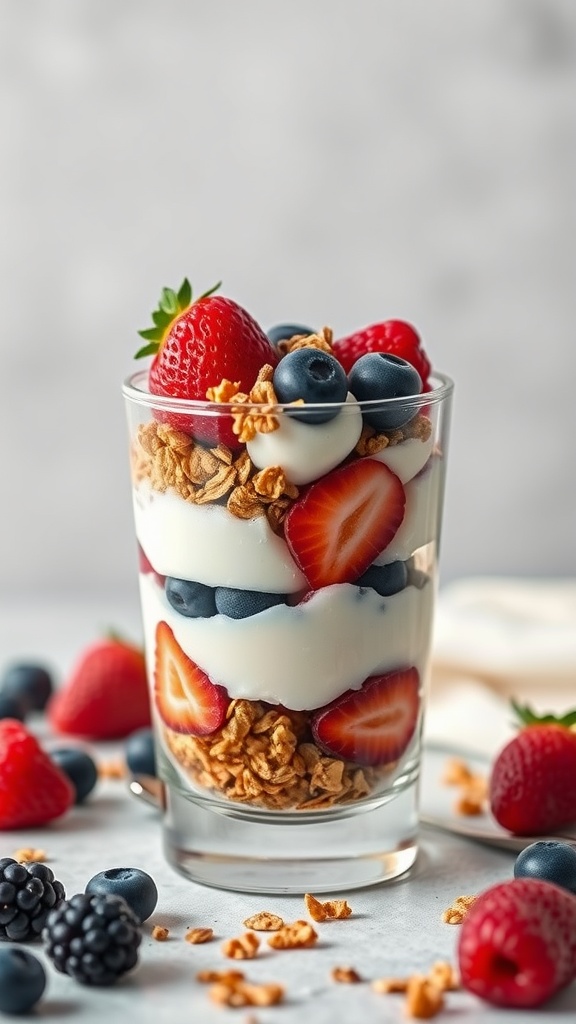
A Greek yogurt parfait with berries is a refreshing and healthy option for lunch. It combines creamy yogurt, sweet berries, and crunchy granola, making it a delightful treat that’s both tasty and satisfying. This dish is super easy to prepare, perfect for a quick lunch or snack.
The mix of creamy yogurt and fresh fruit creates a balance of flavors that bursts in your mouth. It’s a great way to add some nutritional value to your lunch without sacrificing taste. Plus, it’s customizable; you can swap in your favorite fruits or add a drizzle of honey for extra sweetness.
Ingredients
- 2 cups Greek yogurt
- 1 cup mixed berries (strawberries, blueberries, raspberries)
- 1 cup granola
- 1 tablespoon honey (optional)
- Mint leaves for garnish (optional)
Instructions
- In a clear glass or bowl, start with a layer of Greek yogurt at the bottom.
- Add a layer of granola over the yogurt.
- Next, layer in your mixed berries.
- Repeat the layers until you reach the top, finishing with berries and a sprinkle of granola.
- If desired, drizzle honey on top and garnish with mint leaves.
- Serve immediately or cover and refrigerate for later.
Mini Quiche with Spinach and Cheese
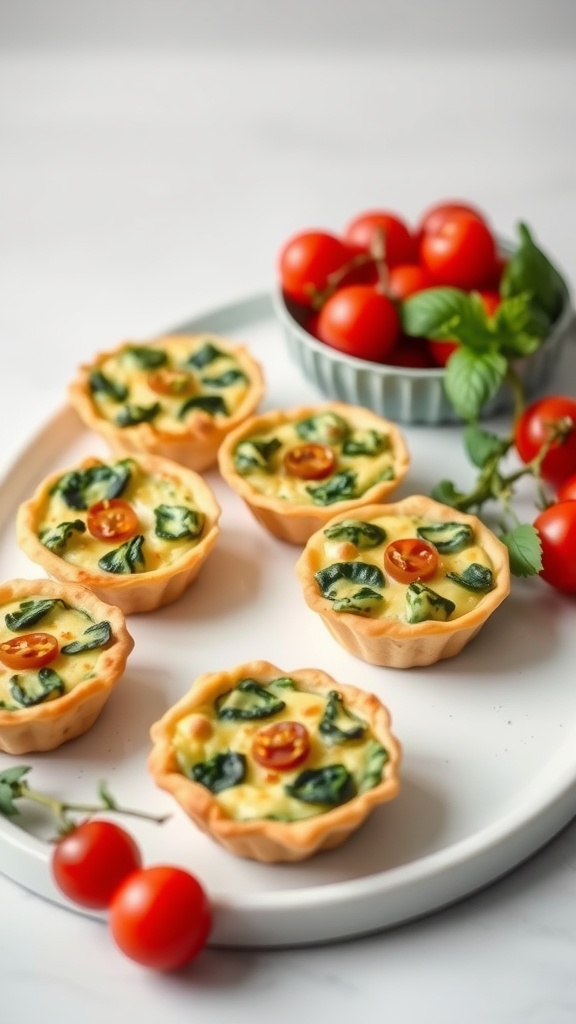
Mini quiches are a fantastic option for a quick and satisfying lunch. They’re packed with flavor, featuring a delightful combination of spinach and cheese that complements each other perfectly. The creamy filling and flaky crust make every bite a treat. Plus, they’re super easy to whip up, making them ideal for busy days.
These bite-sized wonders are also incredibly versatile; you can tweak the ingredients based on what you have on hand. They’re perfect for packing in lunchboxes, as they can be enjoyed hot or cold. Let’s get started with this simple recipe!
Ingredients
- 1 package of pre-made pastry dough
- 4 large eggs
- 1 cup milk
- 1 cup fresh spinach, chopped
- 1 cup shredded cheese (cheddar or mozzarella)
- 1/2 teaspoon salt
- 1/4 teaspoon black pepper
- Cherry tomatoes, halved (for garnish)
Instructions
- Preheat your oven to 375°F (190°C).
- Roll out the pastry dough and cut it into small circles to fit a muffin tin. Press the dough into the tin to form small cups.
- In a mixing bowl, whisk together the eggs, milk, salt, and pepper until combined.
- Add the chopped spinach and shredded cheese to the egg mixture and stir well.
- Pour the egg mixture into each pastry cup, filling them about three-quarters full.
- Top with halved cherry tomatoes for a pop of color and extra flavor.
- Bake in the preheated oven for 20-25 minutes, or until the egg is set and the tops are golden.
- Remove from the oven and let cool for a few minutes before serving.
Tortilla Roll-Ups with Cream Cheese and Veggies
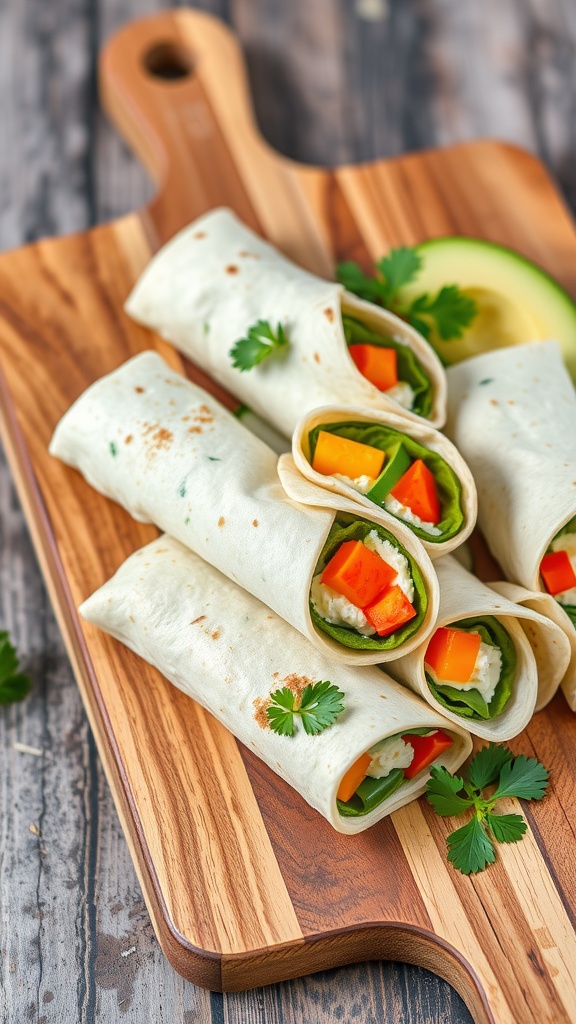
Tortilla roll-ups are a fun and tasty way to pack a nutritious lunch. They are creamy, crunchy, and bursting with flavor, thanks to the fresh veggies and smooth cream cheese. Plus, they’re super simple to make, which makes them perfect for busy days.
These roll-ups are not only satisfying but also versatile. You can mix and match your favorite vegetables, making it easy to cater to different tastes. They are great for kids and adults alike, ensuring everyone enjoys a delicious, nut-free option!
Ingredients
- 4 large flour tortillas
- 8 ounces cream cheese, softened
- 1 cup bell peppers, diced (any color)
- 1 cup spinach or lettuce
- 1/2 cup shredded carrots
- 1/4 cup chopped cilantro (optional)
- Salt and pepper to taste
Instructions
- Spread a generous layer of cream cheese over each tortilla.
- Evenly distribute the diced bell peppers, spinach, shredded carrots, and cilantro on top of the cream cheese.
- Season with salt and pepper to taste.
- Starting from one end, tightly roll the tortilla up, then slice into pinwheels or halves.
- Serve immediately or wrap in plastic wrap for later enjoyment!
Vegetable and Hummus Wraps

Vegetable and hummus wraps are a quick and nutritious lunch option that everyone can enjoy. They combine vibrant veggies with creamy hummus, making each bite packed with flavor and freshness. Plus, they are super easy to prepare, perfect for busy days!
These wraps are not just healthy, but they are also customizable. You can throw in whatever veggies you love or have on hand, such as bell peppers, cucumbers, or spinach. The soft tortilla brings it all together, making it perfect for lunchboxes or a light snack.
Ingredients
- 4 large whole wheat tortillas
- 1 cup hummus
- 1 cup spinach leaves
- 1 red bell pepper, diced
- 1 yellow bell pepper, diced
- 1 medium cucumber, sliced
- ¼ cup shredded carrots
- Salt and pepper to taste
Instructions
- Spread a generous layer of hummus on each tortilla, leaving a little space around the edges.
- Layer the spinach leaves, diced bell peppers, cucumber slices, and shredded carrots evenly on top of the hummus.
- Sprinkle with salt and pepper to taste.
- Carefully roll the tortilla tightly from one end to the other, tucking in the sides as you go to keep the filling inside.
- Slice each wrap in half and enjoy or pack them in a lunchbox!
Chickpea Salad with Lemon Dressing
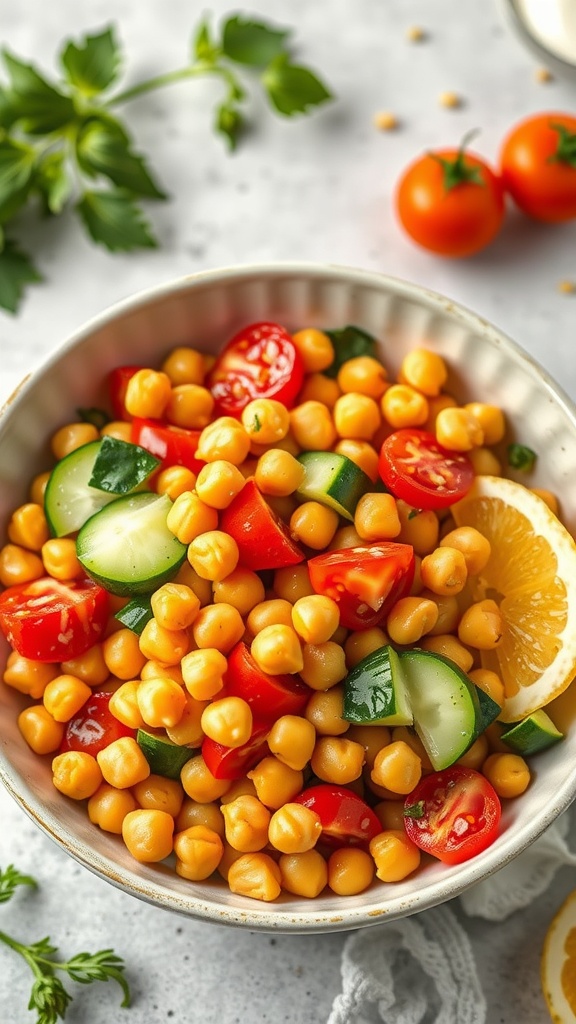
This Chickpea Salad with Lemon Dressing brings together bright flavors and fresh ingredients for a delightful lunch option. The combination of chickpeas, juicy tomatoes, and crisp cucumbers creates a satisfying and nutritious dish that’s perfect for busy days.
With just a few ingredients, this salad is simple to whip up and packs well for lunchboxes. The zesty lemon dressing adds a refreshing touch that wakes up the palate, making it a favorite for everyone.
Ingredients
- 1 can (15 oz) chickpeas, drained and rinsed
- 1 cup cherry tomatoes, halved
- 1 cucumber, diced
- 1/4 cup fresh parsley, chopped
- 1 lemon, juiced
- 2 tablespoons olive oil
- Salt and pepper to taste
Instructions
- In a large bowl, combine the chickpeas, cherry tomatoes, cucumber, and parsley.
- In a small bowl, whisk together the lemon juice, olive oil, salt, and pepper.
- Pour the lemon dressing over the salad and toss to combine.
- Serve immediately, or store in the fridge for up to 2 days for flavors to meld.
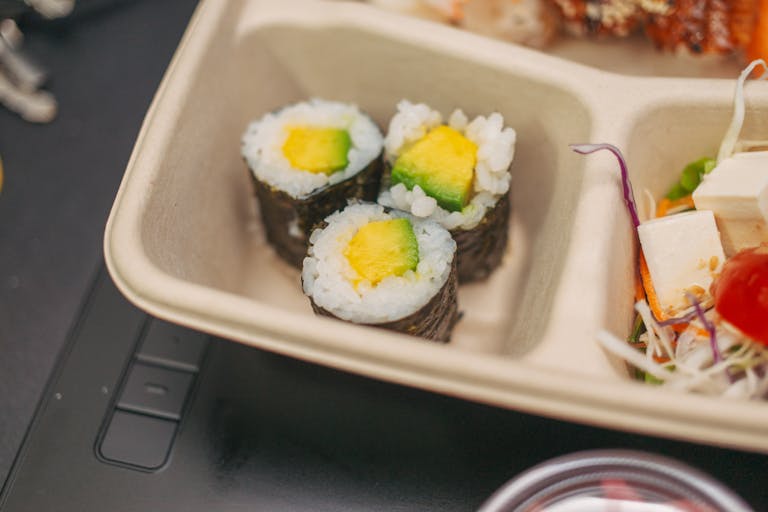
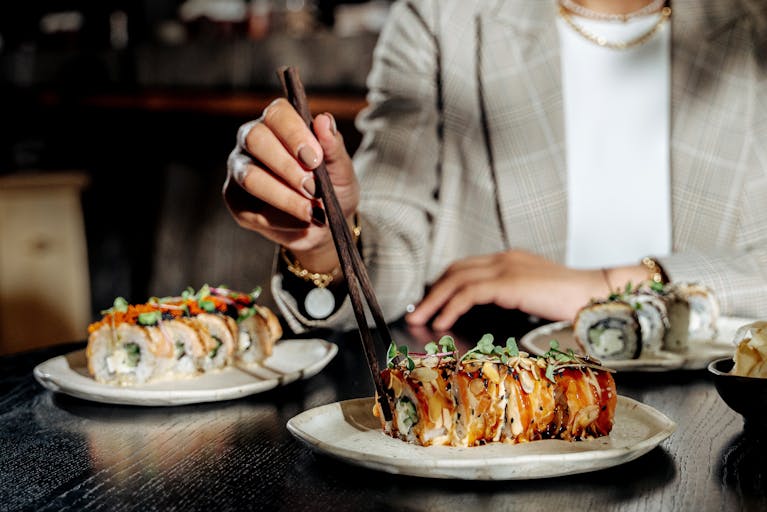
Vegetable Sushi Rolls
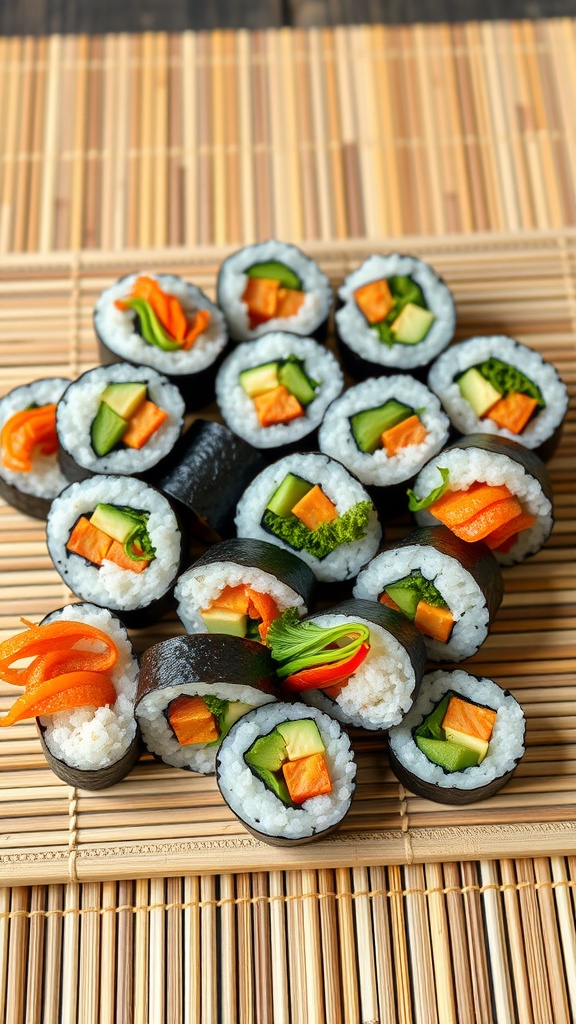
Vegetable sushi rolls are a colorful and tasty way to enjoy a healthy lunch. They combine fresh veggies with seasoned rice and a touch of nori, making them a light yet satisfying meal. These rolls have a wonderful crunch from the veggies and a slight sweetness from the rice, creating a delightful balance of flavors.
Making vegetable sushi is surprisingly simple and can be a fun activity. You can customize the ingredients to include your favorite vegetables, making it a versatile option for lunchboxes. Plus, they are perfect for meal prep and can easily be stored for later enjoyment.
Ingredients
- 2 cups sushi rice
- 2 1/2 cups water
- 1/4 cup rice vinegar
- 1 tablespoon sugar
- 1 teaspoon salt
- 4 sheets nori (seaweed)
- 1/2 cucumber, thinly sliced
- 1 medium carrot, julienned
- 1/2 bell pepper, thinly sliced
- 1/2 avocado, sliced
- Soy sauce for serving
Instructions
- Prepare the Sushi Rice: Rinse sushi rice under cold water until the water runs clear. In a pot, combine rice and water, and bring to a boil. Reduce heat to low, cover, and cook for 20 minutes. Remove from heat and let it sit for 10 minutes.
- Season the Rice: In a small bowl, mix rice vinegar, sugar, and salt until dissolved. Fluff the rice with a fork and gently fold in the vinegar mixture. Allow it to cool.
- Assemble the Rolls: Place a sheet of nori on a bamboo mat. Spread a thin layer of rice over the nori, leaving a small border at the top. Arrange cucumber, carrot, bell pepper, and avocado in the center of the rice.
- Roll the Sushi: Starting from the bottom, use the mat to lift the edge of the nori and roll it tightly over the filling. Press gently to seal. Repeat with remaining nori and ingredients.
- Slice and Serve: Using a sharp knife, slice each roll into bite-sized pieces. Serve with soy sauce for dipping.
Fruit Skewers with Yogurt Dip
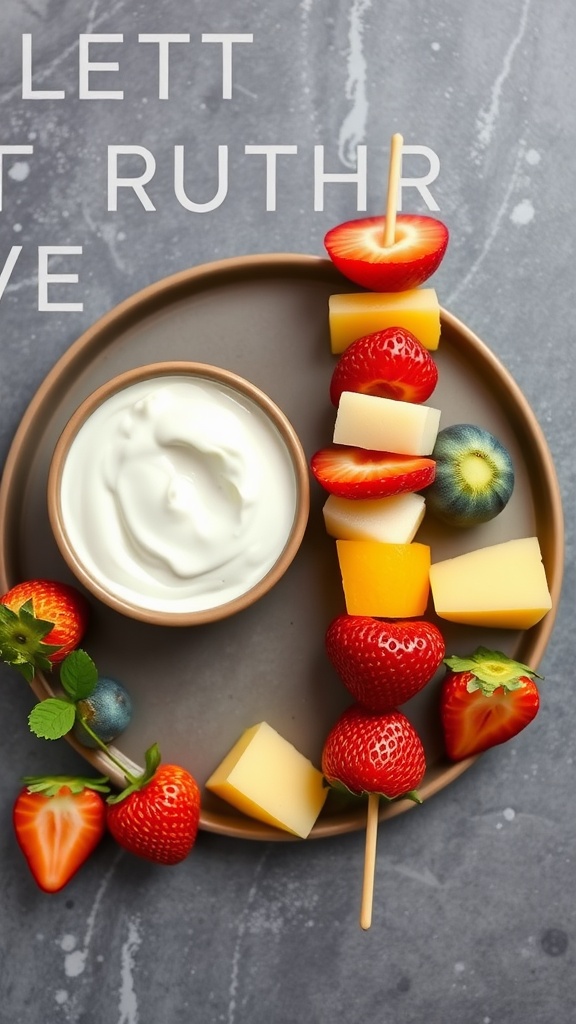
Fruit skewers with yogurt dip make a quick and fun lunchbox idea that kids will love. Bursting with freshness, these colorful skewers are not only tasty but also super simple to whip together. Pairing juicy fruits with a creamy yogurt dip adds a delightful twist, making it a snack that feels special.
You can customize your skewers with your favorite fruits, like strawberries, pineapple, and blueberries, ensuring a variety of flavors and textures in every bite. This recipe is a breeze to assemble, allowing you to prepare it in just a few minutes, perfect for those busy mornings!
Ingredients
- 1 cup strawberries, hulled
- 1 cup pineapple chunks
- 1 cup blueberries
- 1 cup cubed cheese (like cheddar or mozzarella)
- 1 cup plain yogurt
- 1 tablespoon honey or maple syrup (optional)
- Wooden skewers
Instructions
- Prepare the Ingredients: Wash and cut the fruits into bite-sized pieces. Cube the cheese.
- Assemble Skewers: Thread the fruits and cheese onto the wooden skewers, alternating between them for a colorful presentation.
- Make the Yogurt Dip: In a small bowl, mix the yogurt with honey or maple syrup to taste, if desired.
- Pack for Lunch: Place the skewers in a container or zip-lock bag and serve with the yogurt dip in a separate small bowl.
Beef and Cheese Pinwheels

Beef and Cheese Pinwheels are a delightful and easy option for a lunchbox treat. With layers of savory beef and melted cheese wrapped in a soft tortilla, these pinwheels offer a fun twist on traditional sandwiches. Their bite-sized nature makes them perfect for kids and adults alike, delivering a satisfying taste that is sure to please.
Making these pinwheels is a breeze, involving minimal prep and cooking time. They can be enjoyed cold or warmed up, making them versatile for any lunch setting. Pair them with your favorite dipping sauce for an extra kick!
Ingredients
- 1 large tortilla
- 1 cup cooked ground beef
- 1 cup shredded cheese (cheddar or mozzarella)
- 1/4 cup pizza sauce or marinara sauce
- 1 tablespoon Italian seasoning
- 1/4 cup bell peppers, finely chopped (optional)
Instructions
- Spread the pizza sauce evenly over the tortilla.
- In a bowl, mix the cooked ground beef with Italian seasoning and then spread it over the sauce.
- Sprinkle shredded cheese and chopped bell peppers on top of the beef.
- Carefully roll the tortilla tightly from one end to the other.
- Slice the rolled tortilla into bite-sized pinwheels and serve with extra dipping sauce if desired.
Stuffed Peppers with Ground Turkey and Rice
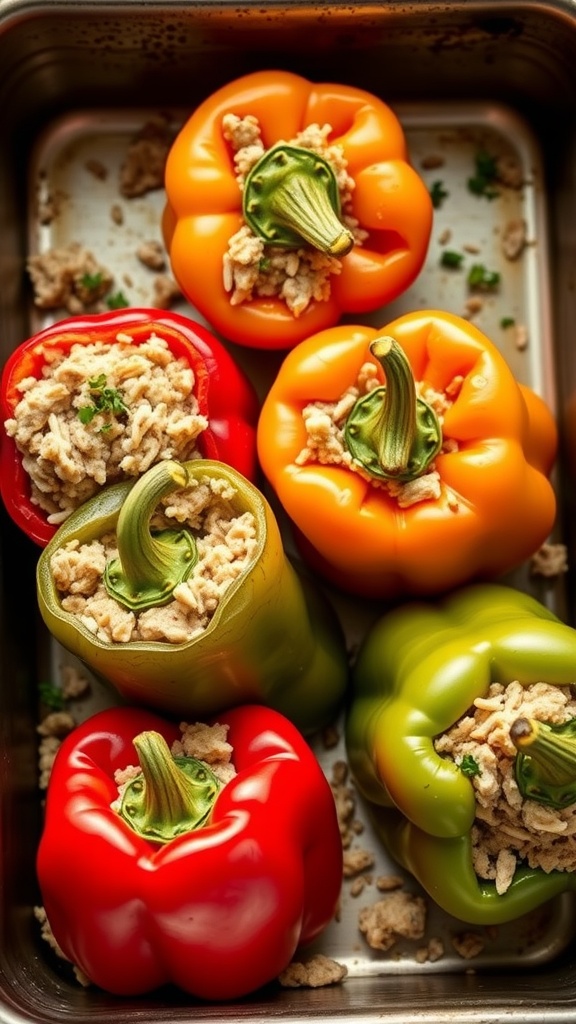
Stuffed peppers are a simple yet satisfying dish, perfect for lunchboxes and easy to make in bulk. The combination of ground turkey and rice creates a hearty filling that’s both nutritious and delicious. Each pepper bursts with flavor, and they can be customized with your favorite spices and vegetables, making them a crowd-pleaser.
This recipe is not only quick to prepare but also makes for great leftovers. The peppers can be roasted ahead of time and stored in the fridge, making lunchtime a breeze. Enjoy these colorful, savory bites that are sure to brighten your meal!
Ingredients
- 4 bell peppers (any color)
- 1 lb ground turkey
- 1 cup cooked rice
- 1 small onion, diced
- 2 cloves garlic, minced
- 1 can diced tomatoes (14.5 oz)
- 1 teaspoon dried oregano
- 1 teaspoon paprika
- Salt and pepper to taste
- 1 cup shredded cheese (optional)
Instructions
- Preheat your oven to 375°F (190°C).
- Cut the tops off the bell peppers and remove seeds. Place them in a baking dish.
- In a skillet, sauté the onion and garlic until soft. Add the ground turkey and cook until browned.
- Stir in cooked rice, diced tomatoes, oregano, paprika, salt, and pepper. Mix well.
- Stuff each pepper with the turkey and rice mixture. If desired, top with shredded cheese.
- Cover the baking dish with foil and bake for 30 minutes. Remove the foil and bake for an additional 10 minutes, or until the peppers are tender.
Rice Cakes with Avocado Spread
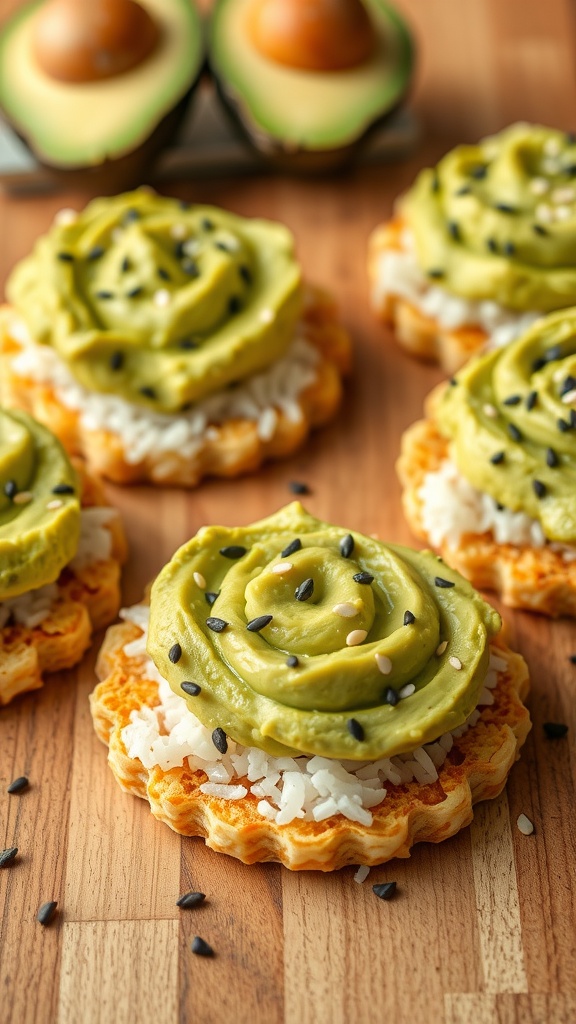
Rice cakes with avocado spread are a fantastic quick lunch option that combines crisp texture with creamy flavor. The slight nuttiness of the rice cakes pairs perfectly with the buttery taste of ripe avocados, making every bite enjoyable. This recipe is easy to prepare and customizable, perfect for busy days when you need something satisfying without spending too much time in the kitchen.
With just a few ingredients, you can whip up a delicious and nutritious meal. You can even add toppings like sesame seeds or chopped veggies for extra flavor and crunch. This dish not only tastes great but it’s also a great way to sneak in healthy fats and fiber!
Ingredients
- 4 rice cakes
- 1 ripe avocado
- 1 tablespoon lime juice
- Salt and pepper, to taste
- Sesame seeds, for garnish
- Shredded coconut or cooked rice (optional)
Instructions
- Prepare the Avocado Spread: In a bowl, mash the ripe avocado with lime juice, salt, and pepper until smooth.
- Assemble the Rice Cakes: Spread a layer of shredded coconut or cooked rice on each rice cake if desired.
- Add the Avocado: Top each rice cake with a generous scoop of the avocado mixture.
- Garnish: Sprinkle sesame seeds on top for added crunch and flavor.
- Serve immediately and enjoy your quick and healthy lunch!
Roasted Vegetable and Quinoa Bowls
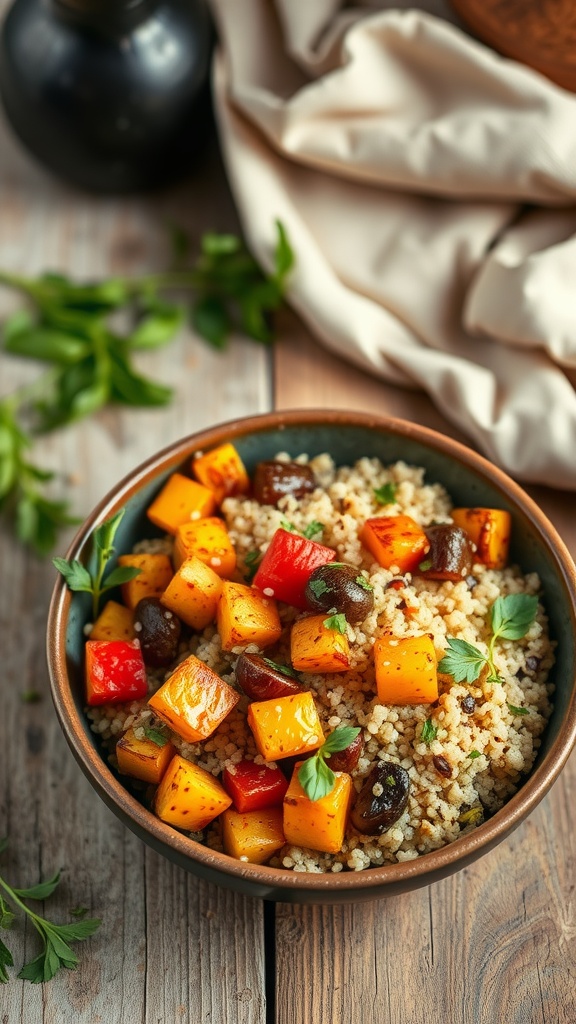
Roasted vegetable and quinoa bowls are a delightful and nutritious option for your lunchbox. They burst with flavors from caramelized veggies and the nutty taste of quinoa, making every bite satisfying. Plus, they’re super easy to prepare, allowing you to whip up a batch in no time.
This recipe is perfect for meal prep and keeps well in the fridge, ensuring you have a healthy lunch on hand throughout the week. Just toss in your favorite seasonal vegetables, roast them to perfection, and mix them with fluffy quinoa. It’s a bowl of goodness that everyone will love!
Ingredients
- 1 cup quinoa
- 2 cups vegetable broth or water
- 2 cups mixed vegetables (like bell peppers, zucchini, and carrots)
- 2 tablespoons olive oil
- 1 teaspoon garlic powder
- 1 teaspoon paprika
- Salt and pepper to taste
- Fresh herbs (like parsley or cilantro) for garnish
Instructions
- Preheat the oven to 400°F (200°C).
- Rinse quinoa under cold water, then cook it in vegetable broth or water according to package instructions.
- Chop your mixed vegetables into bite-sized pieces and place them on a baking sheet.
- Drizzle olive oil over the veggies, sprinkle with garlic powder, paprika, salt, and pepper. Toss to coat evenly.
- Roast in the oven for about 25-30 minutes, or until the vegetables are tender and slightly caramelized.
- Once quinoa is cooked, fluff it with a fork and combine it with the roasted vegetables.
- Serve warm, garnished with fresh herbs.
Chicken Caesar Salad Pockets
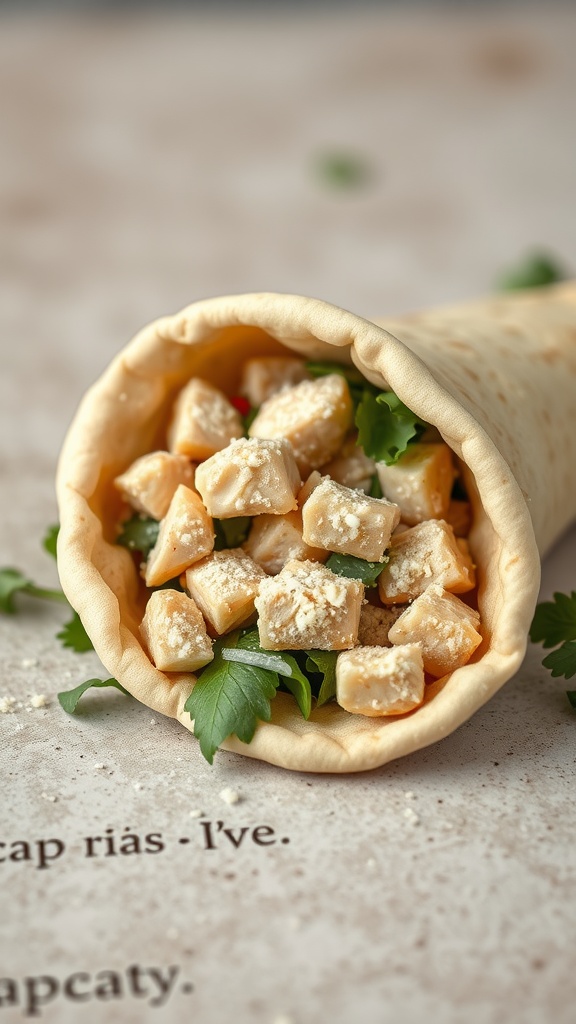
Chicken Caesar Salad Pockets are a tasty and convenient way to enjoy a classic dish on the go. Combining tender chicken, crisp romaine lettuce, and a creamy Caesar dressing, these pockets deliver a burst of flavor in every bite. They are simple to prepare, making them a perfect addition to any lunchbox.
With just a few ingredients, you can whip up this delicious meal in no time. The soft wrap holds all the elements together, making it easy to eat without any mess. Plus, it’s a great way to sneak in some greens while keeping lunchtime exciting!
Ingredients
- 2 cups cooked chicken, diced
- 2 cups romaine lettuce, chopped
- 1/2 cup Caesar dressing
- 1/4 cup grated Parmesan cheese
- 4 whole wheat wraps
- Salt and pepper to taste
Instructions
- In a large bowl, combine the diced chicken, chopped romaine lettuce, Caesar dressing, and Parmesan cheese. Toss everything together until well mixed. Season with salt and pepper to taste.
- Lay out the whole wheat wraps on a clean surface. Spoon an equal amount of the chicken Caesar mixture onto each wrap.
- Fold in the sides of the wrap and then roll it tightly from the bottom. Ensure the filling is secure inside.
- Slice the wraps in half or leave them whole for serving. Enjoy them fresh or pack them for lunch!
